
Gallery Of Top Gable Roofed Shed Plans In Different Sizes


What is The Gable Roof Shed Design?
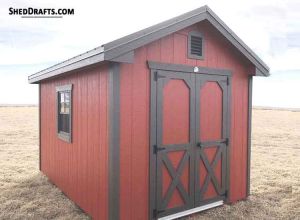
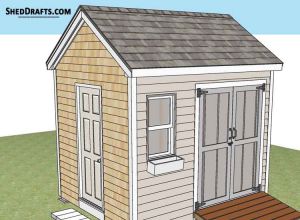
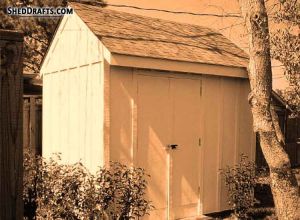
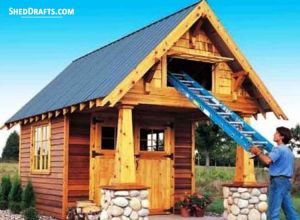
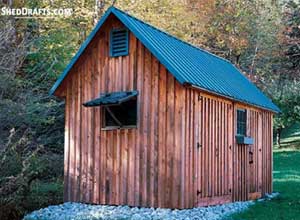
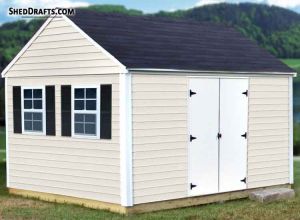
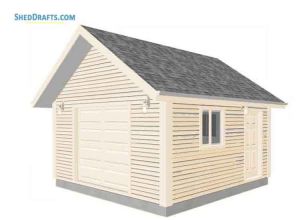
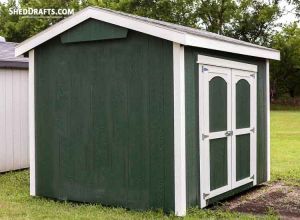
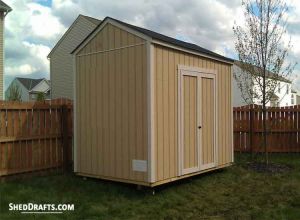
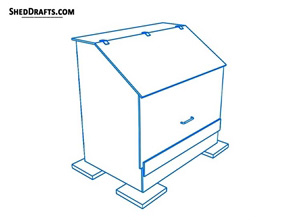
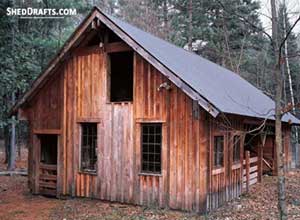
A gable roof or a double-pitched roof consists of two sloping sides of equal length extending out from a central ridge. It is the most popular roof style for sheds. The triangle shape between the two roof panels gives rise to the familiar A-shaped look of sheds.
Advantages
Here are a few of the advantages of building a gable shed.
Affordable Cost Of Construction
A gable roof requires much less timber for construction compared to a hip roof or gambrel roof. This helps to keep the costs low. Also, it can be built faster than other roof styles, so any rented power tools can be returned quickly, and that also helps to keep the spending to a minimum.
Quick And Simple Design
A gable roof consists mainly of a central ridge been connected to rafters spread out at regular intervals. The rafters are connected to the top plates of opposite walls using birdsmouth joints. Once you create a rafter template with the necessary cuts, you can quickly duplicate it and create the remaining rafters.
This makes the process of constructing gable roofs suitable for amateur shed builders who are not too familiar with carpentry techniques.
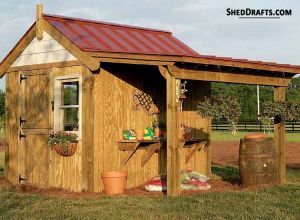
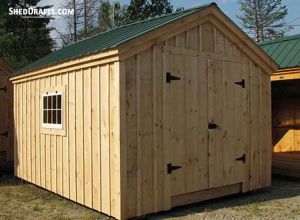
Faster Drainage of Water And Snow
The steep pitch of a gable roof allows for quick drainage of water and snow. Hence, there is little chance of waterlogging. This roof design is ideal for areas that receive heavy rainfall or snow. You can add a gutter along the drip edges to redirect the water away from the shed walls.
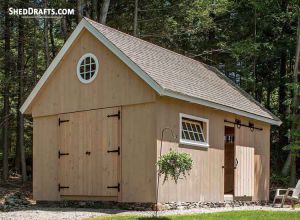
Extra Attic Space
The area underneath the ridge beam and above the rafters can be used as an attic or loft. This provides extra storage space.
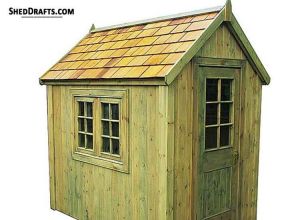
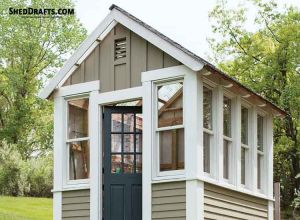
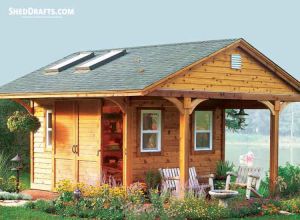
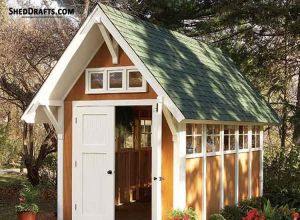
Easy Skylight Installation
The angle of the roof and the flat roof panels make it easy to install a skylight on the roof.
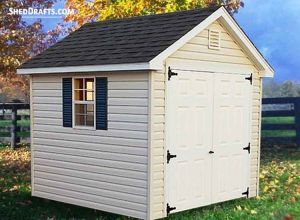
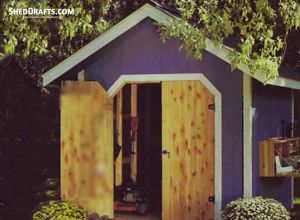
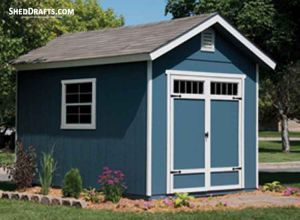
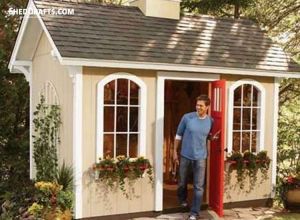
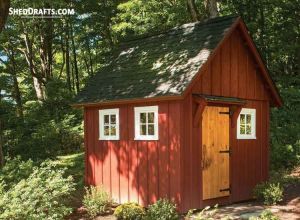
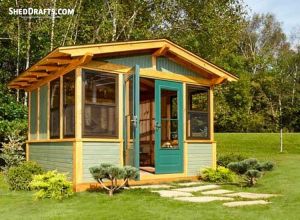
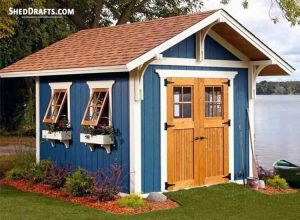
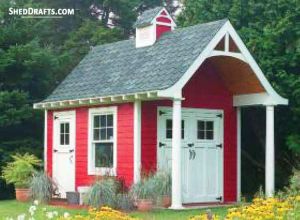
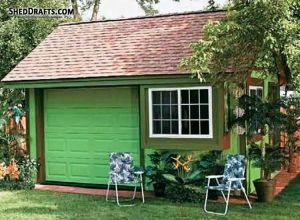
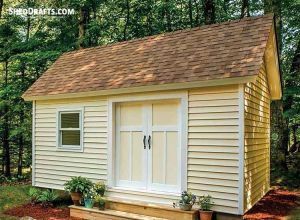
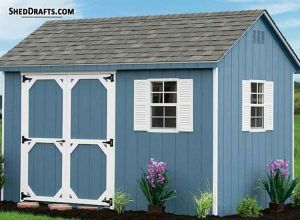
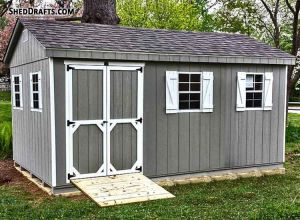
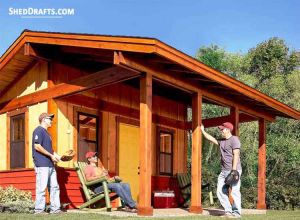
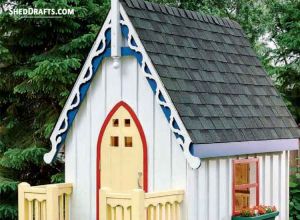
Aesthetic Look
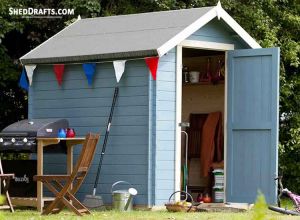
Gable sheds have a quaint beauty to them, which can be further modified to give them a classic or modern look by choosing appropriate paint colors. There are main decor options available to enhance the aesthetics of a gable shed.
Better Ventilation
You can install ridge vents below the gable ends of the roof to allow for steady airflow through your shed and keep it well ventilated. This will prevent the growth of mold and prevent the buildup of fumes emitted from stored items like paints.
Disadvantages
High Wind Hazard
The pitched angle of the roof and the weakness at the rafter joins to make it easy for strong winds to blow off gable roofs. In areas that are prone to hurricanes and tornadoes, it is necessary to use metal ties to secure the rafter connectors. In high windy areas, a hip roof would be more stable and sturdy.
Greater Burden On Footings
Pitched roofs put greater loads on the building’s footings. So the footings need to be driven deeper into the ground.
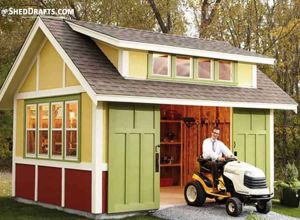
Steps To Construct A Gable Roofed Shed
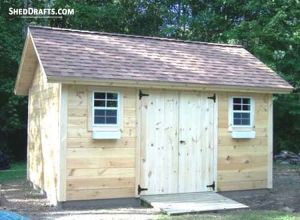
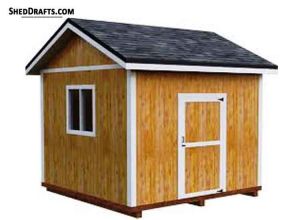
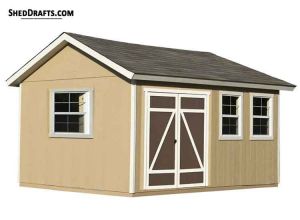
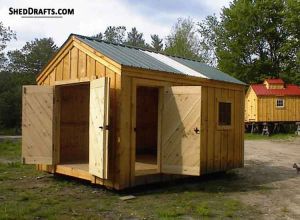
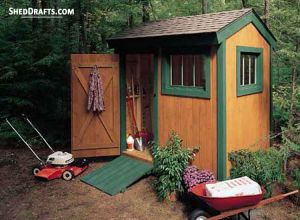
Let us look at how to construct an 8×12 stick-framed gable shed with a storage bay.
This is a slightly complex design that can be built in about 4 days as the storage area is braced with a doubled beam.
We built the structure on a concrete slab foundation.
Our shed has a steep 12/12 pitched roof that creates an angle of 45 degrees. This allows water and snow to quickly run off.
Materials List
- Concrete
- 6×6 Wire mesh
- Vapor retarder
- Crushed rock
- Rebar
- 2×4 Pressure-treated mudsills
- 2×4 Eave framing
- 2×4 Wall plates, ties, and studs
- 2×6 Headers and rafters
- 2×8 Beams and ridge board
- CDX Siding and Roof Sheathing
- 2×2 Soffit nailer
- 1×6 Frieze board, fascia, trim,
- Galvanized screws and nails
- Asphalt shingles
- Roofing felt
- Drip edge
- Ridge vent
- 3×3 Windows
- Door hinges
- Double door
- Anchor bolts
- Metal fasteners and framing brackets
- Wood stain or paint
Construct Concrete Slab
- We built a concrete slab foundation with mesh and rebar reinforcement.
- Anchor bolts are driven into the drying concrete about 2 inches inside the edges at 6-inch intervals for bracing the width, length, central partition wall, and doors of the shed.
Craft Wall Frames
- Craft mudsills with 2×4 lumber and drill holes for the anchor bolts.
- Craft the wall studs and top plates similarly from 2×4 lumber.
- Arrange the wall components on the slab and nail the studs to the mudsills and top plates at 24-inch intervals.
- Create openings for doors and windows using double headers braced by cripple and jack studs.
Hoist The Walls
- Hoist each wall into place and align the holes in the mudsills with the anchor bolts.
- Attach washers over the bolts and tighten the nuts over them, leaving them a little loose.
- Verify each wall is square, plumb, and level.
- Secure the wall corners to each other with galvanized nails and then tighten the anchor nuts fully.
- Cut out the bottom plate inside the door opening and install the double top plates.
Build Roof Assembly
- First, create a template rafter and then craft all rafters to the same size.
- Craft the ridge board using 2×8 lumber and make marks at 24-inch intervals for fastening the rafters.
- Copy these markings to the wall top plates.
- Begin by fastening the gable end rafters on both ends of the ridge board and hoisting the frame into place over the walls.
- Secure the rafters with nails and then toenail the gable studs underneath the rafters.
- Now secure the remaining rafters along the ridgeboard.
- Lastly, attach the overhang framing to the end rafters.
Install Wall Sheathing
- Use CDX plywood siding sheets to craft the wall sheathing.
- Begin at the base of the wall and secure each sheet to the studs at eight-inch intervals using galvanized nails.
- Similarly, install roof sheathing starting at the base of the roof and work upwards while staggering the joints.
Attach Roof Trim
- Create 1×6 eave fascia and 2×2 soffit nailers.
- Install the trim and fascia underneath the rafters.
- Then secure the soffit vent and rake trim beneath the overhangs.
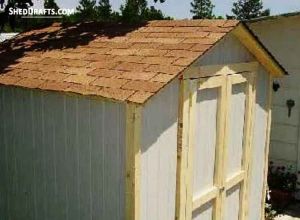
Add Roofing Materials
- Secure roofing felt to the roof sheathing with nails and install a drip edge along the eaves.
- Now lay out the asphalt shingles.
- Install the gable vent and ridge cap.
Install Windows And Doors
- Check that the door and window frames are correctly square and level.
- Add shims as needed.
- You can buy pre-fabricated doors or craft them using CDX plywood.
- Secure the frieze board, corner boards, and base trim.
- Finally, install the soffit returns and beam trim.


