Free DIY Shed Plans With Material List & Step-by-Step Guides
I once spent four days framing a 10×12 gambrel shed for a client in upstate New York, only to realize on day five that the door header was too low to accommodate the riding mower he hadn’t bought yet.
I had followed some free shed plans he found online to a T, but those DIY plans were written by someone who had clearly never swung a hammer in the rain. I ended up eating the labor costs to rip out the front wall and re-frame it.
A bad set of plans is a gateway to a $3,000 mistake and a bunch of lost weekends.
Best Value Footprint – The 10×12 offers the highest utility-to-cost ratio, utilizing standard lumber lengths (8′, 10′, 12′) with minimal waste.
Foundation is Non-Negotiable – Never build directly on grass. Use a crushed stone pad or concrete piers.
Roofing Logic – Gable roofs are the standard for shedding snow and rain; Lean-tos are best for tight property lines.
Hidden Costs – Don’t forget to budget for permits and fasteners. Include paint/stains also. These often add 10-20% to the total build cost.
Our 167+ blueprints are engineered to use standard lumber dimensions to virtually eliminate waste and keep your costs down.
Whether you are trying to figure out if a gravel pad will support a 12×16 or just need a simple place to hide the lawnmower, we’ve got you covered. This is the most comprehensive library of shed plans on the web, curated by veterans who know exactly where DIY builds go sideways.
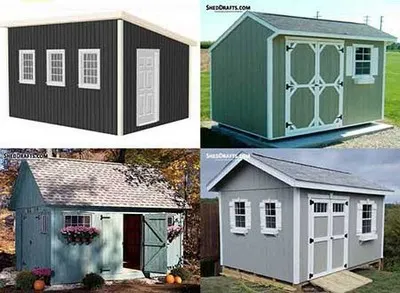
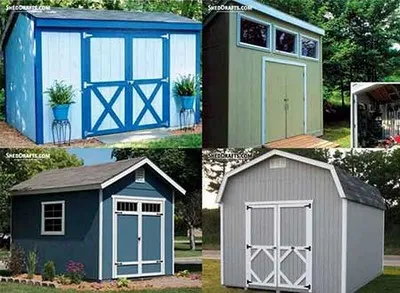
Shed Blueprints Index To Zero In On the Right Design
When I’m walking a site with a homeowner, the first thing I do isn’t pull out a tape measure. I look at their current “storage chaos.” Most people underestimate their needs by about 25%. A layout isn’t just a box; it’s a workflow. If you’re a gardener, you need a path of least resistance for the mower. If you’re a woodworker, you need in-feed and out-feed clearance. We choose layouts based on the reality that your life will expand to fill whatever space you provide.
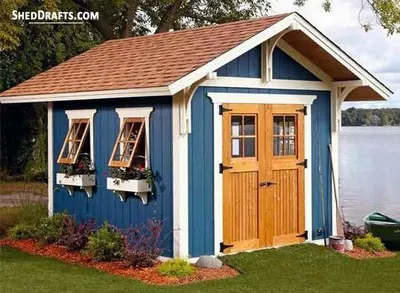
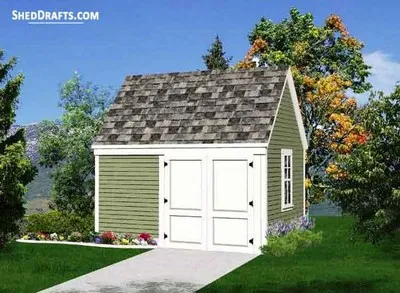
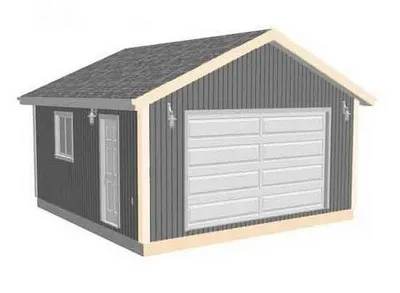
10 Feet by 12 Feet Shed Is An Efficient Sweet Spot
In most US jurisdictions, the 10×12 is the Gold Standard because it hits that 120-square-foot sweet spot. This is the absolute maximum you can typically build without a complex structural permit (though you should always verify your local IBC codes first).
It is the undisputed heavyweight champion of the backyard because of another boring reason: lumber efficiency. Most dimensional lumber comes in 2-foot increments. When you build a 10×12, your floor joists and your rafters all result in nearly zero “shorts” or scrap. This keeps your dumpster fees low and your material budget tight.
For most DIYers, this size provides enough room for a ride-on mower, a workbench, and the seasonal swap of holiday decorations without feeling like you’re playing Tetris every time you need a screwdriver.
Most beginners think a 10×12 is exactly 120 inches by 144 inches. In reality, pros often frame the floor slightly under (e.g., 119″ x 143″) so that when the 1/2-inch wall sheathing and exterior siding are added, the finished building doesn’t overhang the foundation or violate a strict 120-square-foot permit threshold. This “cheating” saves you from a visit from the building inspector.
12 Feet by 16 Feet Can Be A She-Shed Or Workshop
Stepping up to a 12×16 changes the physics of the build. At 192 square feet, you are now entering “serious structure” territory. The benefits here are all about the internal volume. With a 12-foot width, you can run a 24-inch deep workbench along one wall and still have 10 feet of clear floor space. This is also where the She-Shed or Man Cave transition happens. You have enough room for insulation and even a small mini-split HVAC unit without feeling claustrophobic.
Once you hit a 12-foot span, you can’t just use 2x4s for rafters unless you have a very steep pitch and no snow load. You’ve got to use 2x6s or even 2x8s to prevent sagging over time. I once saw a 12×16 where the builder used 2×4 rafters on a 4/12 pitch in upstate New York. After a heavy February snowfall, the ridge line looked like a swayback horse.
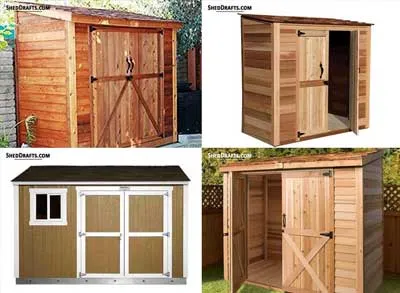
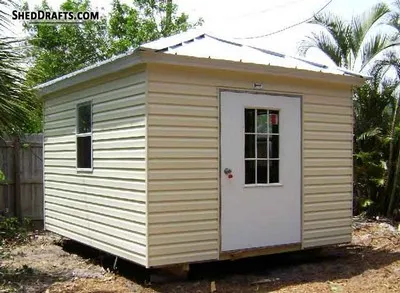
The 8×12 is the Goldilocks for tight suburban lots. Its greatest benefit is its narrow profile. Most side yards in modern subdivisions are barely 10 to 15 feet wide. An 8-foot wide shed allows you to maintain your setback requirements (usually 3 to 5 feet from the property line) while still giving you 96 square feet of storage. It’s the perfect “long and lean” solution for rakes, shovels, and push mowers.
The biggest challenge is the tunnel effect. Because it’s narrow, if you put the door on the 8-foot gable end, the stuff at the back becomes a lost dimension. You’ll never reach it. I always recommend a side-entry door (on the 12-foot wall) for an 8×12. This allows you to have zones on the left and right. This design is best suited for the suburban gardener who just needs to get the clutter out of the garage so they can finally park their car inside.
A roof is about managing water shedding and dead load. When picking plans, the roof profile dictates your “headroom” and your maintenance schedule. I’ve seen more sheds fail because of roof-to-wall flashing issues than almost any other cause. You want a profile that matches your skill level and your climate.
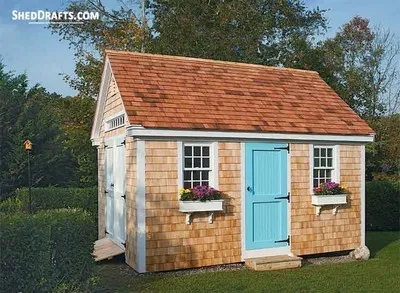
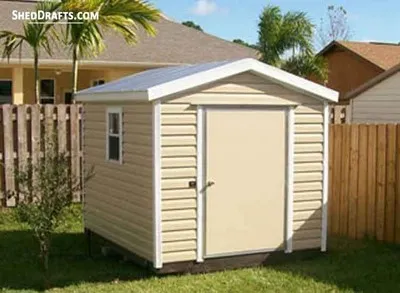
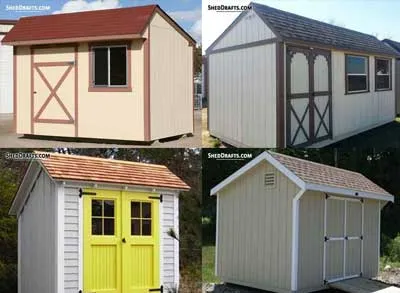
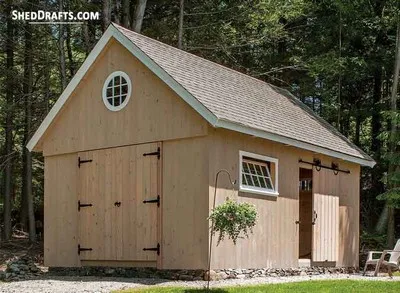
Tried-and-True Gable Designs
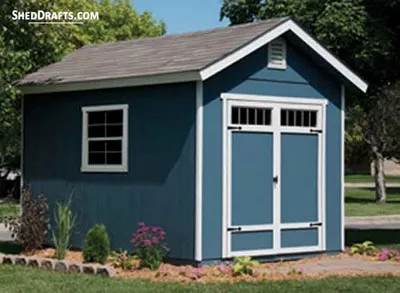
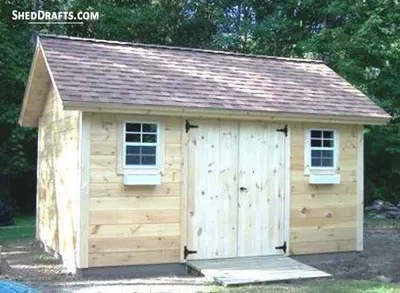
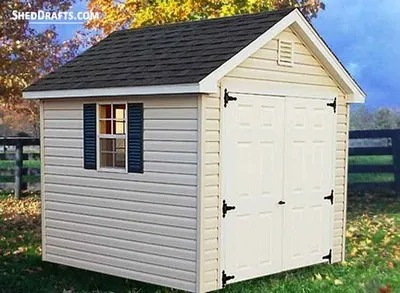
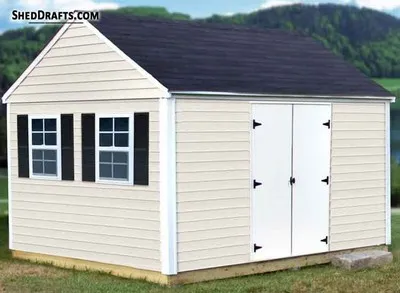
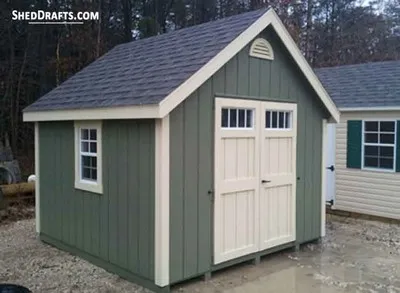
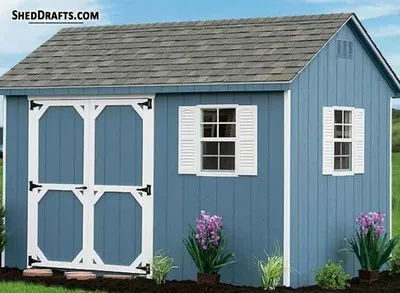
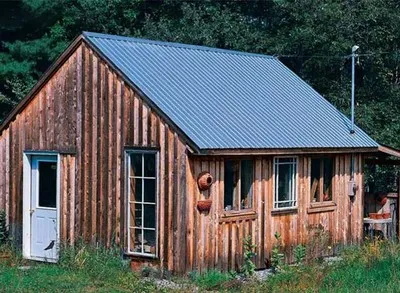
The gable roof with its classic “A-shape” is the standard for a reason. Its primary benefit is symmetry and simplicity. The weight of the roof is distributed equally to the two side walls, and the triangular geometry is naturally resistant to racking.
It’s the go-to for general-purpose storage and those favoring a traditional “house-match” aesthetic. However, the high-profile ridge can be a deal-breaker if you’re navigating tight HOA height restrictions. By using a 7/12 pitch, you create a natural attic space for “dead storage” (holiday bins and items you rarely use).
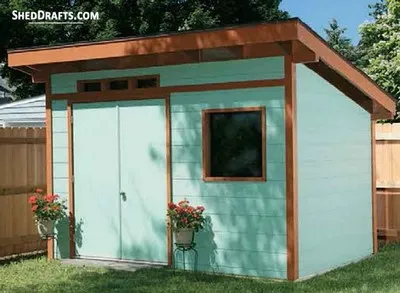
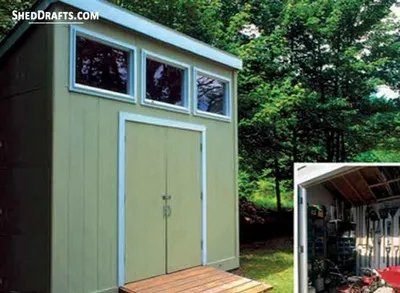
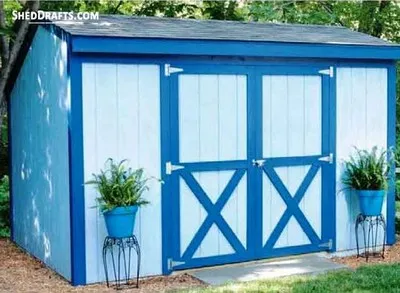
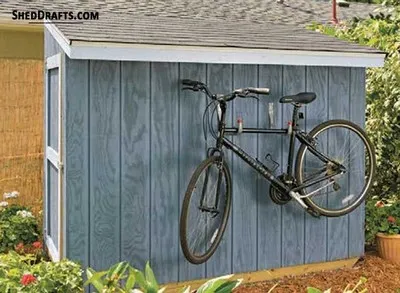
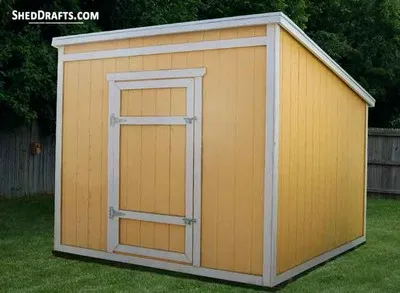
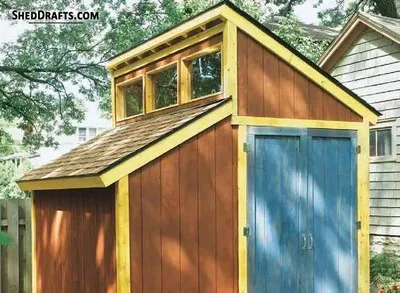
The lean-to (or mono-slope) is the darling of the modern DIY world. Its main benefit is water management. You can direct all the runoff to one side of the building, away from your house or your neighbor’s fence. It’s also the easiest roof to build, as it has no complicated ridge board calculations. Just one long run of rafters from a high wall to a low wall.
The challenge is the high wall height. To get a decent pitch (at least 4/12) on an 8-foot wide shed, your front wall might need to be 10 feet tall. This can make the building look “looming” or awkward in a small yard. If your pitch is lower than 4/12, you must use water-proof membrane over the entire roof, not just the edges.
This design is loved by folks who want modern minimalist aesthetics or for sheds that are being tucked right up against an existing structure.
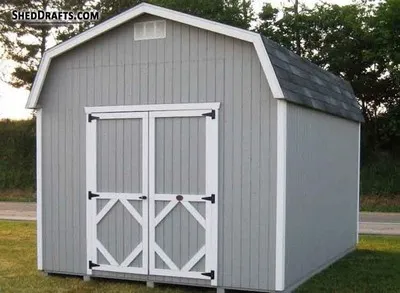
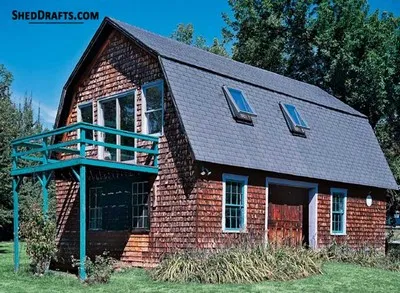
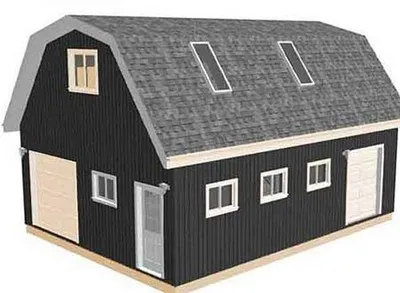
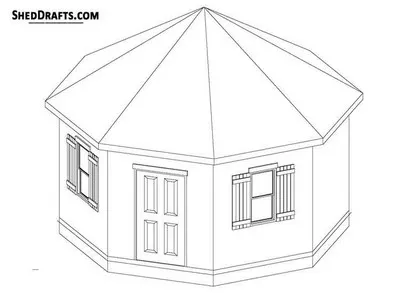
For those who need to store vertical gear or want that iconic New England barn aesthetic, the gambrel design provides unmatched overhead capacity and structural toughness. Commonly known as the “Dutch Barn,” the Gambrel style is all about cubic feet, not square feet. By using two different roof pitches, you create a massive loft space.
The challenge is the gussets. A gambrel roof doesn’t use a standard ridge; it uses “knuckles” where the two slopes meet. These must be reinforced with plywood gussets (usually 1/2-inch or 3/4-inch CDX) and plenty of construction adhesive. If these joints aren’t perfect, the roof will pancake under a load. This is best for the hoarder (and I say that with love) who has a lot of seasonal items like old suitcases and camping gear that they don’t need to access every day.
The Saltbox is the sophisticated cousin of the Gable. With one short roof slope and one long slope, it offers a “colonial” look. From a functional standpoint, the offset ridge allows you to put the door on the taller wall, giving you more clearance for tall items. The lopsided framing is a common speed bump for beginners, and you’ll have to get creative with your downspout placement.
A saltbox or gambrel will cost you about 15-20% more in shingles and trim than a simple gable or lean-to. You have more edge feet to flash and more waste when cutting shingles to fit the angles. If you’re on a “shoestring budget,” stick to the gable.
I’ve seen people build an 8×8 and realize six months later they can’t fit their snowblower. On the other hand, I’ve also seen folks build a 20×20 and get a “cease and desist” from the city because they ignored zoning.
Small & Tool Sheds (Up to 64 sq. ft.)
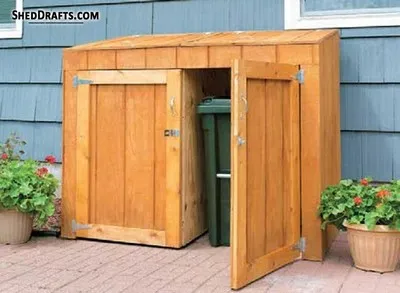
If you need a quick win for garbage can management or garden tool organization, a small-footprint shed is the most efficient choice. These sheds can be built very quickly. You can frame the walls, and finish the exterior in a single afternoon. These are suitable for city lots where space is at a premium. But they have no growth potential. You have to be highly disciplined with your storage because once it’s full, it’s full.
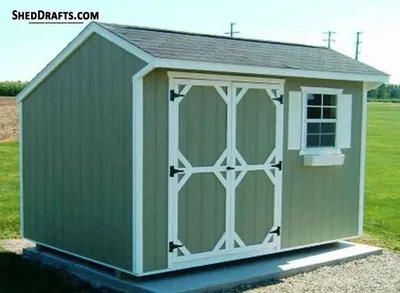
For small sheds, don’t try to site-build a complex door with Z-bracing. Buy a pre-hung fiberglass or steel door from a big-box “scratch and dent” section. It will seal better, won’t warp, and saves you four hours of frustrating carpentry.
Small sheds are best for dedicated storage, meaning one shed for the pool chemicals, one for the garden tools. Don’t try to make this your main workshop. Instead, think of it as a specialized locker for your lawn care gear or a backyard mudroom.
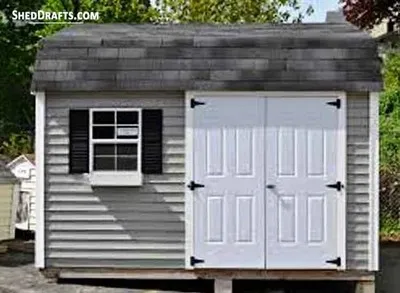
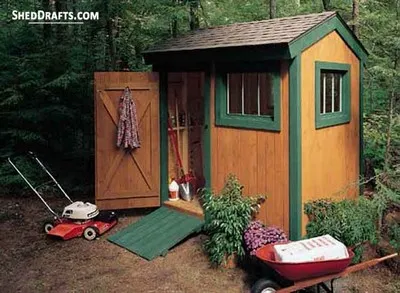
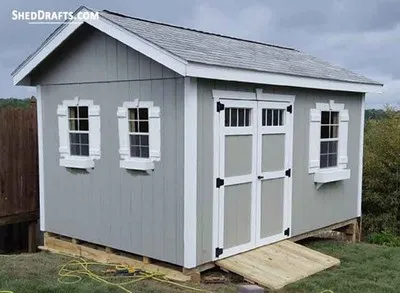
This is where the majority of my clients land. A medium-sized shed allows for a “U-shaped” interior layout: storage on the left and right, with a clear walking path down the middle. I always recommend building these with at least one window. Without natural light, these spaces become dark spider-caves very quickly. At this size, you can also comfortably install double doors, which are a godsend when you need to get a riding mower in or a large piece of plywood out.
This structure is deep enough to accommodate a massive workbench, making it a true workshop-storage hybrid. It can even store large tires, and two large machines. However, at this scale, a bad foundation becomes ugly fast. You need a stable gravel foundation to support the weight; otherwise, your floor will sag, and your double doors will eventually refuse to latch.
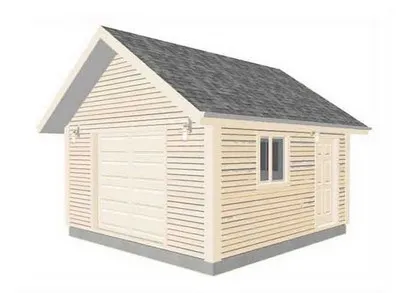
Now we’re talking serious timber. Once you cross the 300-square-foot mark, you aren’t just building a shed, you’re building a detached structure. However, you have to factor in a mandatory permitting process from the start.
Once you go Large, your local tax assessor will likely notice. A 16×20 shed can add $5,000 to $10,000 to your home’s appraised value, which means your property taxes will go up. Always factor this “forever cost” into your budget before you break ground.
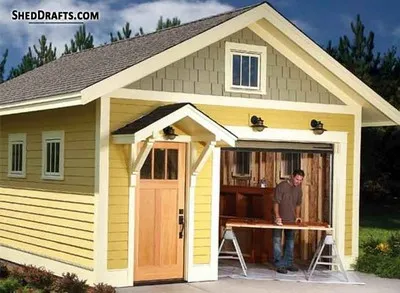
I’ve built these as car collectors’ garages and fully insulated home offices. While the upfront material costs and roof truss complexity are high, the versatility of these buildings, especially when integrated with plumbing and electrical, provides a massive return on investment for your property. At this scale, you must think about structural loads and proper footing depth to prevent frost heave.
These structures are usually designed for heavy-duty applications like vehicle housing or professional-grade workshops. You can even turn them into fully functional Accessory Dwelling Units (ADUs). They are ideal for large-scale sites where the goal is to add legitimate living or professional square footage.
Sometimes, your backyard needs more than just a place to hide the lawnmower. Specialty structures are where my craft really meets the specific, often grueling demands of life on the land. These aren’t just four walls and a roof; they are functional machines. If you’re building for animals, you’re fighting ammonia and moisture. If you’re building a greenhouse, you’re fighting UV degradation and heat gain. Animals and plants don’t care about your aesthetic vision, they only care about ventilation and drainage.
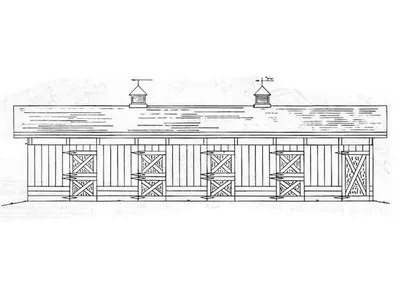
Horse Barns & Stables
I grew up around livestock, and let me tell you, animals are hard on buildings. Horses are 1,200-pound wrecking balls that love to chew, and kick. You can’t just use standard 1/2-inch drywall or flimsy siding. These plans feature heavy-duty “kick-boards” and wide-stall layouts designed for the safety of both the animal and the owner. Ventilation is the #1 priority here to prevent ammonia buildup.
Horses will literally eat your shed if you use the wrong wood. If you use untreated pine for your door frames, they will crib (chew) it down to the nubs. I’ve seen $20,000 barns look like beaver dams after six months. Cap all exposed wood edges with galvanized steel C-channel. It’s a tedious extra step, but it’s the only way to “horse-proof” a building.
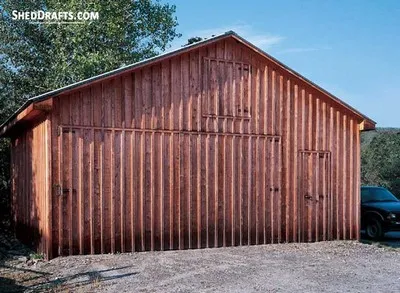
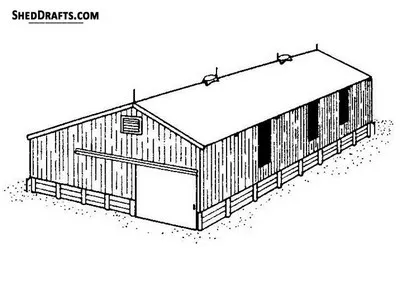
Pole Barns & Machine Sheds
If you need massive coverage for the lowest price per square foot, a Pole Barn is the answer. Instead of a traditional continuous foundation, these use pressure-treated poles buried deep in the ground. I’ve used these for everything from tractor storage to large-scale woodworking shops. They are fast to frame and incredibly rugged.
Many people think “rated for ground contact” means it will last forever. It doesn’t. In acidic or high-clay soils, even 6×6 pressure-treated posts will rot at the grade line (where the air meets the dirt) in 15 years. Use post-sleeves or “plastic boots” on the bottom 4 feet of your posts. It adds $30 per post, but it doubles the lifespan of the entire structure.
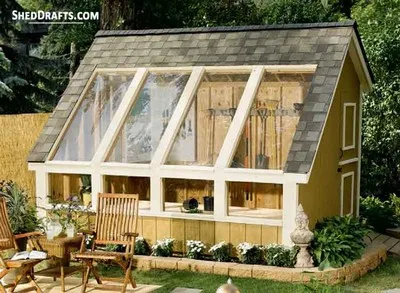
These are the “finesse” projects. A greenhouse requires careful consideration of light transmission and thermal mass. A well-designed potting shed combined with a glazed southern-facing wall allows you to start seeds in February while there’s still snow on the ground. However, you aren’t just building a shed; you’re building a humidity chamber. You must use rot-resistant lumber like Western Red Cedar or ACQ-treated pine for every single component, or the micro-climate you create will rot the structure from the inside out.
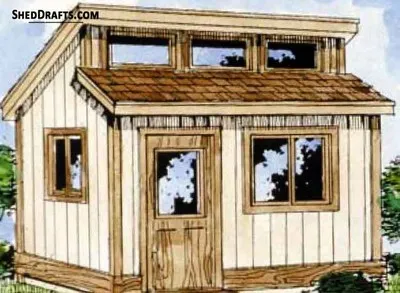
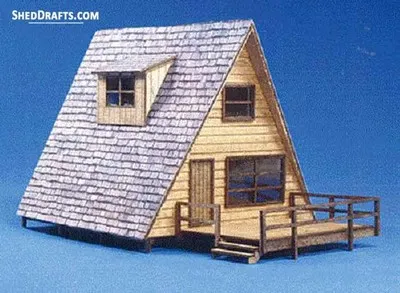
Unique designs like the Clerestory (a roof with a vertical step that houses windows) or A-frames are about light and vibe. These structures use advanced joinery and iconic shapes. My personal favorite is the A-Frame because it’s structurally “self-bracing” and looks incredible in a wooded setting.
Critical Pre-Build Checks To Prevent Costly Corrections
As a guy who’s spent decades building outdoor structures, I can tell you that the most beautiful shed in the world will fail if the foundation is wonky or if the city makes you tear it down because you skipped a permit.
Permits and Zoning (The Non-Negotiable Step)
I’ve seen it happen: a DIYer spends $5,000 on a gorgeous 12×16, only to have a code enforcement officer show up a week later. In most US counties, the magic number is 120 square feet. Build anything larger, and you typically need a permit.
Don’t just check the size; check the setbacks. Most zoning laws require your shed to be 3 to 10 feet away from property lines. If you build it right on the line, you might be forced to move it. And moving a finished shed is a nightmare that usually involves a crane and a lot of swearing.
Site Topography Decides Foundation Layout
Concrete Slab: The gold standard. For folks who would be parking a car or a heavy tractor inside, you’ll have to build a slab.
Gravel Pad with Pressure-Treated Skids: My personal favorite for most DIYers. It provides excellent drainage. Never place your wooden skids directly on the grass. Within three years, the rot will claim your floor joists. Always use a 4-inch deep bed of compacted 3/4-inch crushed stone.
Concrete Piers: These are the best option for sloped ground. Ensure your piers go below the frost line (usually 36-48 inches in northern states) to prevent the ground from heaving your shed into a tilt during winter.
Don't Cheap Out In Materials Selection
Pressure-Treated (PT): Use this for everything that touches the ground or sits within 6 inches of it.
Cedar: Beautiful, rot-resistant, but expensive. Use it for trim and siding if your budget allows.
LP SmartSide: I’ve switched to this for many builds. It’s an engineered wood that is pre-treated against termites and rot, and it holds paint much better than traditional plywood siding.
Must-Have Tools Checklist
Before you make your first cut, ensure you have these tools:
Speed Square: Your best friend for marking 90° and 45° cuts.
Miter Saw: For clean, repeatable cuts on your rafters and studs.
Level (4-foot and 2-foot): If the foundation isn’t level, the roof won’t fit. Period.
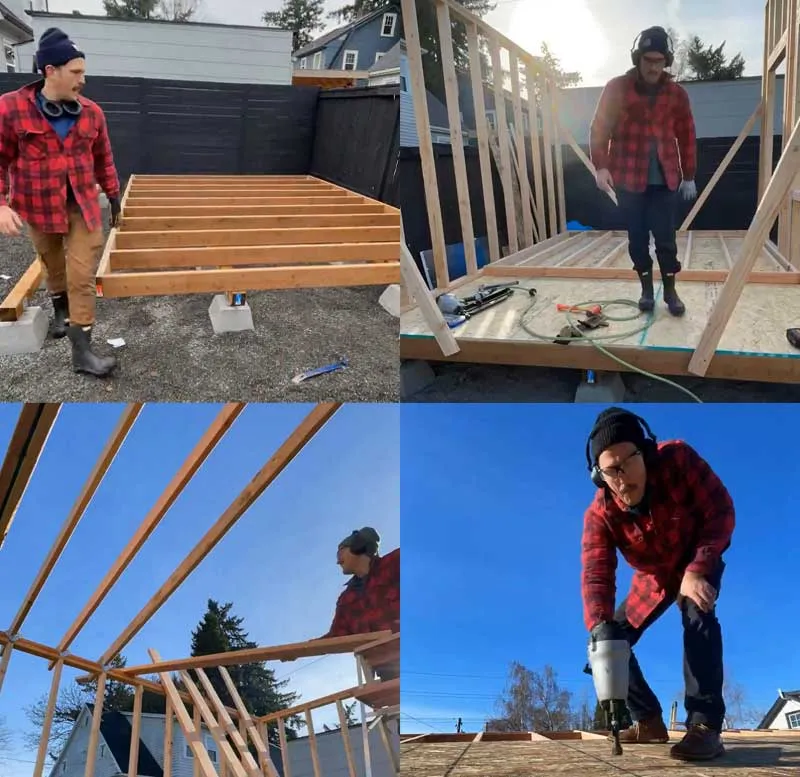
Pneumatic Framing Nailer: You can do it with a hammer, but your elbow will hate you by day three.
Chalk Line: Essential for laying out your wall plates on the floor.
Quick Answers for Busy Builders
How much does it cost to build a 10×12 shed?
In today’s market, expect to spend between $2,500 and $4,500 for high-quality materials. If you go with a pro-grade finish (cedar siding, architectural shingles), that can climb. Building it yourself saves you the roughly $3,000 you’d pay in labor.
Do I need a foundation for a small tool shed?
Yes. Even a 4×4 tool locker needs a stable, level base. If you put it on bare dirt, moisture will wick up into the floor, and the doors will eventually bind as the shed settles unevenly. A simple leveled paver base or a small gravel pad is the bare minimum.
Do I need a permit for a 12×16 shed?
Almost certainly. Most municipalities trigger the permit requirement at 100 or 120 square feet. A 12×16 is 192 square feet. Always call your local building department first; some areas also have height restrictions!
What is the best roof pitch for snow?
If you live in a high-snow area, I recommend a 6/12 or 7/12 pitch. Anything flatter and you’ll be out there with a roof rake every February.
Can I build a shed alone?
You can frame the floor and cut the rafters solo, but you’ll want a “buddy” for the day you stand the walls. Trying to plumb and brace a 12-foot wall by yourself is a recipe for a trip to the ER.
The most expensive plans are the “free” ones. They cost you in wasted lumber and sometimes even in trips to the emergency room. A good set of plans should anticipate your questions and give you a foundation that keeps your floor joists bone-dry. You will make mistakes. You’ll cut a rafter too short or nail a stud on the wrong side of the line. Don’t sweat it. That’s why we buy an extra two-by-four. Use our plans and take your time. Build for the next generation, not just the next season.
New 15-Page Detailed Shed Building Plans With Easy Instructions