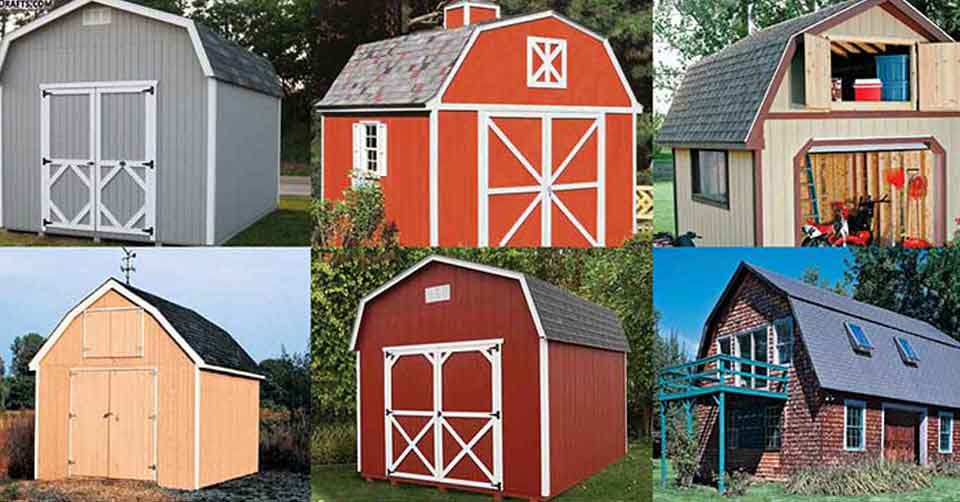
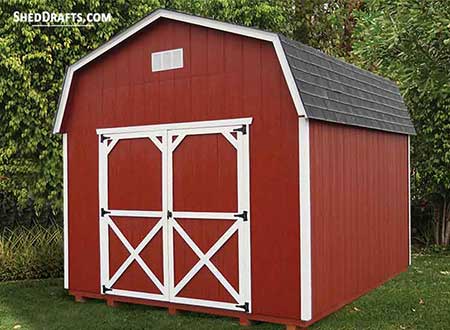
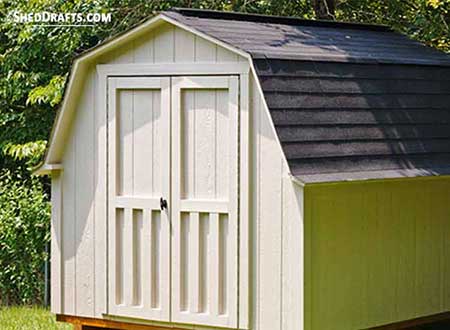
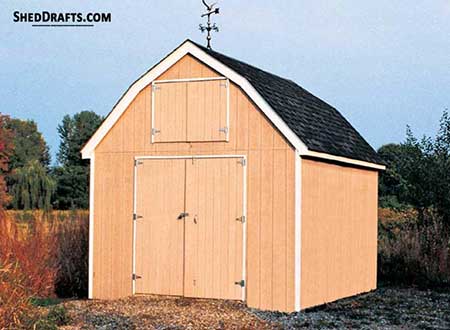
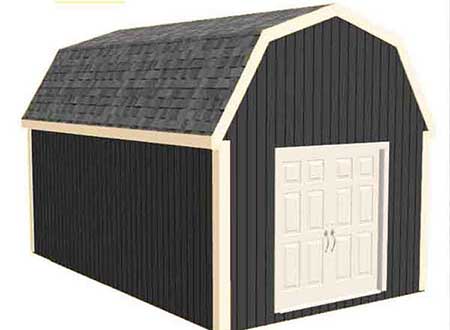
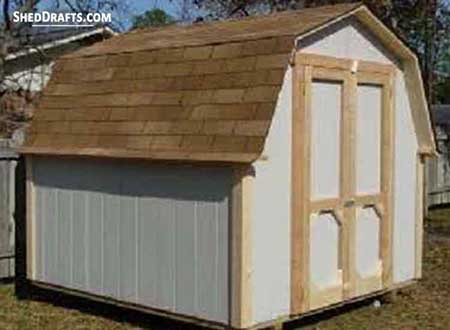
close button

Gambrel Barn-Style Shed Plans Blueprints With Materials List

Gambrel Barn Shed Plans Blueprints Draft Design

These gambrel shed plans and blueprints will help you construct a barn style structure in your yard in no time.

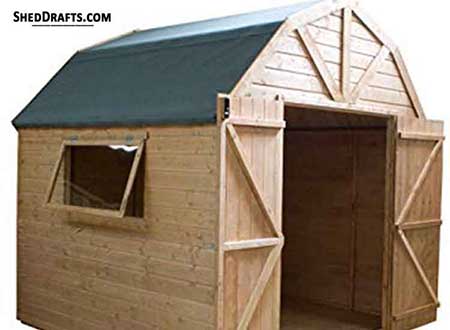
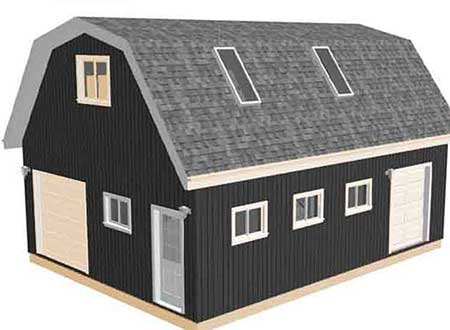
The detailed rafter template diagrams help you construct the roof quickly with minimum cuts.

Gallery Of Top Gambrel Barn-Style Shed Plans

Steps To Construct A Gambrel-Roof Shed

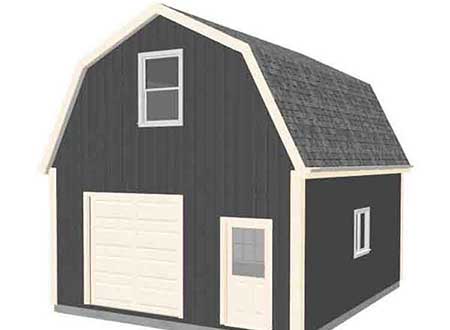
Here are the steps to build a spacious 12×16 gambrel shed with a lot of overhead attic storage space.

We built it on concrete footings, but it can also be made on a slab foundation.

This shed is constructed to give a look and feel similar to timber-frame design as it uses a board and batten siding.

The roof is framed by creating truss sections that connect with the ridge board and are reinforced by collar ties.

Materials List

  • Pea gravel
  • Concrete
  • 3/4-inch Plywood flooring
  • 2×8 Floor joists
  • 2×4 Middle rails and collar ties
  • 4×4 Top plates and door posts
  • 4×6 Corner posts
  • 2×6 Ridge board and Rafters
  • 1×3 Siding battens
  • 1×10 Siding
  • 1×6 Fascia
  • 5/8-inch Gussets and CDX roof sheathing
  • Roofing felt
  • Drip edge
  • Galvanized screws and nails
  • Asphalt shingles
  • Metal fasteners, framing brackets, and post anchors
  • Door latch
  • Strap hinges
  • Wood paint

Construct The Floor

  1. As we are building a large shed, it will need either a slab foundation or concrete footings.
  2. Craft the rim joists using 2×8 pressure-treated pine.
  3. The end joists would be 11.5 feet, and the side joists are 16 feet in length.
  4. Fasten the perimeter joists together using metal brackets and galvanized nails.
  5. The inner joists would be 11.5 feet in length and secured at 24-inch intervals inside the outer floor frame.
  6. Install the finished floor framework on the concrete footings and fasten it with metal anchors to the footings.
  7. Attach plywood panels over the frame in a staggered manner and secure them to the joists with screws or nails.

Assemble Walls

  1. Build four corner posts that are seven feet in length from 4×6 lumber for assembling the front wall.
  2. Construct the top plates for the wall taking care to leave a gap of 3.5 inches for the side wall’s top plate to overlap.
  3. Craft the door posts according to the door dimensions.
  4. Place the corner posts and top plates on the floor and secure them together with angle brackets and galvanized nails.
  5. Similarly, construct the back wall.
  6. Hoist both walls into position on the floor frame and brace them.
  7. Nail through the posts into the floor frame, as we won’t be using bottom plates in these walls.

Plumb And Level Wall Frames

  1. Check that the wall frames are plumb and level.
  2. Attach diagonal braces inside the walls temporarily to keep them square.
  3. Use temporary bracing from the floor frame to corner posts to hold the walls erect.
  4. Craft the middle rail using 2×4 pressure-treated lumber and fasten it to the wall frame at a distance of 36 inches above the floor.
  5. Double-check once again that all walls are accurately square and plumb.

Install Side Wall Top Plates

  1. Craft the top plates for the side walls such that they cover the corner posts.
  2. Temporarily fasten the plates together with a clamp and mark the positions for rafters at 24-inch intervals.
  3. Create a ridge board from 2×6 lumber and mark the rafter positions on it similarly.
  4. Install the top plates and fasten the middle rail over the side wall frames.
  5. Add temporary bracing and verify the side walls are level and square.

Attach Siding On Walls

  1. Install 1×10 siding panels on all four wall frames.
  2. Cut the panels to a length of 93.5 inches so that the eave sides are also covered.
  3. Attach 1×3 boards to cover the seams in the siding panels.
  4. Cut the siding panel for the gable sides to 12 feet in length so that they extend beyond the required length.
  5. The excess panel will be trimmed later after installing the rafters.
  6. Install battens over the gable siding.

Craft Roof Frame

  1. Install the ridge board temporarily to the gable side about 11.5 feet above the floor.
  2. Craft the long and short rafters using 2×6 lumber and create truss sections.
  3. Each truss is crafted by nailing plywood gussets to the rafter pairs.
  4. Hoist the truss section, hold it against the gable siding, and trace the outline on the siding panels.
  5. Now cut along the marked outline using a circular saw.
  6. Repeat for the other gable side.
  7. Fasten the end trusses with the top plates, ridge board, and gable siding panels.
  8. Secure the other truss sections to the ridge board and fasten them to the top plates with hurricane ties.
  9. Reinforce each truss section by nailing 10 feet long collar ties inside them.
  10. Install fascia made from 1×6 lumber over the rafter ends.

Attach Roof Sheathing

  1. Lay out CDX plywood panels over the roof frame and fasten them with galvanized nails, working your way from the base toward the ridge board.
  2. Install the drip edge and then add roofing felt.
  3. Attach the shingles and ridge caps over the roof.

Install Doors

  1. Craft the door using 1×10 siding panels and fasten them to the frame using strap hinges.
  2. Install a door latch.
  3. Lastly, attach the door trim and corner trim.
  4. Seal any gaps between lumber boards with caulk.
  5. Paint or stain your shed in your favorite color.