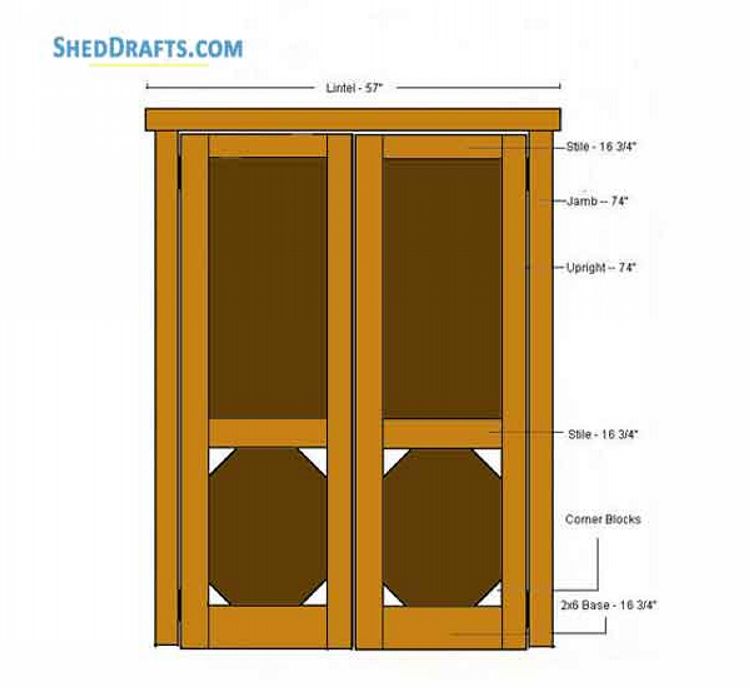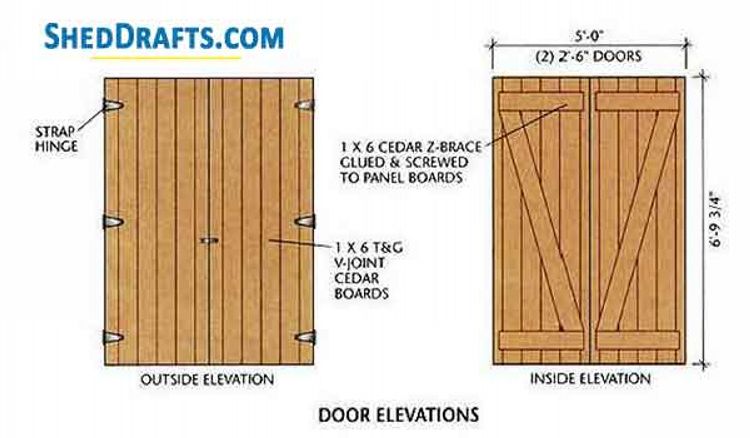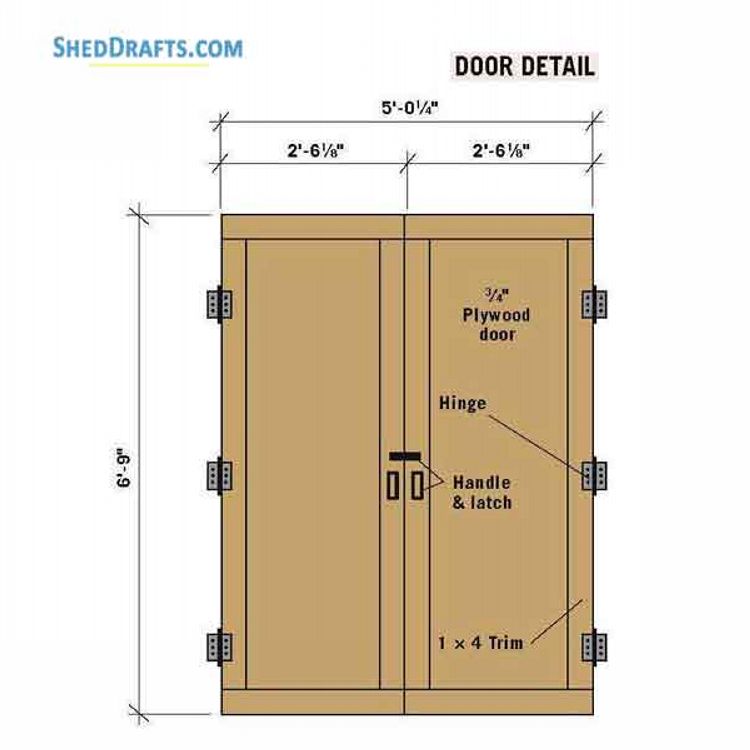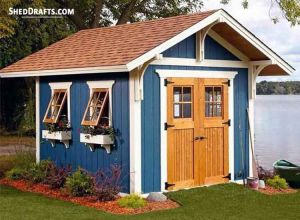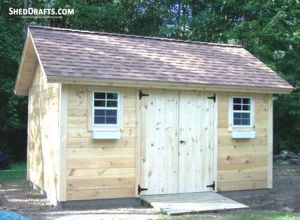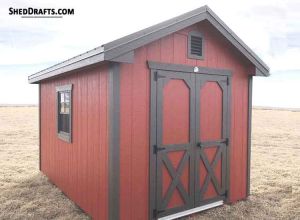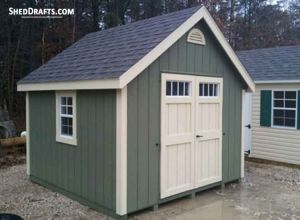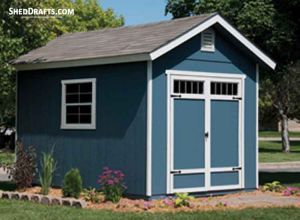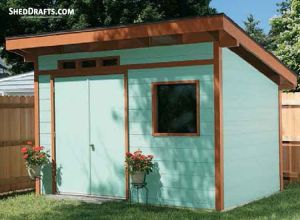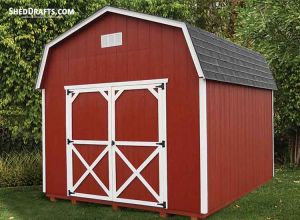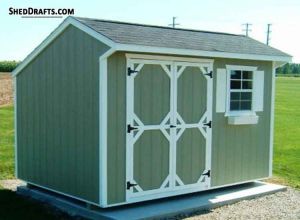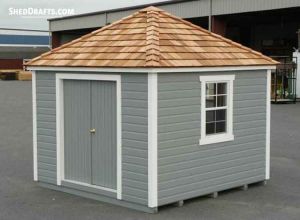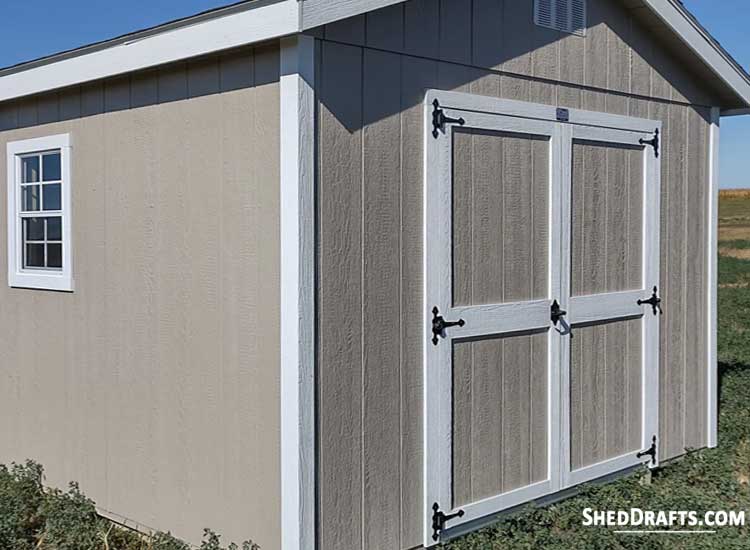
Double shed doors can be quickly created with this simple method you are about to see.
Crafting your own doors allows you to save money and gives the satisfaction of creating every part of the shed the DIY way.
Double doors are needed if the entrance to your shed needs to be wider than three feet. Any smaller than that, and a single door is enough.
It’s best to keep the door frame opening at least 4 feet to make construction easier, but the recommended size is 5 feet wide.
Now, let us go over the steps to construct double doors for a shed using siding panels.
Materials List And Tools
- Exterior siding panels
- 2×6 or 2×4 lumber for door framing, jambs, lentil, and header
- 2-inch galvanized nails
- 3/4 inch finishing nails
- Strap hinges
- Latch
- Door handles
- Reciprocating saw
- Carpenter’s pencil
- Tape measure
Build Door Header
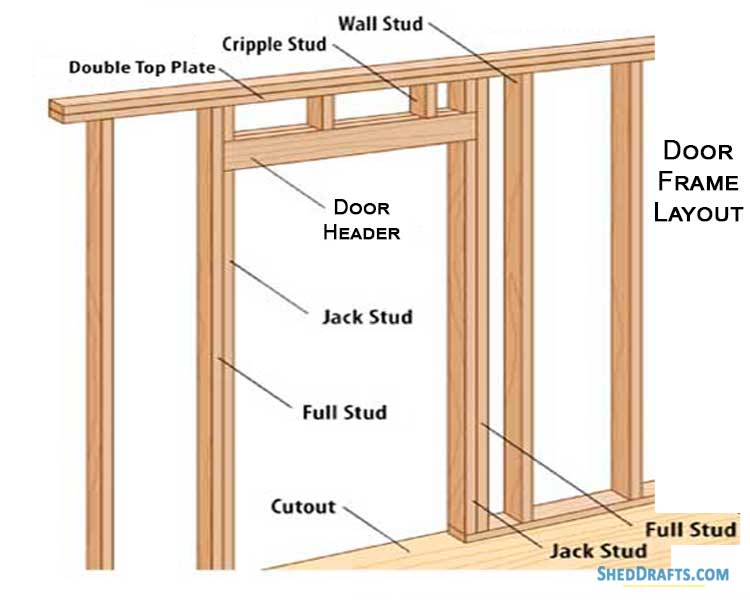
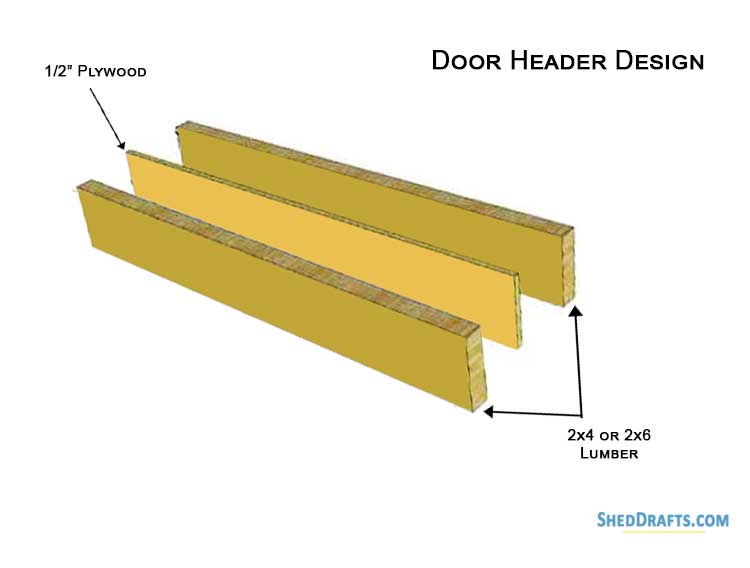
- Cut a 1×2 inch thick piece of plywood to accurate measurements that will fit above the door opening.
- Craft 2×6 or 2×6 stock to a matching size and nail one piece on either side of the plywood board.
- Use 16D galvanized nails to secure the components together.
- Fasten the header above the door opening.
Construct Door Panel With Siding Panels
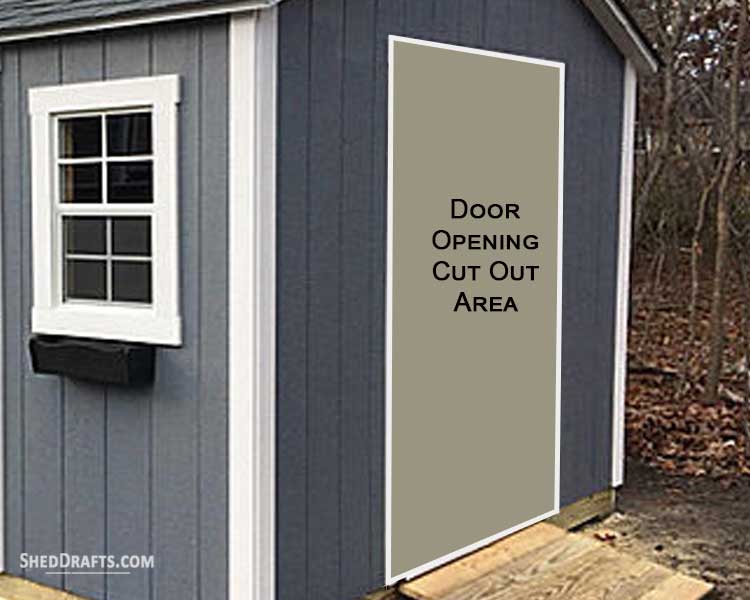
- Measure and find the exact middle of the door opening.
- Trace a vertical line with a carpenter’s pencil on the door header to mark this middle point.
- Install one siding panel (T-11 or LP SmartSide) with finishing nails on the left of the middle line on the header.
- The underlap edge of the left panel should be touching the marker line.
- Attach another panel on the right side of the marker line similarly, taking care that the edges of the panels fit together snugly.
- And this time, the overlap edge of the right panel will be towards the middle marker line.
- Now, when the doors are closed, the edges of the left and right doors will lock together tightly.
- Make sure the base of the panels overhangs the bottom of the door opening by two inches if you won’t be building a ramp.
- If you will be building a ramp to the door, then you can keep the panel level with the floor.
- Cut out the left door panel first with a reciprocating saw and then the right door panel.
- Craft the door panels to such a width that their outer edges line up with wall studs on either side of the opening.
- This makes it easier to fasten the hinges to the door frame.
Install Jambs And Lentil
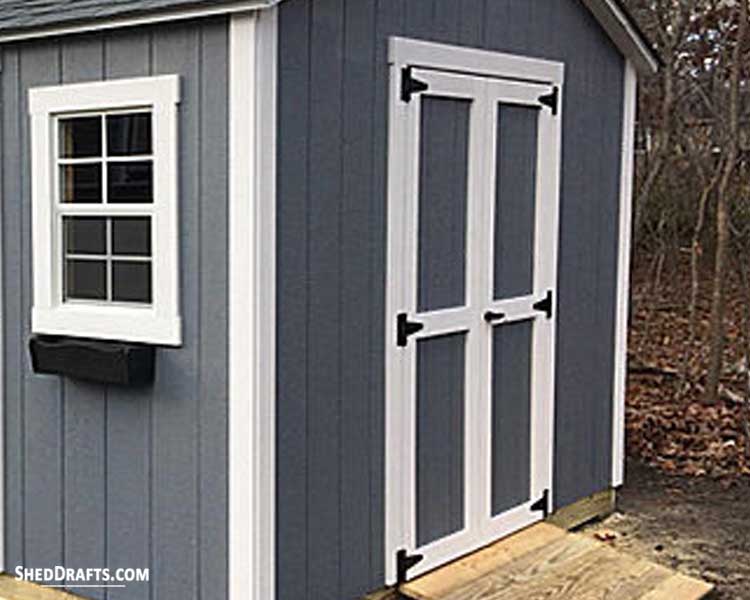
- Use 2×4 lumber to craft the door jambs and 2×6 lumber to create the lentil.
- The lentil and jambs reinforce the door opening on three sides to make it easier for your doors to swing freely.
- Now frame the two door panels we cut out earlier.
- Install 2x4s on all 4 sides of each door panel to create an outer frame.
- Then, install a middle stile to reinforce the frame.
- For the left door panel, install the 2×4 frame such that the underlap edge is left free to fit with the overlap edge of the right door.
Fasten With Hinges
- Secure hinges to the door panels.
- Now position both door panels in place using a temporary bottom brace for support.
- Mark the locations for pre-drilling holes to install the hinges on the door frame with a pencil.
- Drill holes for hinges into wall studs and drive nails or screws halfway through.
- Check that the doors close tightly and open freely.
- Make any minor adjustments as needed.
- Then, drive the nails all the way into the hinges.
Finish The Doors
- Seal all gaps between the horizontal and vertical components of the door with caulk or silicone to keep water out.
- Now, you can paint your door with your favorite color that matches the rest of the shed.
- Finally, install the door handles and the latch.
Other Bracing Styles For Making Double Doors
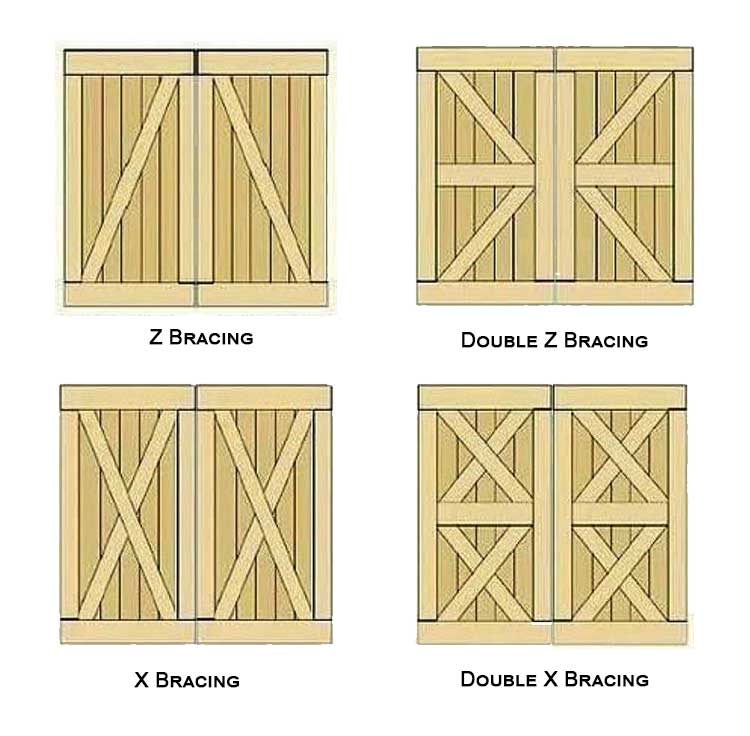
More Door Blueprints
