Cost To Build A 16x20 Shed: DIY Real Budget Calculator
Total project costs for a 16×20 shed typically range from $6000 for a bare-bones, self-built skid-foundation structure using standard T1-11 siding, up to $25,000 for a climate-controlled, pro-grade workshop built on a monolithic concrete slab and wired with its own subpanel.
Material costs fluctuate wildly based on your regional wind/snow load requirements and whether you pour concrete or stack pressure-treated timbers for the foundation.
You should purchase framing lumber during late winter seasonal dips to reduce overall costs by 10% to 15% before spring construction surges drive prices upward.
Key Takeaways
Three core budget tiers define this specific footprint:
Bare-Bones DIY Tier ($4,500 – $7,000): Skid foundation, 2×4 framing on 24-inch centers, OSB roof decking, 3-tab shingles, and T1-11 siding.
Mid-Range Weekend Builder Tier ($8,000 – $13,000): Gravel pad with concrete pier footings, 2×6 wall studs on 16-inch centers, LP SmartSide lap siding, architectural shingles, pre-hung steel door, and double-hung windows.
High-End Pro-Finished Tier ($14,000 – $22,000+): Monolithic reinforced concrete slab, premium dimensional lumber, standing seam metal roof, fiber cement siding, electrical subpanel, and insulation package.
Underestimating material waste percentage remains the single fastest way to blow a framing budget.
If you do not add a 10% to 15% waste cushion to your initial lumber order, you will burn hours of precious weekend time making emergency hardware store runs for three extra studs and a box of structural screws.
DIY Shed Cost Calculator
Use this calculator to instantly estimate your backyard shed expenses with regional labor rates, foundation types, premium siding, and custom upgrades.
Total Investment Breakdown: Material Costs of a 16x20 Shed Build
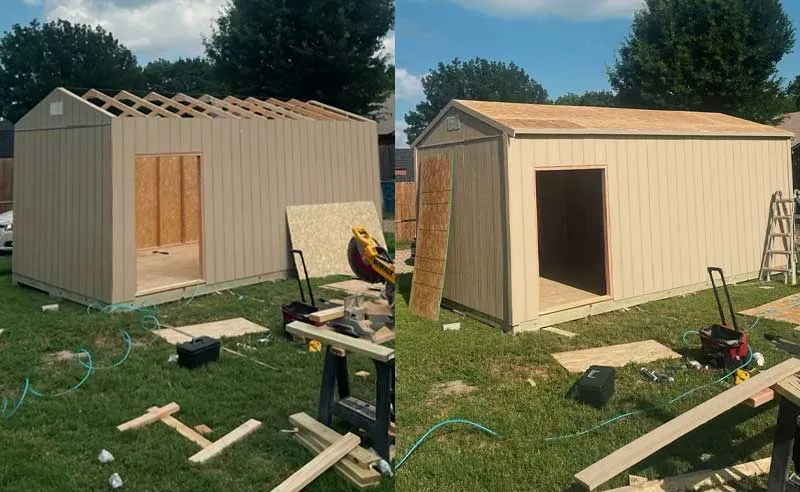
Your expenses distribute across foundational support, vertical skeletal framing, exterior weather-proofing, and entry points.
Cut corners on your foundation to save $300 today, and you will spend thousands later fixing structural sag and jammed double doors after two freeze-thaw cycles.
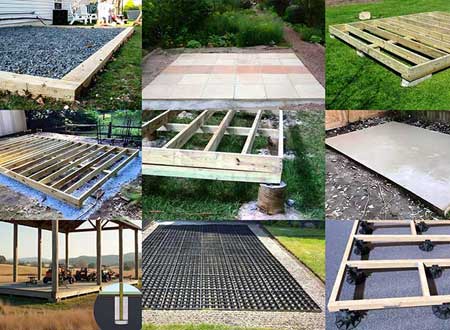
Choosing Your Foundation: Slabs, Skids, and Pier Blocks Compared
Pouring a monolithic concrete slab provides the ultimate permanent foundation, locking in a flat, rodent-resistant floor that easily handles heavy tool chests, riding lawnmowers, and stationary woodworking machinery.
But that rock-solid base comes at a price.
Between site excavation, gravel compaction, vapor barriers, rebar grid tying, and truck delivery fees, a proper slab will eat $2,500 to $6,000 of your total budget depending on local concrete batch pricing.
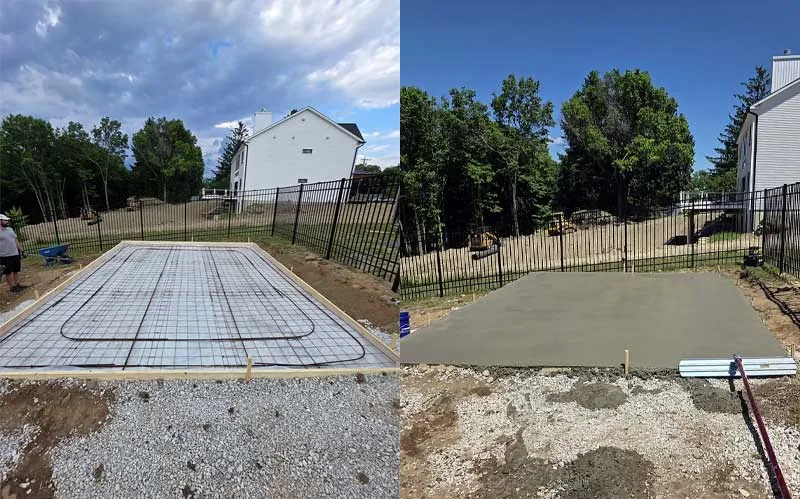
Building on pressure-treated 4×6 skids resting on compacted crushed stone offers a vastly faster, significantly cheaper alternative, usually running between $800 and $2000 in total materials.
Skids float and settle naturally across expansive soils, but if you skimp on ground clearance or skip proper moisture flashing, your floor joists will rot out from underneath you.
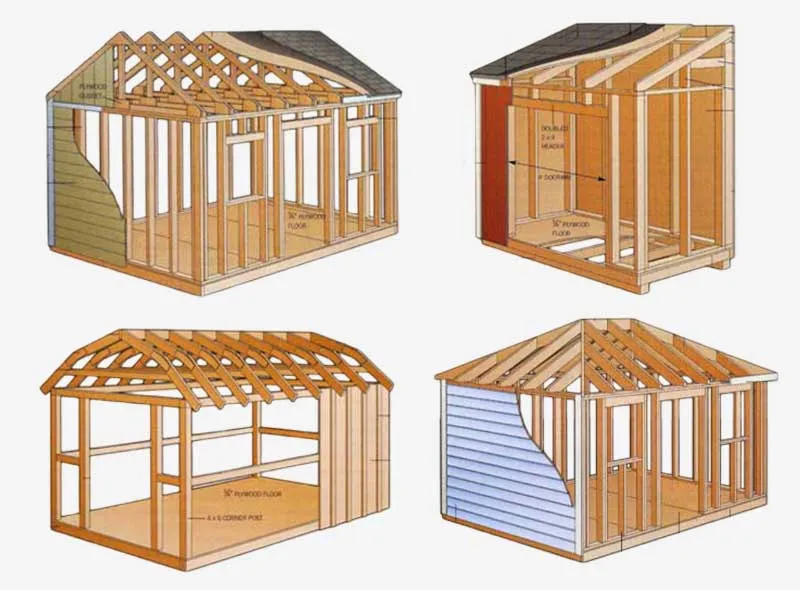
Concrete pier footings paired with treated 4×4 or 6×6 posts sit squarely in the middle, elevating the structure above flood zones while requiring precise post-hole digging and concrete form setting.
Clay-heavy expansive soils demand deep pier footings or heavily reinforced monolithic slabs with thickened edges to prevent seasonal heaving, whereas stable, sandy loam handles standard compacted gravel skids with ease.
Grading the subgrade perfectly level before laying your gravel base prevents differential settling that cracks concrete slabs or twists wooden skid runners over successive freeze-thaw cycles.
And if you are trying to build on a steep backyard slope? A hillside build demands stepped piers or engineered retaining walls, turning a basic weekend project into a complex engineering task that warrants hiring a structural surveyor.
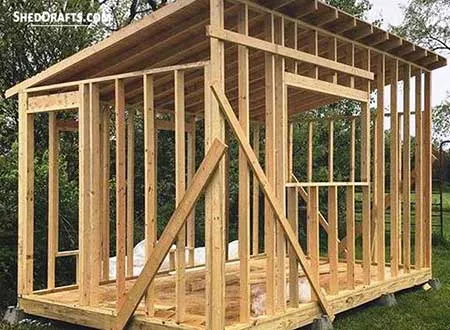
Dimensional Lumber Costs For 2x4 vs. 2x6 Studs & Roof Framing
Selecting 2×6 wall studs spaced 16 inches on center instead of standard 2x4s adds roughly 20% to your rough framing budget, yet that extra wall cavity depth is mandatory if you plan to install fiberglass batt or spray foam insulation later.
Purchasing dimensional lumber for walls, floor joists, ceiling rafters, and roof sheathing consumes a massive chunk of the initial budget, frequently hovering around 35% of total material costs.
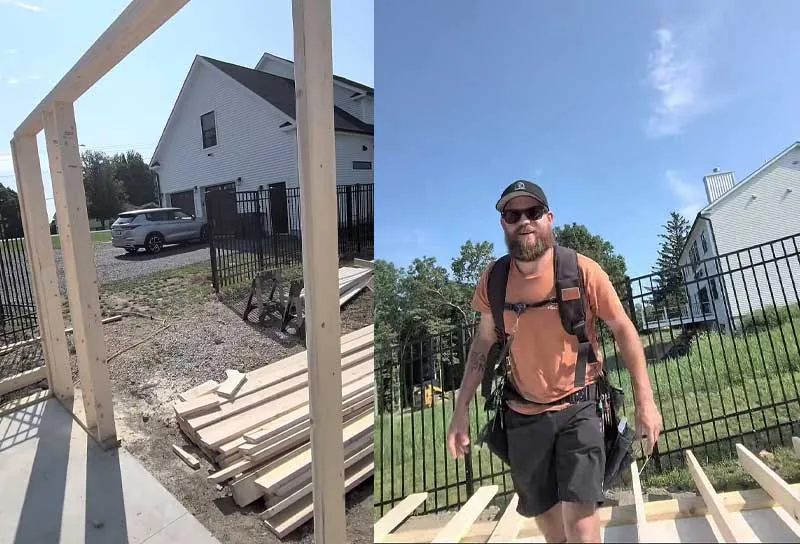
Do not try to save money by buying cheap, wet framing studs at a big-box store; they will crown and warp before you even get your wall panels stood up. Pay extra for kiln-dried Douglas fir or Southern yellow pine.
Buying framing lumber in full unit bundles directly from commercial lumber yards rather than retail home improvement centers slashes material costs by up to 15% while securing superior grade stamps.
Durable Siding and Roofing Materials
Installing T-11 plywood siding provides an economical, paintable exterior finish, whereas engineered wood siding like LP SmartSide delivers superior impact resistance and manufacturer warranties exceeding thirty years.
For the roof, standard architectural asphalt shingles strike the ideal sweet spot between affordability and easy installation. If you live in heavy snow country or face severe wind loads, upgrade to standing seam metal roofing. It sheds snow instantly, resists wind uplift, and outlasts asphalt by decades.
Utilizing a pneumatic coil siding nailer equipped with a depth adjustment gauge prevents over-driving fasteners through engineered wood siding, eliminating moisture intrusion points.
Windows, Doors, and Structural Hardware

Installing double-hung vinyl windows with low-E glass coatings regulates interior temperatures, while pre-hung steel exterior doors offer maximum security against forced entry.
Securing wide equipment access requires heavy-duty double carriage doors or a commercial-grade roll-up garage door, which commands higher structural header requirements and specialized track hardware.
Planning to put an oversized door on a gable end instead of an eave wall? Make sure your header spans are properly engineered to transfer structural weight to the trimmer studs without mid-span deflection.
Purchasing heavy-duty hinges, hurricane ties, joist hangers, and thousands of structural screws adds several hundred dollars in hidden hardware expenses that frequently catch first-time builders off guard.
DIY Vs Contractor Pricing: Evaluating The Financial Trade-Offs
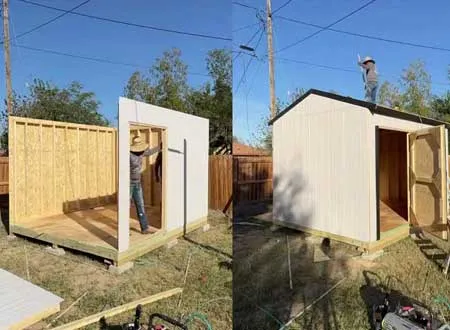
Building a 320-square-foot build by yourself sounds great until you realize it means four to eight weekends of heavy manual labor, continuous material staging, tool rentals, and site management.

Hiring out the entire process eliminates the physical strain and compresses construction time down to a single week, but it strips away your ability to customize on the fly and inflates the final price tag by thousands of dollars in labor margins.
Scheduling all heavy material deliveries for a single morning combined with forklift unloading service eliminates manual hand-off labor and saves an entire day of site prep fatigue.
Upfront Costs vs. Hidden Expenses
Unless you already own a full commercial carpenter rig, budget $500 to $800 for essential tool rentals. You will need a pneumatic framing nailer, scaffold staging, a heavy-duty rotary hammer drill for anchor bolts, and a vibrating plate compactor to prep your gravel pad.
Your real project cost extends far beyond 2x4s and shingle bundles. Freight delivery surcharges from timber yards, local municipal permit fees, architectural board reviews, and local sales taxes add up fast.
Renting specialized gear like scaffold towers or concrete mixers comes with daily rates and deposits that eat into your reserves.
Hidden taxes, building permit application fees, environmental impact reviews, and mandatory site inspection fees catch many DIYers completely off guard during the pre-construction phase.
Local municipalities charge anywhere from $100 to $600 for outbuilding permits, and failing to secure those permits before pouring concrete can result in expensive stop-work orders or forced structural tear-downs.
How Long Does It Take to Construct a 16x20 Shed?
Completing a 16×20 shed as a weekend DIY project typically consumes between 60 and 120 total man-hours spread across four to eight weekends, assuming cooperative weather and zero major framing errors.
Working alongside a knowledgeable partner cuts manual handling time in half and drastically improves safety when raising heavy wall panels into vertical alignment.
Professional framing crews equipped with specialized nail guns, scaffolding, and material lifts usually complete the exact same shell in three to five working days. Contractors promising a fully finished 16×20 workshop in two days are cutting critical curing and inspection corners that compromise structural integrity.
Concrete curing intervals and custom material delivery lead times frequently expand projected timelines by 30%, demanding flexible scheduling. Pre-cutting all wall stud plates and rafter tails in a workshop garage before site assembly saves hours of on-site measuring and saw setup fatigue.
Before nailing down your subfloor or setting wall plates, pull cross-corner diagonal measurements across your floor frame. Getting the deck square within an eighth of an inch prevents alignment nightmares when throwing OSB up on the roof.
Case Study: Unforeseen Budget Overruns In a 320-Square-Foot Workshop Build
We built our own 16×20 backyard workshop in the autumn and exposed several budgeting traps that most guides conveniently omit.
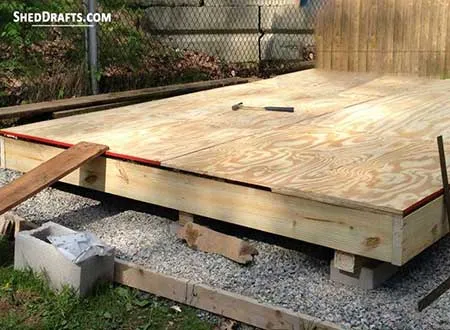
I picked an elevated corner of my property to ensure natural runoff, prepping a thick crushed limestone base topped with pressure-treated 4×6 skids and 3/4-inch tongue-and-groove AdvanTech subflooring. The material drop arrived on two massive flatbeds on an unseasonably humid Tuesday.
My crew spent hours hand-hauling three hundred studs, sheets of roof sheathing, and heavy siding panels down a narrow residential driveway in sweltering heat.

Rain And Humidity Upset Contingency Funds
During the third week of construction torrential overnight rainstorms soaked our unprotected AdvanTech panels before the wall framing could be raised.
Swelling edge seams forced us to spend an extra $250 dollars on a heavy-duty floor sander and replacement panels, a painful lesson that taught us the absolute necessity of applying temporary waterproof deck sealers immediately after subfloor installation.
Midway through our build, regional timber supply shortages bumped dimensional lumber prices, forcing us to recalculate our wall plate layouts on the fly. Then came a $400 concrete delivery surcharge because our rural build site sat outside the supplier’s free delivery zone.
Contingency funds of 10% are hopelessly inadequate for large outbuildings, and savvy builders must allocate at least 20% to absorb unforeseen material spikes and replacements.
Material Selection Insights: Long-Term Durability vs. Upfront Price
Spending extra upfront on high-end subfloor panels and premium adhesive flashing tape saved my structure from water rot during rain delays.
On the flip side, trying to save money on cheap galvanized nails backfired completely; they sheared right off when driven into dense, dry Douglas fir sill plates.
Choosing LP SmartSide panel siding provided an ideal balance between the rustic aesthetic of traditional wood and the rot-resistant durability of engineered wood fiber substrates, complete with a fifty-year substrate warranty that satisfied our long-term structural goals.
On subsequent builds, I upgraded to adhesive-backed subfloor systems. They stop subfloor squeaks for good and shed standing water effortlessly during construction rain delays.
Permitting and HOA Compliance Fees
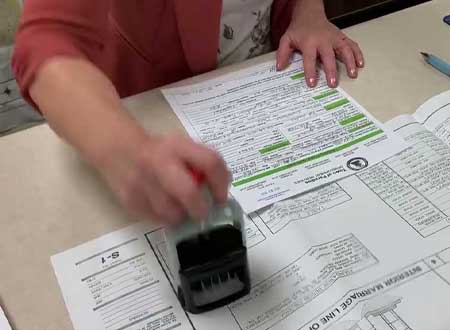
Navigating local municipal zoning laws required submitting certified architectural drawings, site setback surveys, and environmental runoff calculations. Paying structural engineering review fees ate up $600 before the permit office ever stamped our blueprints for construction approval.
Our local zoning board enforced a strict 15-foot height limit for accessory outbuildings, forcing us to adjust our roof pitch from a steep 8:12 down to a manageable 5:12 to stay fully compliant without applying for expensive zoning variances.
Homeowners’ association architectural committees added another layer of bureaucratic delay, requiring us to match the exact exterior paint colors and shingle profile of our primary home before granting final construction approval.
Installing Electrical Subpanel Along With Insulation & Interior Finishing
Turning an empty shed shell into a year-round, usable shop required running a dedicated underground feeder line 40 feet from the house panel out to a new subpanel inside the workshop.
Digging a trench through rocky soil meant renting a mini-excavator for the day. Pulling twelve-gauge copper wire through schedule 40 PVC conduit gave me the amperage required to run a heavy cabinet saw and a dust collector at the same time.
We insulated the walls with R-13 fiberglass batts and packed the roof rafters with R-19 insulation. Pair that insulation envelope with a 12,000 BTU mini-split heat pump, and the space stays comfortable year-round.
Instead of installing fragile drywall that dents every time a board hits it, I lined the interior walls with half-inch OSB screwed straight into the studs. It gives me a rock-solid surface to mount heavy tool racks and storage shelves anywhere I want without hunting for studs or relying on drywall anchors.
Mistakes to Avoid to Save $1,000+
Double-checking wall stud layouts against window and door rough openings saved us from reframing an entire gable wall after realizing our door header placement conflicted with our exterior siding reveals.
Ditch small torpedo levels when plumbing long walls. Across a 20-foot wall section, a small level hides compounding errors that cause visible lean. Use a 4-foot box level or a water level to keep your walls straight and plumb.
Ordering siding panels cut to precise lengths from the mill eliminated hours of repetitive circular saw trimming and reduced job-site scrap waste to under three percent of our total material purchase.
Always factor interior insulation thickness and door trim returns into your rough opening framing. Forgetting those clearances forces painful header and cripple modifications after the wall is already stood up.
Investing in laser measuring tools and digital angle finders during initial framing layout eliminates cumulative human error that compounds across a sixteen-foot span.
Do not guess on framing sizes based on random internet forum threads. Use the official span tables published by the American Wood Council to size your joists and rafters with mathematical certainty.
Budgeting Guide: How to Plan Your Shed Project
Auditing your available money and mapping out exact material delivery schedules protects your investment and ensures your weekend project stays firmly on track from foundation prep to final shingle cap installation.

Pre-Construction Checklist With Common Rates Template
Confirming property line setbacks, locating underground utility lines, checking soil conditions, and securing building permits must happen long before your first truck delivery arrives. Track every item in a detailed spreadsheet so you know exactly where every dollar goes.
Run a thorough site check to confirm property lines, soil drainage, and easement limits. Re-check your material costs weekly to protect your wallet against timber price shifts.
Always get quotes from at least three licensed contractors for specialized work like concrete pouring or electrical subpanel connections. Comparing bids helps you find competitive pricing and weeds out inexperienced operators before work begins.
Compiling a comprehensive line-item spreadsheet tracking excavation labor, foundation concrete, framing lumber, roofing materials, siding panels, windows, doors, electrical supplies, and permit fees ensures complete financial visibility.
Site Prep & Excavation: $400 – $1,500 (Skid pad vs. concrete slab)
Foundation Materials: $600 – $3,500 (Gravel, concrete, rebar, piers)
Floor Framing & Decking: $800 – $1,800 (Joists, rim joists, AdvanTech panels)
Wall Framing & Sheathing: $1,200 – $2,800 (Studs, plates, headers, OSB/Plywood)
Roof Framing & Decking: $1,000 – $2,500 (Trusses or rafters, ridge boards, decking)
Exterior Siding & Trim: $900 – $2,500 (T1-11, SmartSide, or fiber cement)
Roofing Materials: $600 – $1,500 (Shingles, underlayment, drip edge, flashing)
Doors, Windows & Hardware: $500 – $2,000 (Pre-hung doors, windows, hinges, nails)
Permits & Inspections: $150 – $600 (Zoning, building, and electrical permits)
Complete Cost Estimator Matrix (3 Budget Tiers)
Tier One – Basic Storage Shell (Skid Foundation, T-11 Siding, Asphalt Shingles, No Electricity)
Foundation (Pressure-treated 6×6 skids and crushed gravel): $1,200
Framing Lumber (Standard 2×4 walls, 2×6 floor joists, plywood sheathing): $2,400
Siding and Roofing (T-11 panels and 3-tab shingles): $1,100
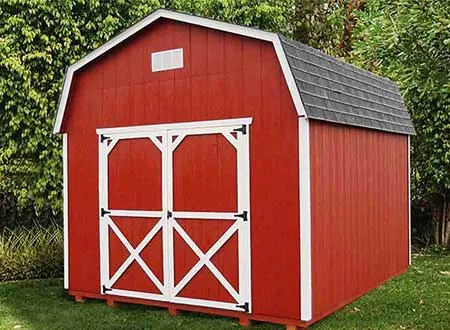
Doors and Windows (Standard double barn doors, single window): $600
Permits and Miscellaneous Hardware: $300
Estimated Total: $5,600
Tier Two – Premium Workshop (Concrete Slab, LP SmartSide Siding, Architectural Shingles, Basic Lighting)
Foundation (Monolithic 4-inch concrete slab with rebar and gravel): $4,200
Framing Lumber (2×6 wall studs, engineered roof trusses): $3,800
Siding and Roofing (LP SmartSide panels, architectural shingles, metal drip edge): $2,200
Doors and Windows (Pre-hung steel entry door, double carriage doors, two vinyl windows): $1,400
Electrical (Subpanel, conduit, interior LED fixtures, outlets): $1,200
Permits, Engineering, and Inspections: $800
Estimated Total: $13,600
Tier Three – Climate-Controlled Studio (Engineered Pier Foundation, Fiber Cement Siding, Standing Seam Metal, Full Insulation, Mini-Split HVAC)
Foundation (Concrete-filled piers and heavy timber floor frame): $3,100
Framing Lumber (Kiln-dried Douglas fir, engineered floor joists): $4,500
Siding and Roofing (James Hardie fiber cement, standing seam metal roof): $5,400
Doors and Windows (Insulated French doors, triple-pane casement windows): $2,800
Electrical and Climate Control (Full service subpanel, spray foam insulation, mini-split heat pump): $4,500
Permits, Engineering, Surveying, and HOA Reviews: $1,700
Estimated Total: $22,000

Read Next
 Pole Shed Cost Estimator: Real DIY Budgets & Pricing Guide
 Cost To Build a Shed: 2026 Price Guide & DIY Budget Checklist
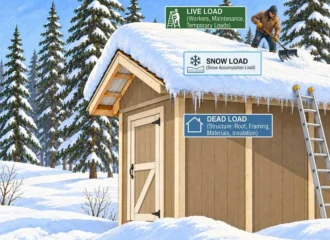 Shed Roof Load Calculator With DIY Framing Guide
 How To Build Shed Door & Window Headers That Never Sag
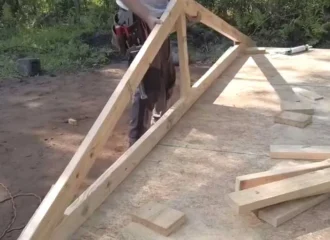 How To Build Shed Roof Trusses On A DIY Jig In One Weekend
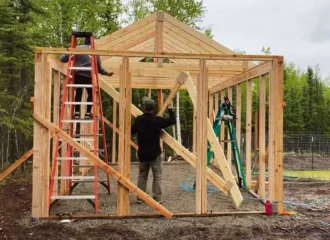 How to Build a Gable Shed Roof With DIY Trusses
Framing-to-Finish Roadmap: DIY Guides For Every Step of The Build