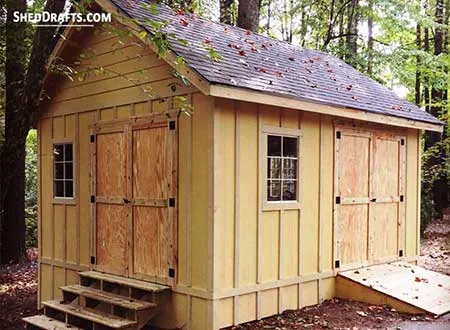
How To Build A DIY Shed Step-By-Step (With Blueprints)
My first masterpiece was a 10×12 gambrel that I built in a weekend during a caffeine-fueled mania back in the late 90s. I thought I was a genius because I saved $400 by skipping the pressure-treated skids and setting the floor joists directly on some sturdy-looking pavers.
Fast forward eighteen months: the door wouldn’t close because the ground settled unevenly. The floor felt like a trampoline, and I had a family of groundhogs living in the luxury condo I’d inadvertently built for them. I eventually had to chainsaw the whole thing into pieces just to haul it to the dump. It was a humiliating, expensive lesson.
Hi, I’m Jim. I’ve spent more than two decades framing everything from custom homes to backyard retreats. I built sheddrafts.com because I’m tired of seeing DIYers get buried under over-engineered blueprints that look like they were designed for a skyscraper rather than a backyard.
On this blog, I strip away the fluff and give you the straight-talk guidance you actually need, while making sure you don’t repeat the same expensive mistakes I’ve made over my career.
I’m going to walk you through the process of shed construction step-by-step, but here’s the real deal: building your own shed is actually a blast once you know what not to do. Whether you’re looking for a rugged workshop or just a place to hide the lawnmower, we’re going to build it right. And we’re going to have a damn good time doing it.
Field-Tested DIY Guides For Every Stage Of The Build
Golden Rule – Never, under any circumstances, let raw wood touch the dirt. If it’s within 6 inches of the ground, it must be rated for Ground Contact (not just “pressure treated”).
Permit Reality – Most counties require a permit for anything over 120 square feet. Build a 12×10 without a permit, and a disgruntled neighbor can have the city force you to tear it down. Check your setbacks first.
Foundation is Everything – Skimping on the base is the #1 cause of shed failure. A gravel pad (crushed stone, not pea gravel) is the gold standard for drainage and stability.
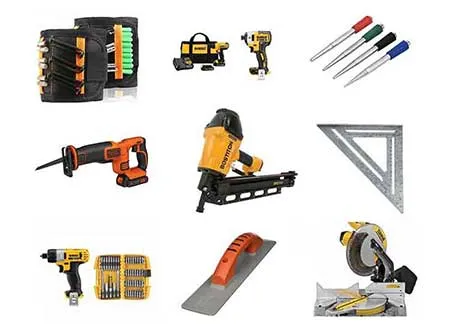
Hardware Trap – Use 3-inch deck screws for framing, not drywall screws. Drywall screws are brittle; they will snap when the wood swells in the humidity.
Roofing Mandate – Drip edges are non-negotiable. Without them, water wicks back under your shingles and rots your fascia boards in three seasons.
Stage 1: Pre-Game Hustle - Planning, Permits, and Prepping the Ground
Before you even think about buying a single 2×4, you have to deal with the invisible part of construction. This is where most DIYers lose their steam. They get excited at the big-box store, load up a trailer, and then realize their backyard has a 12-degree slope they didn’t account for. Or worse, the HOA shows up with a cease-and-desist. Planning is about understanding the logistics and cost of materials, and the legalities of your specific plot of dirt.
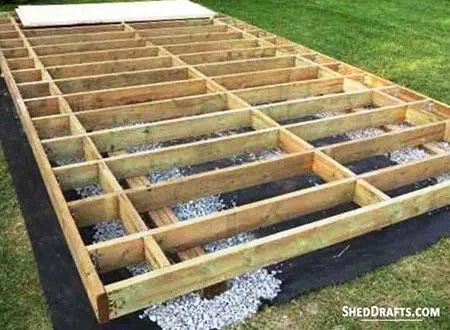
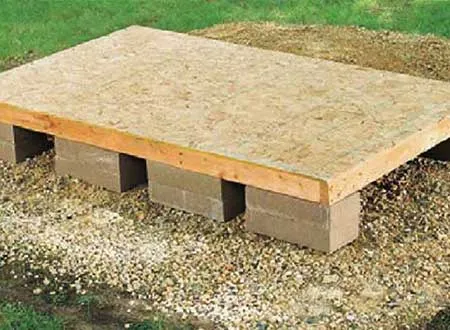
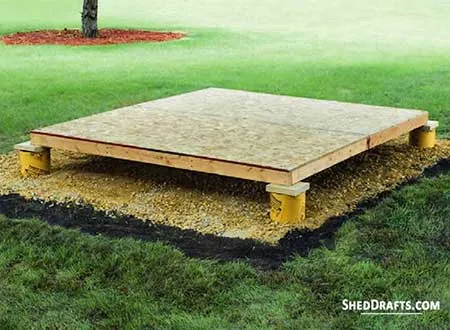
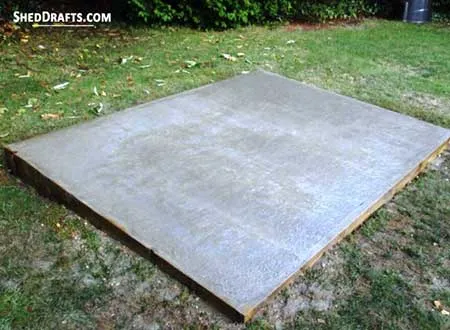
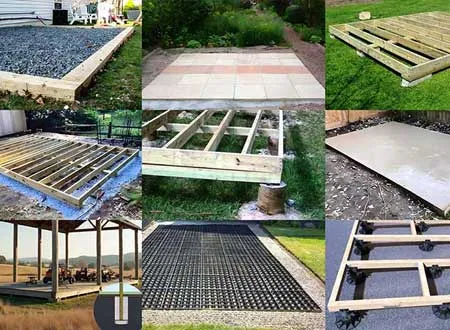
Stage 2: Foundation - Giving The Shed a Leg to Stand On
If the foundation fails, the shed fails. Period. I’ve seen $5,000 sheds turned into scrap because the owner thought throwing some blocks on the grass was sufficient. In the world of shed building, there are many ways to do this. You can go with a gravel pad, skids, piers, blocks or a concrete slab. Your choice depends on your budget, land slope, soil type and how much sweat equity you want to put in.
Beginners often set their foundation too low to the ground. You want the bottom of your wooden floor joists to be at least 6 inches off the dirt. Why? Because when rain hits the ground, it splashes back up. When your wood is too low, it’s constantly getting soaked and dried, leading to wicking rot. Keep it high, keep it dry.
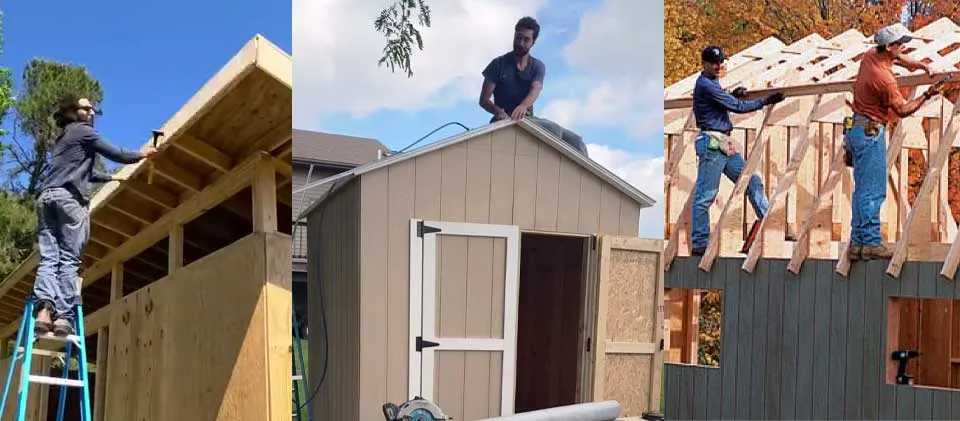
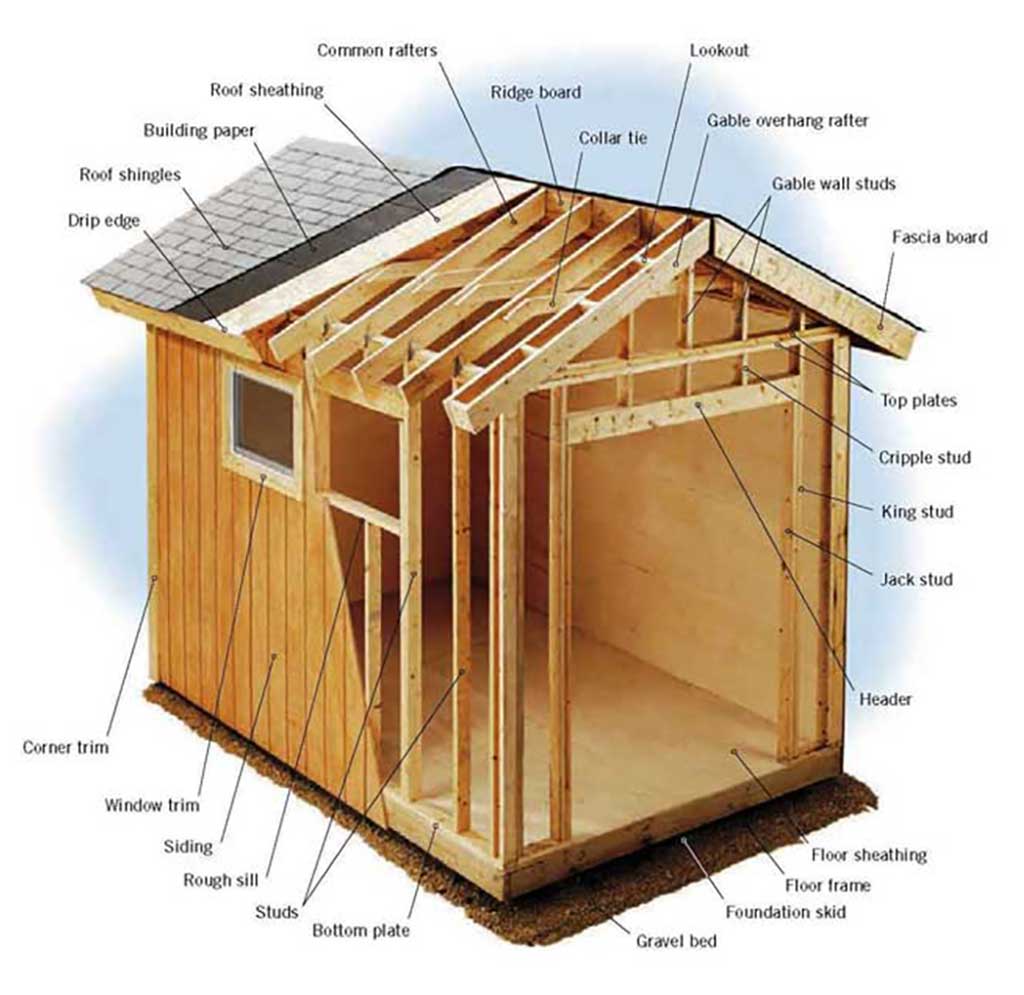
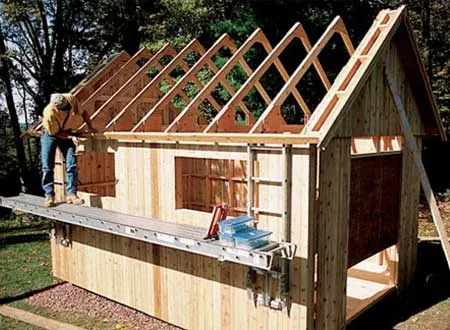
Framing is about predictable geometry. You’re creating a grid that can support thousands of pounds. If the floor bounces when you walk on it, you didn’t use enough joists. If the walls lean, your plates aren’t straight.
You will spend way more on screws and nails than you think. For a 10×12 shed, you’ll easily go through two 5lb boxes of 3-inch framing screws and a box of 1.5-inch joist hanger nails. And you’ll also need several thousand siding nails. Buy them in bulk; the small 1lb boxes will nickel-and-dime your budget to death.
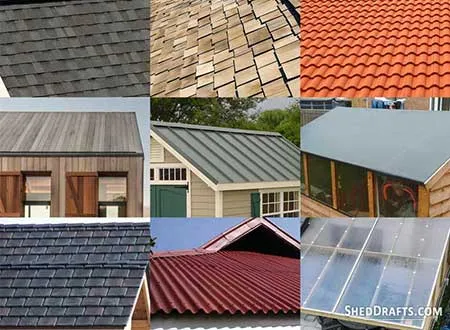
Stage 4: Roof - Capping The Build Against the Elements
If the foundation is the feet of your shed, the roof is the helmet. In my neck of the woods (Illinois), we get heavy wet snow and horizontal rain. A roof that isn’t dried in properly is just a slow-motion demolition project. You are building more than a lid, you’re building a structural system that handles shear and dead loads.
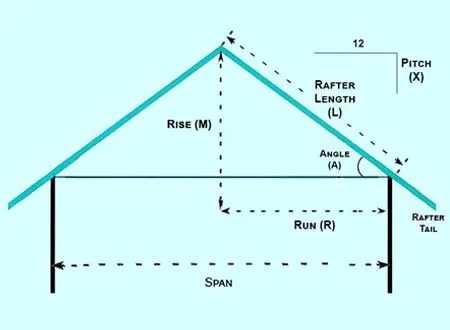
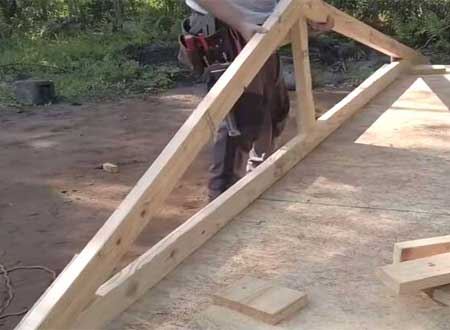
Most DIYers go with a Gable Roof (the classic triangle) or a Lean-to/Shed Roof (one single slope). The Gable is stronger and offers more lofted storage, but the Lean-to is significantly easier to frame if you’re working solo.
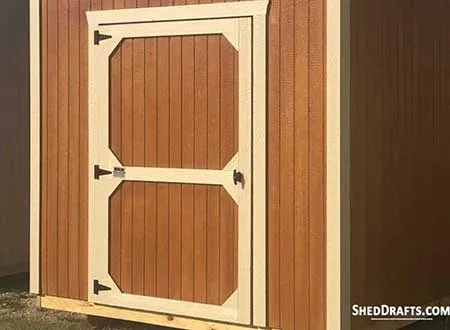
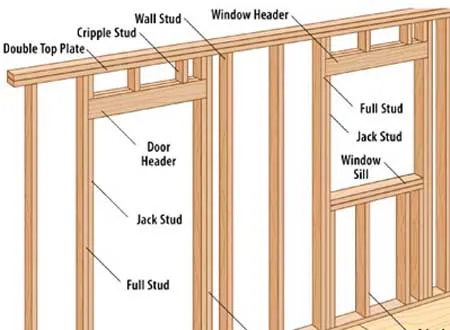
Stage 5: Entryway - Building Doors and Headers That Won't Sag
This is where the precision of your framing is truly tested. If a shed is even a quarter-inch out of square, your doors will bind. I’ve spent more time planishing and shimming doors than I have framing entire walls because the owner didn’t account for settling.
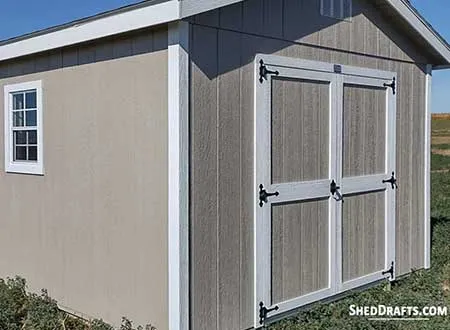
Those pre-hung steel doors you buy at the big-box store are great for houses, but for an unheated shed, they often sweat and rust. A site-built wooden door using the same siding as the shed looks better and lasts longer. It’s also much easier to repair if it gets kicked or warped.
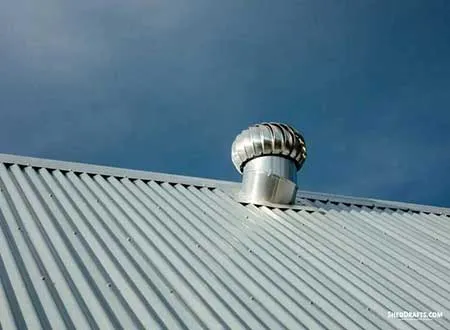
Stage 6: Making It Last - Ventilation and Organization
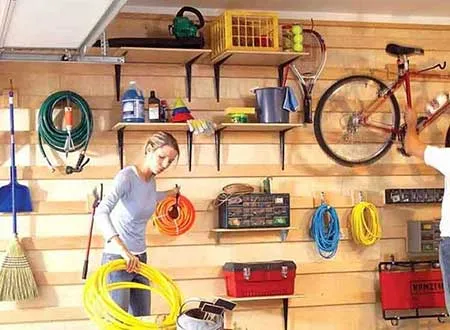
A shed without ventilation is an oven in the summer and a mold-factory in the winter. If you smell musty air when you open your shed, you’ve already failed the longevity test. And if the shed doesn’t have a strategic internal layout it is just a very expensive, glorified pile of clutter.
I’ve walked into hundreds of sheds only to find the owner shimmying sideways past a mountain of tangled garden hoses and rusted lawn chairs just to reach a single screwdriver. Those who don’t organise, lose 40% of usable square footage to dead air.
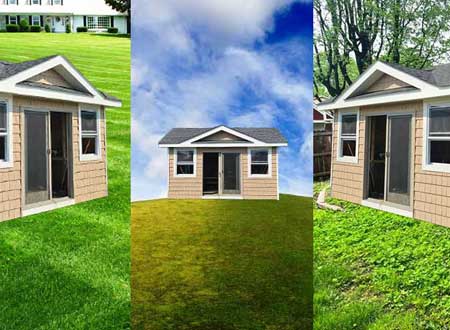
Picking a design isn’t just about the look. You must consider your backyard’s micro-climate and your specific storage needs. I’ve framed everything from basic lean-tos to complex hip roofs, and I can tell you that the wrong plan can lead to a world of maintenance headaches.
If you’re in a high-wind area, a tall Gambrel is a sail waiting to catch a gust. For those in the deep snow of the North, a flat-pitched Lean-to is a structural collapse waiting to happen. You need a blueprint that accounts for the physics of your region. Below, I’ve broken down the Big Six architectural styles.