
How To Install Shingles On A Shed Roof: Step-By-Step Guide
Installing shingles on a shed’s roof may seem like the normal last step to finish building your roof. But when you do it wrong, it ends up costing you a lot more than the price of the shingles.
I once watched a $5000 custom cedar garden workshop get ruined over a sixty-dollar stack of improperly laid asphalt shingles. It broke my heart.
A single buckled shingle on the backside eaves had channeled wind-driven water right under the underlayment. It turned the structural roof sheathing into a soggy mess of oatmeal.
Fixing that mistake required replacing three sheets of plywood and throwing away two hundred dollars of ruined lumber.
This guide will walk you through every critical layout technique required to create a weatherproof shingle roof that easily outlasts its 25-year warranty.
Critical Structural Layers Of A Shingled Roof Installed The Right Way
Down at the absolute foundation of your roof sits your structural sheathing. That’s either 5/8-inch CDX plywood or a solid run of oriented strand board (OSB).
Directly over this raw wood substrate along the lower eave edges, you must nail down your perimeter aluminum drip edge flashing first.
This metal boundary gets covered by a specialized membrane chosen specifically for your neck of the woods. Stick to a thick, self-adhering ice and water shield membrane if your local weather brings mostly freezing winter snow and driving rain.
Above that heavy protective barrier, you roll out either traditional #15 or #30 asphalt felt paper, or a modern, slick sheet of woven synthetic underlayment across the remaining field.
Along the side rake edges, you nail down a second run of aluminum drip edge flashing directly over the top of the underlayment, sandwiching the fabric safely against high winds.
Finally, the whole assembly gets capped off with your upside-down starter course and your primary asphalt shingle layers.
Roof Shingle Calculator App To Size Up Your Bundles Without Guesswork
Estimate exactly how many shingle bundles you are going to need with this handy tool.
Essential Hardware: Required Materials & Tools
Materials Needed
1 ¼” galvanized steel roofing nails (for drip edge and shingles)
1” – 1 ¼” plastic cap roofing nails (for underlayment)
15-Pound Asphalt Organic Felt, Synthetic Polypropylene (Typar/Grip-Rite) or Self-Adhering Ice & Water Shield (for underlayment)
Metal Drip Edge
Asphalt Shingles
Tools Required
Utility Knife (With Hook Blades)
Hammer Or Pneumatic Nail Gun
Tape Measure
Chalk Line (Blue)
Extension Ladders
Safety Gear (Gloves & Glasses)
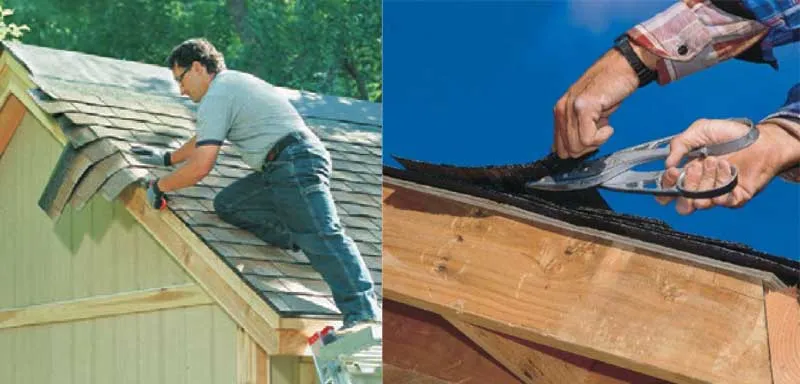
A dedicated hook-blade utility knife is completely non-negotiable for clean, rapid cuts through thick asphalt and fiberglass mats.
Standard straight utility blades dull within three cuts against mineral granules and pull out of line, whereas a hooked blade slices from the smooth back side of the material using a pulling motion that preserves the edge.
Step By Step Guide To Leak-Proof Shingling
1. Prepping the Wood Deck and Adding the Drip Edge
Climb up there and inspect every square inch of that roof decking before you grab a roll of underlayment.
Walk the panels to check that your OSB or plywood seams fall dead-center over the rafter midlines, and verify you left a 1/8-inch expansion gap between the sheet edges so the wood can swell in the summer humidity without buckling upward.
Set your metal eave drip edge directly onto the bare wood deck right along the lower roof line.
Drive your 1-1/4 inch roofing nails every 12 inches using a staggered zigzag pattern to hold the metal flat without splitting the wood below.
Check that the metal flashing extends at least 2 inches onto the roof deck and hangs with a clean drop over the fascia boards.
2. Add Underlayment Based On Pitch And Weather
Heavy snow or pounding rain regions demand that you lay down a thick, self-adhering EPDM rubber membrane instead of ordinary roofing felt, to lock out ice dams and prevent moisture from getting into the roof decking.
Now if you’re building a 16×24 shed, then it’s definitely more practical to cut the long strips of underlayment directly on the roof. But to make life infinitely easier on smaller projects, I prefer to roll out the underlayment on the flat floor first.
I first measure my roof width and then pre-cut the membrane cleanly on the shed’s floor. Then I roll the lightweight, pre-sized strip up to bring it to the roof. Take care no dirt or moisture gets stuck to the strips when you are working with them.
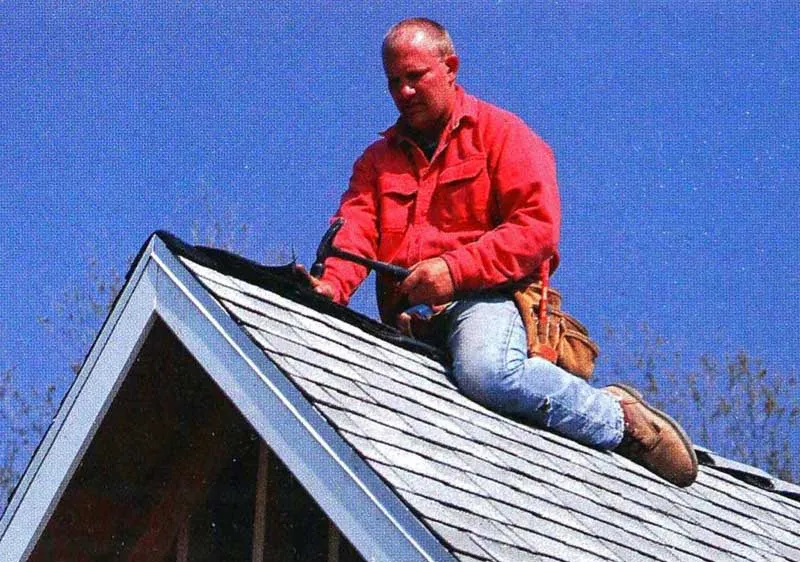
Roll out your underlayment flat along the lower eave line first, keeping your edges flush with the drip trim.
Slopes over a 4:12 pitch require a minimum four-inch horizontal overlap on your rising courses, coupled with a six-inch stagger where two vertical end-laps butt together.
Staples Aren’t Built For This Job
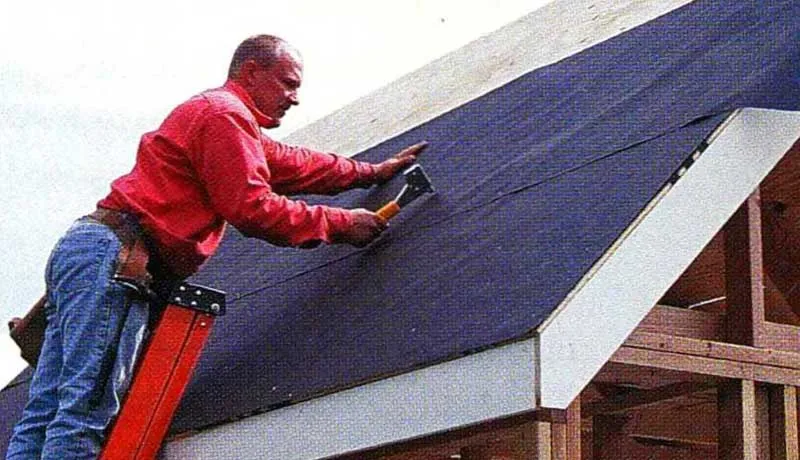
Tack down the synthetic wrap using plastic cap nails rather than bare staples.
Space the fasteners every eight inches on center along the perimeter laps and twelve inches apart through the intermediate center field.
People online will tell you to just grab a construction stapler and slap a bunch of staples into the underlayment.
Do not take that shortcut. Because staples have tiny, sharp crowns.
The moment a gust of wind gets under that paper during installation, or if you accidentally step on it wrong, those tiny crowns will instantly rip right through the thin underlayment.
Plastic caps distribute the holding pressure over a wide, flat circular surface area, locking the paper flat without tearing.
Run the underlayment completely over the ridge line by 6 inches from both sides to ensure total peak protection.
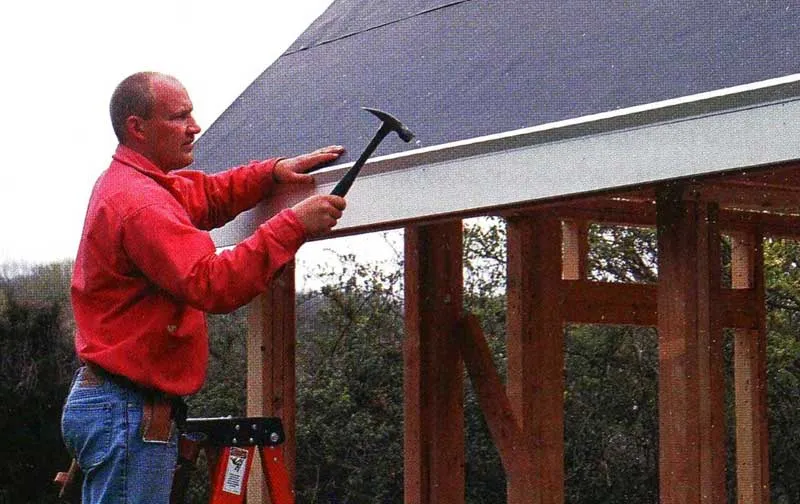
Install the rake drip edges (that go up the sides of the roof) over the top of this underlayment layer.
This prevents wind-driven rain from blowing sideways under the paper edges.
3. Locking Down the Baseline Starter Rows

Before you start laying down those shingles, you must install a dedicated starter course. Otherwise, water will run directly into the open gaps between the shingle seams on that very first row and rot out your lower edge deck.
Trimming the tabs off standard shingles creates your starter strips, or you can utilize a dedicated manufactured starter roll.
I like to use a specialized peel-and-stick starter strip from GAF.
You simply measure the exact length of the roof edge you need to cover and cut the starter strip with your knife.
Peel off the protective backing paper and stick it directly along the lower perimeter edge of the roof deck.
Apply this starter course along the eaves with the factory adhesive strip facing upward and positioned at the absolute lower edge of the roofline.
Extend the starter shingles exactly 3/8-inch to 1/2-inch past the outer flange of the drip edge to form a clean water-shedding drip line.
Fasten this course 3 inches up from the bottom edge, placing nails 1 inch in from each side panel boundary.
To ensure absolute wind resistance at the critical corner intersections, I cut a clean 45-degree angle on the top edge of the starting strip.
This ensures that you get a continuous, unbroken bead of factory adhesive running all the way around the outermost edges of the roof perimeter. Add content here Add content here Add content here Add content here
Once the strip is stuck down flat, go back over it and drive a standard roofing nail every 12 inches to mechanically lock the starter strip to the wood.
4. Staggered, Water-Tight Shingle Application
Many underlayments come with pre-printed alignment lines. If there are none on the ones you bought, then now is the time to snap a vertical chalk line directly down the center of the roof deck to serve as your master alignment axis.
Only use blue chalk for making lines. Red chalk contains iron oxide, making it permanent. It will bleed through the shingles during the hot summer months. Blue chalk dissolves with the first rain shower.
To start the shingle pattern, pick one bottom corner of the roof to serve as your anchor point.
Lay down your very first full shingle, taking extra care to align it square and flush with the lower and side edges of your starter strip.
Drive four roofing nails firmly into the designated nailing line to secure it to the deck.
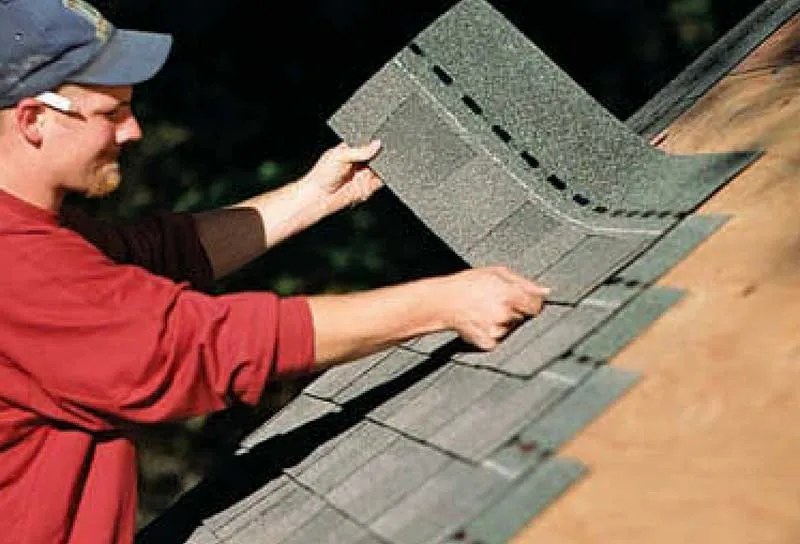
You must stagger your shingle seams. Place the second shingle directly on top of the first row, and stagger it over by exactly 6 inches. Secure it down with another four nails.
You repeat this exact stepping process as you move vertically up the slope of the roof, continuously shifting each row upward while maintaining that consistent 6-inch horizontal stagger.
Measure down from your ridge beam to your active course at three separate horizontal points every four rows. The variance across a twelve-foot span must remain under one-quarter of an inch to confirm that your shingle lines are running perfectly parallel to the roof peak.
Watch Your Fastener Placement
When you are driving nails near the perimeter edges of the roof, you must be incredibly mindful of your placement. Do not drive a nail too close to the absolute outer edge.
You risk punching that sharp nail right through the visible underside or face of your clean metal drip edge, destroying your clean trim look and creating a potential leak path.
Cut-Later Finishing Method
I prefer to install all the staggered shingle rows at one go, letting them overhang past the edge of the roof.
Once the entire field is nailed down securely, I take one long, clean pass with my utility knife and cut all the ends off at the exact same time. It is faster and ensures a perfectly uniform edge profile.
5. Capping Down the Peak on Gables and Lean-Tos

Gable Peak Method
Cut shingles into individual 12×12 inch squares to create your ridge caps. Taper the top, unexposed edges of each cap piece slightly with a utility knife to ensure clean lines and zero overlap visibility from the ground.
Bend each cap piece cleanly over the ridge peak. Install them starting from the side of the building opposite the prevailing winds to protect the overlapping seams from high gusts.
Drive two nails through each cap shingle, placing them 1 inch above the exposure line and 1 inch in from each side edge. Cover the fasteners of the previous piece completely as you work across.
Lean-To Technique
In a single-slope lean-to roof, your final top row of shingles will need to be cut off flat to match the high horizontal roofline.
Measure the remaining exposure gap and cut your final shingle rows to the correct height. Place them flat onto the roof deck.
Because you won’t have another row of shingles overlapping this final course to hide the fasteners, you want to drive your final set of roofing nails as high up on the shingle body as humanly possible, keeping them close to the absolute top edge of the roof structure.
Rookie Screw-Ups and On-Site Fixes
Even experienced DIYers can run into issues with shifting lines or torn shingles. Catching these problems during construction saves you from having to strip the entire roof plane later.
Straightening Out a Wavy Shingle Line
Discovering that your rows have developed a 1-inch wave across a long run requires a quick correction before reaching the peak.
Do not try to fix the entire error in a single row, or the sudden jump will be highly visible from the ground.
Correct the wave gradually by adjusting the exposure of the next four rows by 1/8 inch per row. This slow adjustment brings your shingles back in line with your horizontal chalk marks without creating a noticeable gap.
Torn or High-Nailed Shingle Repair
Spotting a torn shingle in the middle of a completed roof field does not mean you need to tear down the entire section.
Carefully slide a flat pry bar up under the damaged piece to release the factory adhesive bond on the row above.
Pull the four hidden nails out from the damaged shingle.
Slide the broken piece out and slide a new matching shingle into the open slot. Nail the new shingle into place through the proper fastening line, and seal the old nail holes with a dab of roof cement.
Early in my career, I tried to save time by driving high nails down with a hammer after they missed the line on a pneumatic run.
Those bent, hidden nail heads eventually rubbed against the underside of the overlapping shingles, wearing clean holes through the upper layer within three seasons.
Take the time to pull the bad fastener completely out.
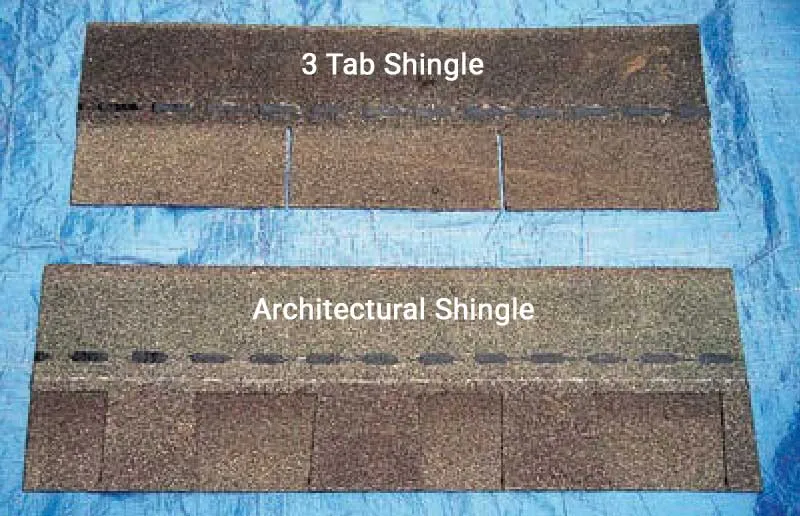
3-Tabs vs Architectural Shingles: Which Ones Are Better?
Amateur builders frequently make the mistake of looking only at the retail price tag per bundle.
The raw structural thickness of your shingle alters every single performance metric on the job site, from how fast you can find a rhythm on the ladder to whether the roof stays attached during a fierce autumn storm.
Upfront Cost & Ease of Installation
Pocketing a quick twenty to thirty percent savings per bundle at the supply counter on three-tabs is a classic rookie trap. That spare change vaporizes the second you step onto the scaffolding.
I remember watching a first-time builder spend an entire agonizing afternoon snapping endless chalk lines on a simple garden lean-to, sweating through his shirt just trying to keep those exposed three-tab cutouts perfectly straight across a twelve-foot span.
Missing a single vertical alignment mark by even a hair leaves a crooked, wavy line that sticks out like a sore thumb from across the yard. That turns your installation into a slow-motion nightmare that completely doubles your actual hours on the ladder.
Throwing down thick architectural shingles eliminates that painful headache entirely because you only need to eye your horizontal stagger and a five-inch exposure reveal.
Increased Lifespan With Lesser Maintenance
When you lay down heavy architectural shingles, you can comfortably forget about that roof for the next twenty-five to thirty years while you focus on other projects.
Thinner three-tab stuff cooks like a cheap biscuit under intense summer heat and curls at the edges. Now you are forced to tear the whole mess off by year twelve.
Wind And Impact Resistance
Dual-layered architectural laminates can fight off ferocious 130-mile-per-hour gusts because they have a massive, dense footprint.
I once drove past a property after a nasty autumn nor’easter and saw a newly built workshop completely bare on one side. Those flimsy, thin three-tabs had acted like tiny wind sails on the eaves, fluttering around until the storm ripped the tabs clean over the nail heads.
Hail and falling tree limbs present a constant hazard to outbuildings tucked under backyard canopies.
Laminated shingles absorb those hard hits smoothly, preventing the deep punctures that would split a thin, single-layer three-tab shingle right down to the bare underlayment.
Curb Appeal That Hides Flaws
Architectural shingles bring heavy shadow lines and a rugged, thick look that makes a simple backyard build look like a high-end construction. Standard flat three-tabs lay down with a plain, institutional look that instantly screams cheap lawn-mower locker.
Standard OSB sheets and old plywood deck boards always have slightly uneven seams, and rafters occasionally crown over time.
Thick laminates bridge those awkward high spots smoothly, while thin three-tabs act like a shrink-wrap layer that highlights every single proud fastener head and warped sheet joint.
Fighting the Green Moss Streaks
When the damp shade sets in, algae can start growing on your roof. Stripped-down three-tabs lack advanced surface protection, leaving your new build looking like a mossy swamp monster within five seasons.
Good architectural bundles come standard with embedded copper or zinc granules that actively kill off organic growth whenever a downpour hits, keeping your roof looking pristine without requiring you to climb up with a scrub brush every spring.


Read Next
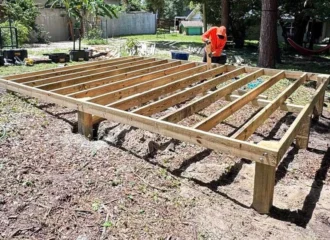 Shed Floor Framing: Step-By-Step Guide To A Sag-Proof Base
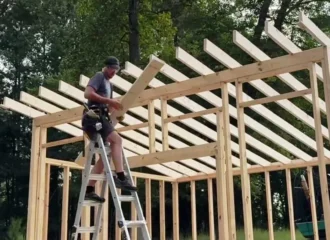
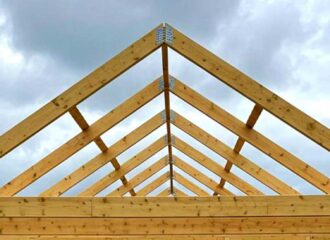 Shed Roof Guide: How To Frame & Sheathe For Weatherproofing
 Shed Roof Slope: Guide To Find the Right Weather-Proof Pitch
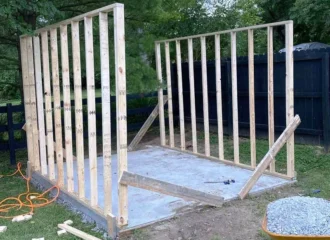 Frame Shed Walls: A Step-by-Step Guide For Rock-Solid Builds
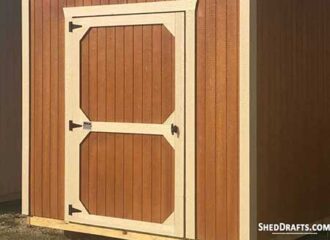 Build Single Shed Doors With Step-By-Step Plans
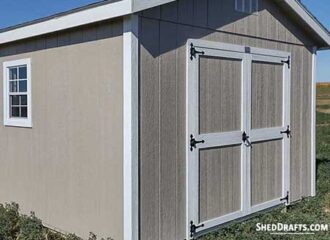 Build Double Shed Doors From Plans Step-By-Step
Framing-to-Finish Roadmap: DIY Guides For Every Step of The Build


