Listed below are some 6×6 hip roof shed building plans and blueprints for constructing a fabulous tool shed in your patio.
Over time you may run out of space for storing your precious appliances and in such a case it is best to have a shed for safely stocking your possessions.
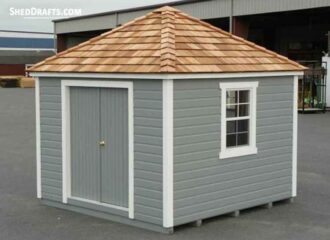
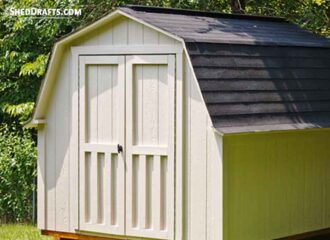
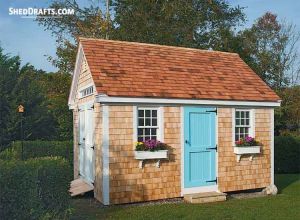
This small shed plan has a rustic look and compact floor area which makes it easy to assemble over a small piece of your yard.
You can add shelves in it or install a potting bench and enhance its usage.
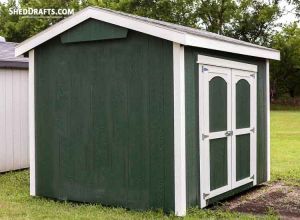
Doors on both front and back allow easy access to this beautiful shed.
Pressure treated timber is recommended to make the shed durable and weather resistant.
You will only need basic woodworking tools like a drill a nailer and some saws to complete this building.
The construction will need to be made level using gravel and concrete to create a sturdy foundation for the shed.
Purchase the trim and siding panels along with all the timber in advance from your local hardware depot and keep them handy before you start construction.
Buy pre-fabricated doors to get precise measurement of necessary door opening that would need to be made into walls.
Door should be about 3 feet wide and door opening should be about 3 feet 2 inches wide.
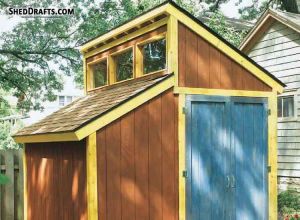
The bigger opening in rear wall should hold two doors of 30 inch each.
6×6 Hip Roof Shed Building Plans For Wall Frame Construction

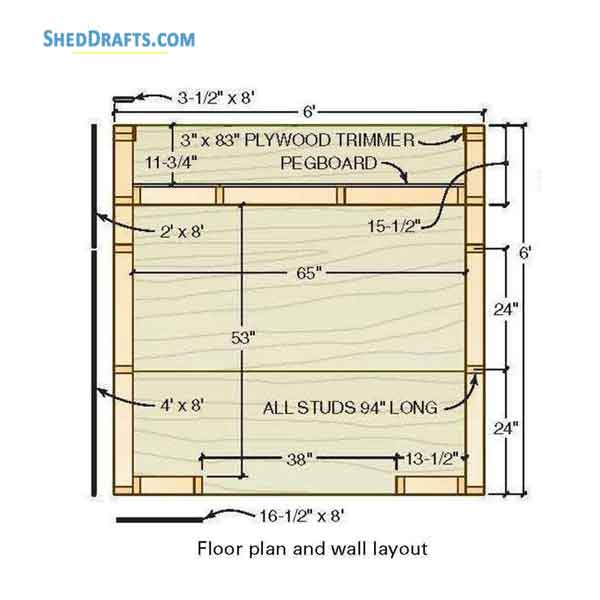
Assemble the floor frame using 2×6 timber boards after referring to the floor diagrams.
Nail the floor boards together using galvanized nails.
Craft the lower wall plates using pressure-treated 2×4 timber.
Create 20 wall studs of 94 inch length for building the walls.
Rear wall’s door header will be 65 inch long and 14 inch wide.
Check that each wall frame is square by comparing diagonal lengths.
Install plywood siding over the floor frame using metal screws.
Install cement panels over the wall frames.
Keep the panels parallel to lower wall plate.
Overhang the panel on the front wall by three inches.
6×6 Shed Building Blueprints For Framing Floor
Dig two parallel trenches each with a width of 10 inches and depth of 6 inches and a spacing of 6 feet between them.
Compress a 4 inch thick layer of gravel into these pits to create a sturdy foundation.
Lay down sleeper boards over the gravel foundation and make them level by adjusting height of gravel underneath them.
Position floor frame on top of sleepers in a way that joists are perpendicular to the sleepers.
Nail each of the floor frame’s corner to the sleepers.
Hoist first side wall into position and nail it the floor fame every two feet.
Install bottom plate parallel to outer floor edge.
Hoist front wall into position and nail it to floor frame.
Fasten the front and side walls to each other using nails or screw driven into the overhang sheathing.
Hoist the other side wall and secure it followed by the rear wall.
Check all wall frames are accurately plumb and nail their tie plates.
Hip Roof Shed Blueprints For Crafting Roof Trusses & Fascia
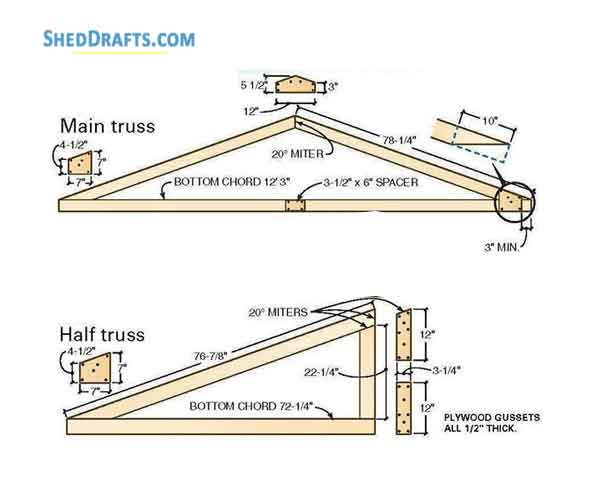
Refer to the roofing diagrams and create main truss and two half trusses using 2×4 timber.
Cut out any curvature in the edges of the timber and make all trusses perfectly straight.
Refer roofing blueprints to get measurements for angles and lengths of trusses and gussets.
Trusses are held together firmly by gussets and they ensure that joints remain sturdy even when angles are imperfectly crafted.
Fasten three trusses as shown in the schematics using two hub gussets.
Rungs installed between trusses are cut on both ends at 45 degree bevel using miter saw.
Confirm that the rungs of roof frame are equal in length and accurately square.
Each rung will be 103 inches in length and must be test fitted between trusses to ensure equal sizing.
Install spokes after bottom rungs have been secured into place.
Slice a 45 degree bevel on one end of every 2×4 spoke and then turn it over and cut against other side.
Thus you have crafted a tip of 90 degrees which will fit accurately in the space where the main truss meets the half truss.
Install top rungs of roof frame to finish construction.
Hoist roof frame over wall frames and position it such that edges of roof frame are parallel to the walls.
Fasten roof frame using angle bracket and then install soffit brackets.
Finally attach plywood siding over roof frame.
6×6 Shed Diagrams For Assembling Corner Boards And Door Trim
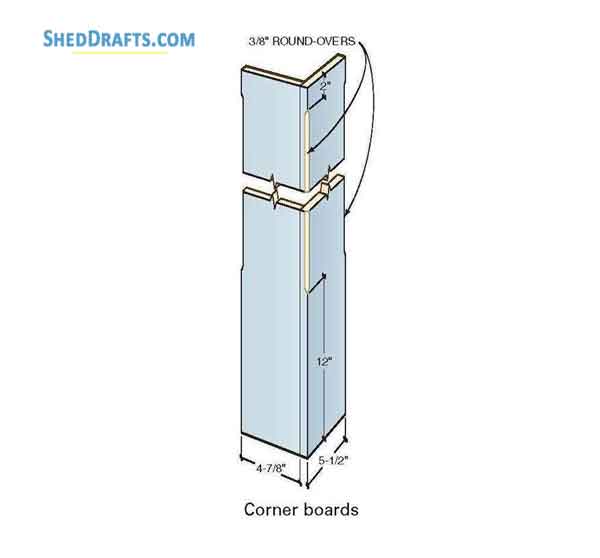
Composite boards are used to create trim for this shed as it is more durable than timber.
The boards need to be cut using 3 different types of router bits.
Two bits of round over type measuring 0.25 inches and 0.375 inches, and one cove bit of 0.375 inches.
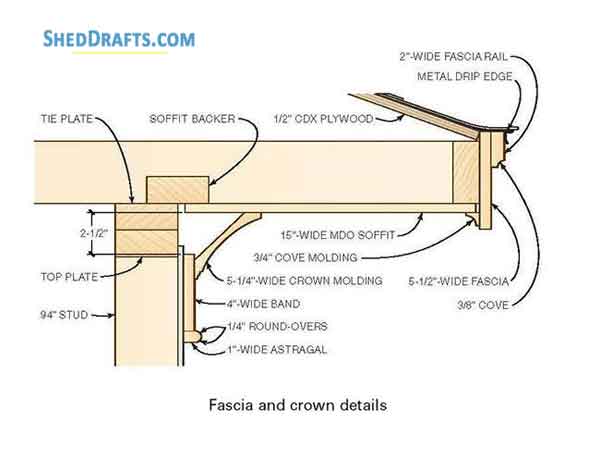
Install the fascia and rails followed by asphalt shingles over the roof.
Fasten steel drip edges over fascia.
Instead of miter the trim on corners you should butt them.
Soffits are crafted using half inch thick overlay material or cement boards.
Create the crown molding using a cove profile of 5.25 inch thickness.
Corner boards are concealed beneath the panel edges and battens nailed to side-wall studs conceal the wall joints.
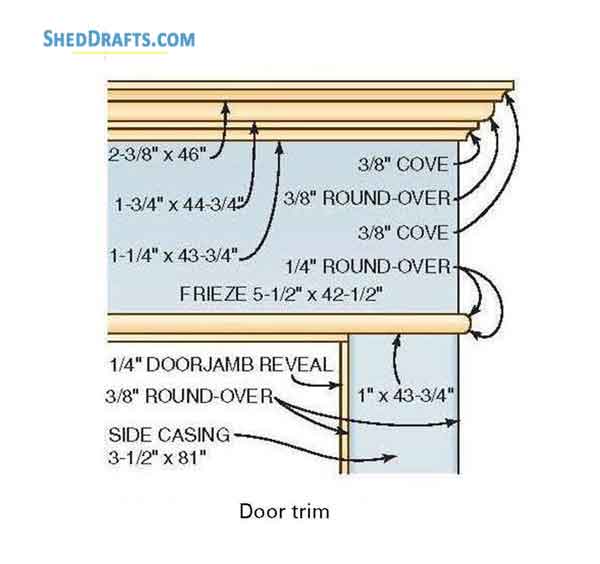
Door
Door is crafted from a typical 6 section wooden panel trimmed into a detailed design.
Slice the trim to a width of 3.5 inches and bevel all boundaries to make them smooth.
Install side casing with a quarter inch overhang beyond the opening for door jamb.
Side casings hold the head casing as displayed in the schematics.
Side casing will be 42.5 inches long from outer edge of one till to another.
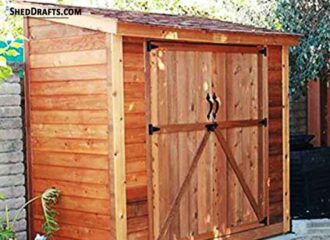
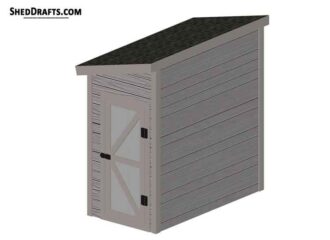
Two ready-made steel doors of 30 inch width are used for creating the tool holder at rear of shed.
One door swings right while other swings left.
Attach jambs of two doors to each other and create a double door.
Strengthen the door jamb by nailing a 4 inch wide piece of plywood siding over the connection between the jambs.
Install the doors such that they will open outwards.
Timber boards at rear corners of shed act like door casing and must be attached after doors have been fastened to the frame.
Nail a 1×6 timber piece above doors and complete rear door casing.
Finishing Details
Apply two layers of acrylic primer on routed profiles, cut ends, corner boards and battens.
Once the layer of primer dries it may cause some wood fibers to rise out of the board and make its surface bumpy.
Use a fine sandpaper to gently smoothen out these fibers and make the surface even.
Seal all joints, nail holes and screw holes and any gaps in the wood using caulk.
Lastly give your shed two coats of paint.