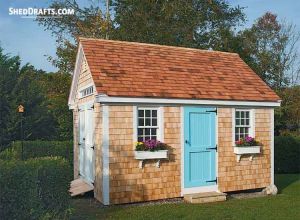
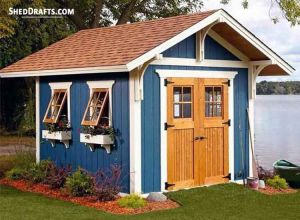
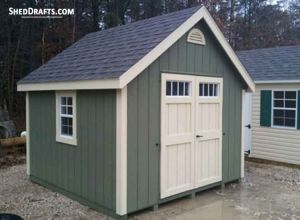
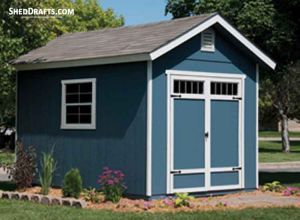
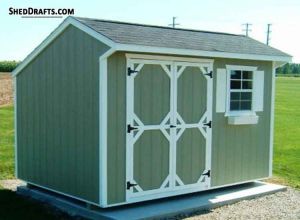
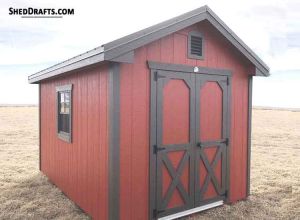
Here are a few 10×12 backyard storage shed porch plans with blueprints for building a long-lasting utility shed on your backyard.
Detailed shed building plans and drafts of wall frames, roof layout and floor design are listed here.
They can help you to craft your building speedily and within an acceptable price range.
Plans For 10×12 Backyard Shed With Porch Showing Elevations, Framing & Structure Details


Floor Frame & Footings Building Blueprints


Arrange the wall plates on the concrete forms beforehand and mark the locations where you would be attaching anchor bolts.
The walls which are shorter in length will have two bolts each and the longer back wall will have three bolts.
Refer to the foundation blueprints and craft the top and bottom wall plates as per the lengths shown in the diagrams.
Bore into the bottom plates to create pilot holes for the anchor bolts.
Fasten pairs of plates together and trace position for doors and windows on them.
Install the headers over top plates using galvanized nails.
Secure studs over each plate and lastly install trimmers and remaining framework for windows and doors.
Constructing Wall Frames
Hoist the walls and position them above the anchor bolts.
Fasten the corners of the walls with each other and secure the anchor bolt’s nuts and washers.
From inside the shed, brace each wall temporarily with a 2×4 timber piece.
Place a 2×4 over the beam trimmers after make the posts accurately plumb.
Check that both posts are level and are of same height.
Make necessary adjustments by cutting with a circular saw.
Craft and install the beams over the trimmers and posts.
Secure the beams to the wall studs and to post-beam connectors with nails.
Fasten tie plates on the upper wall plates using 16d nails and make sure they overlap the corners.
Install plywood sheathing over the wall frames.
Rafter Diagrams & Doors For 10×12 Shed


Mark the locations for placing trusses over the top wall plates.
Hoist trusses at both roof ends.
Position them accurately in the middle over the upper plates and brace them vertically.
Nail them to both walls with 16d galvanized nails.
Extend a string between the two end trusses and use the taunt string as a reference for positioning the middle trusses accurately.
Install truss clips over the top of walls and on the trusses using 1.5 inch screws.
Craft and fasten blocking at a spacing of every 2 feet over the common end trusses.
Cut out sheathing and nail it to the end trusses.
Trace a line about 48 inches above the truss ends and install a row of sheathing over the roof frame.
Halfway between trusses attach clips and then fasten next row of sheathing using nails.
Install gable overhangs over the sheathing such that it is level with rooftop.
Fasten eave and gable fascia boards level with the top of roof using nails and then attach the trim.
Attach roofing felt over the roof sheathing with staples.
Trace horizontal lines over the felt to use as reference lines for installing shingles.
Secure shingles with nails while keeping an one inch overhang.
Install the windows in the walls.
Refer to roof diagrams and fasten blocking among the trusses.
Craft soffits from plywood such that they will fit accurately and secure them to trusses and blocks with nails.
Siding And Trim
Refer to trim installation diagrams and install the exterior trim.
Trace and cut out the siding sections so that they fir correctly.
Use siding nails to secure siding over the sheathing and down on to studs.
Use a saw to cut out parts for the door from the siding sheet.
Place the door frame over the floor and secure plywood sheets over it using screws.
Drive two inch nails from front of the door frame into back of the frame while driving through the plywood.
Keep about a quarter inch of space between trim boards.
Fasten 1×3 trim to door edges using screws and glue.
Secure the roller brackets for the door to upper edge of door frame using screws.
Bore pilot holes as needed and fasten the track with the soffit framing using screws.
Glide the rollers towards the track, then slide them within their brackets and finally secure them into position.