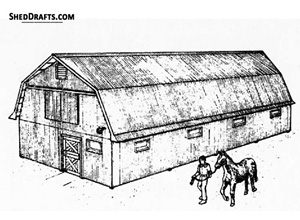
A wooden skid foundation is the simplest and cheapest kind of shed base there is. It is constructed by laying down weather-proof timber boards on a flattened soil or gravel base.
The shed’s floor frame is then simply secured to these skids using nails or screws.
Even though it is simple and budget-friendly to build, a skid foundation is also the least durable base for your shed. Even high-quality pressure-treated wood will eventually get damaged by constant exposure to groundwater and snow. It is also more susceptible to rot and insect damage. As the snow thaws during spring, the skids may shift a little bit each year or sink into the ground.
Hence a skid foundation will require regular maintenance to keep it in top condition.
Let us look at the essential steps involved in constructing a wooden skid shed foundation.
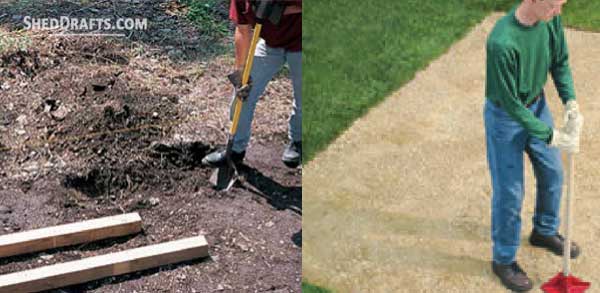
Step 1: Prepare the Ground and Create a Gravel Base
First, gather all the supplies needed for crafting the base. Here is a list of the materials and tools that will be needed.
- Compactible gravel
- Circular saw
- Wood sealer
- Treated wood timbers
- Square
- Shovel
- 4-ft. level
- Hand tamper
- Long 2 × 4
- Rake
- Clean any leaves, stumps, rocks, or other obstacles from the building site.
- Mark the dimensions of the shed base on the ground using stakes or lime, and keep an extra one-foot width all around the perimeter.
- Excavate about four inches of topsoil from inside the marked perimeter.
- Fill the pit with compactible gravel.
- Smoothen the ground using a rake and place an 8 feet long 2×4 along the gravel pad and check it is level.
- Press down the gravel using a tamper and make adjustments along different points of the gravel pad until it is mostly level.
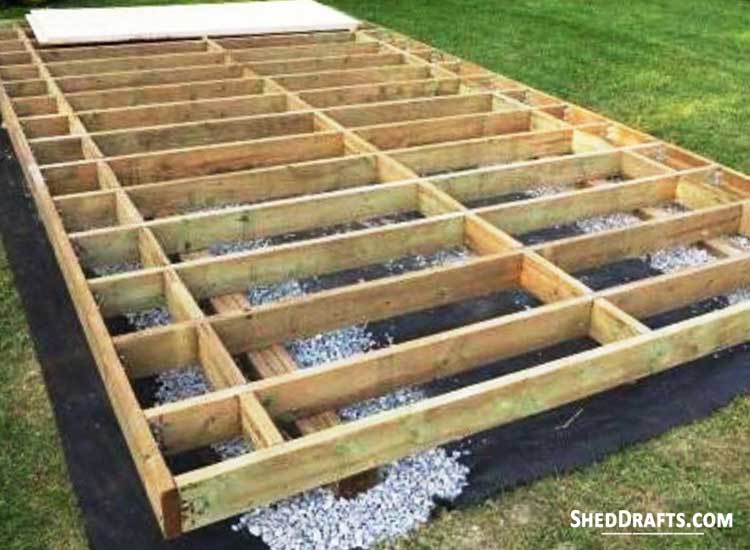
Step 2: Craft and Arrange the Skids On Gravel
- Use pressure-treated 4x4s or 6x6s to craft the skids by cutting pieces using a circular saw.
- The larger your shed is, the more skids you will need. It is ideal to have skids supporting every 12-inch interval of your floor frame.
- The skids will be of the same measurements as the floor frame.
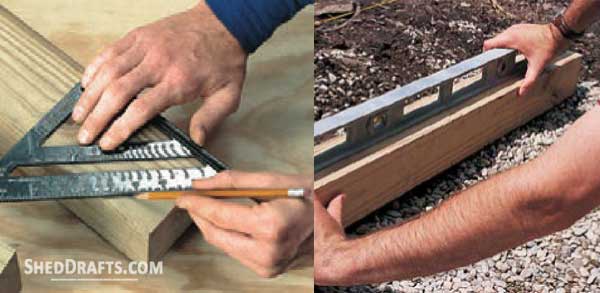
- Use a square to make 45-degree cuts on the skid ends that will be joined.
- Cover the cut ends of the skids with wood preservative and let them dry.
- Place the skids on the gravel pad and check they are parallel to each other.
Step 3: Level and Anchor the Skids
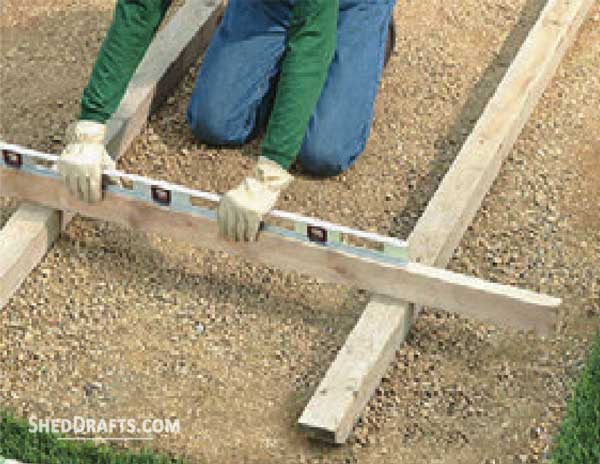
- Remove or add gravel as needed to ensure each skid is at the same height and level as others.
- Begin with an outermost skid and work your way inwards along the length of the base.
- Lay a 2×4 between two skids and use a spirit level to check the two skids are accurately level.
- You can leave these skids like this or reinforce the base by anchoring it into the ground.
- Anchoring is especially recommended in areas with strong winds.
Now you can move on to building the floor frame for your shed.