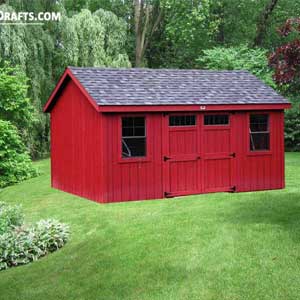
Build your own shed the DIY way with our free guides and blueprints. Read about the steps and tools needed to craft a long-lasting shed from scratch.
We provide detailed step-by-step instructions and plans for constructing durable wooden buildings that will stand the test of time.
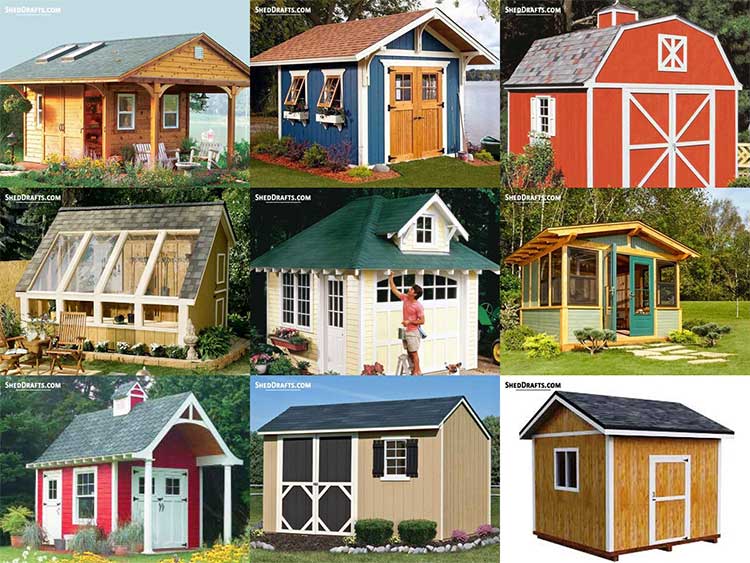
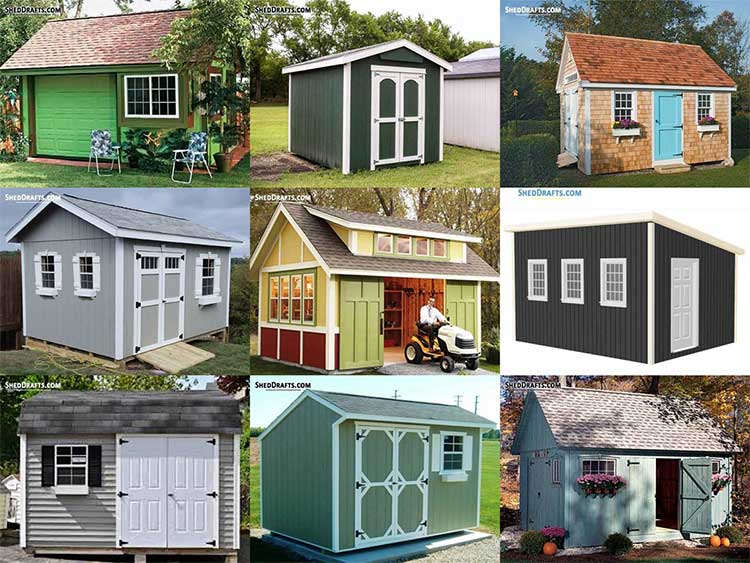
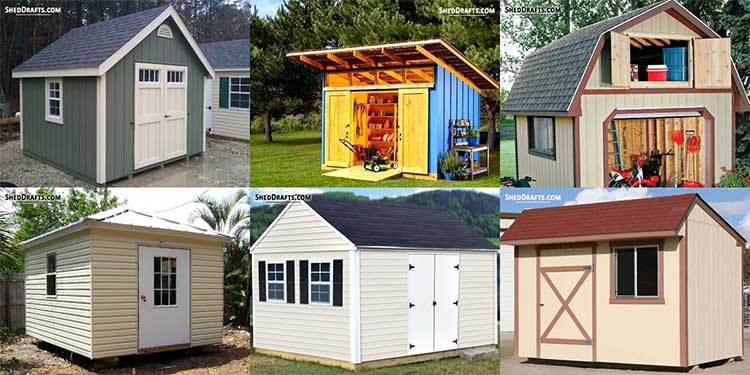
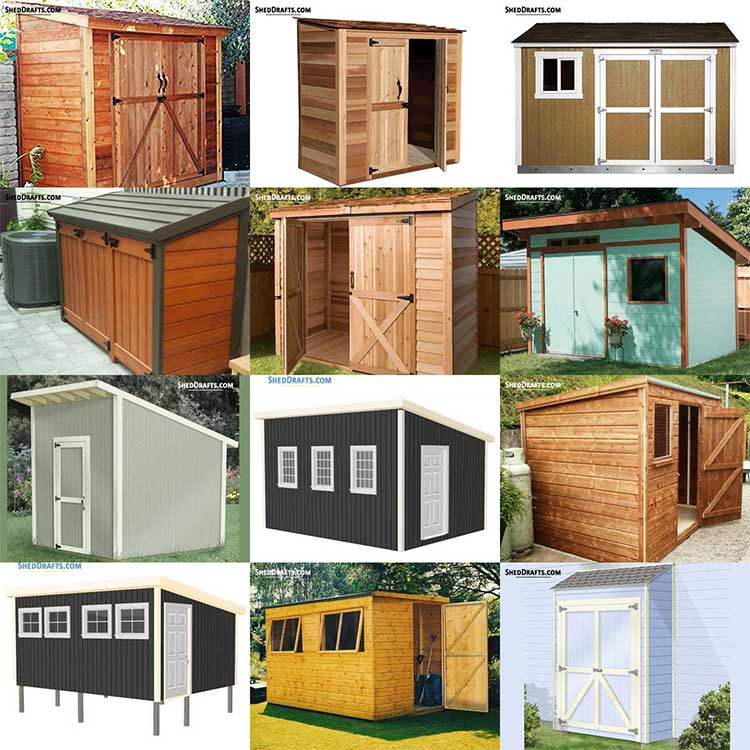
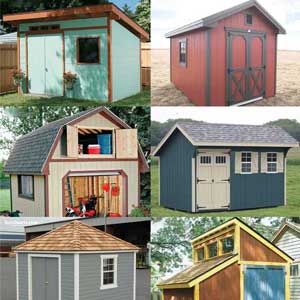
Popular Shed Plans
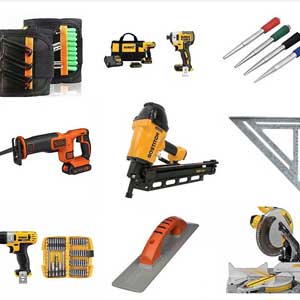
Browse these popular DIY shed plan categories and get an idea of the materials and tools needed to budget for your shed. They will show you the detailed steps needed to build a durable wooden shed.
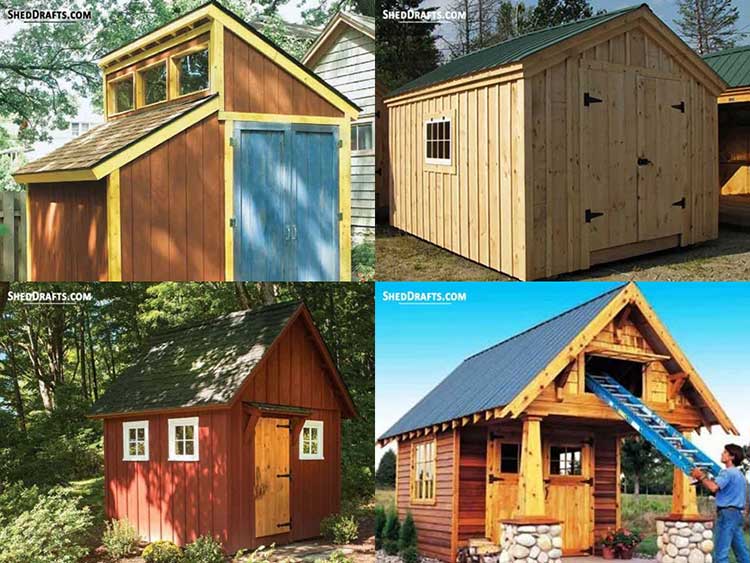
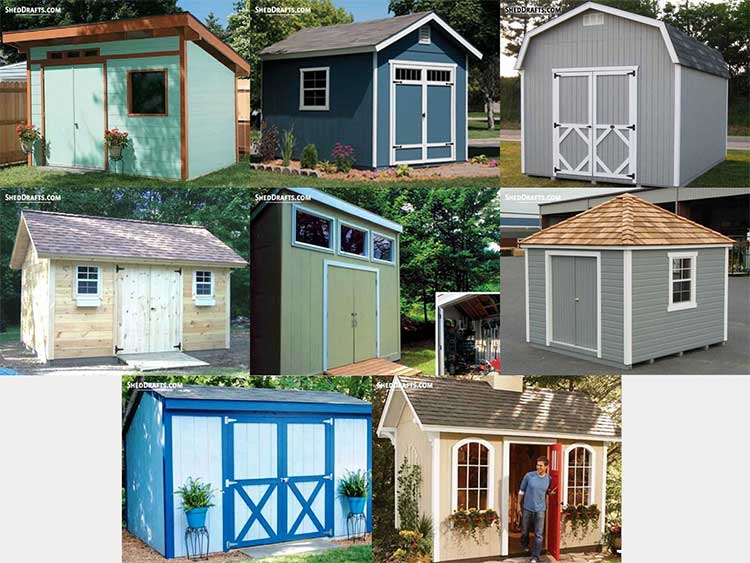
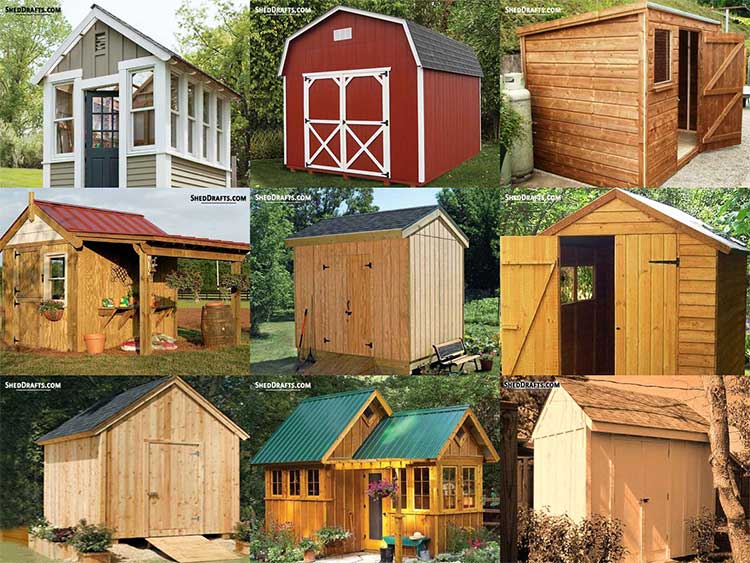
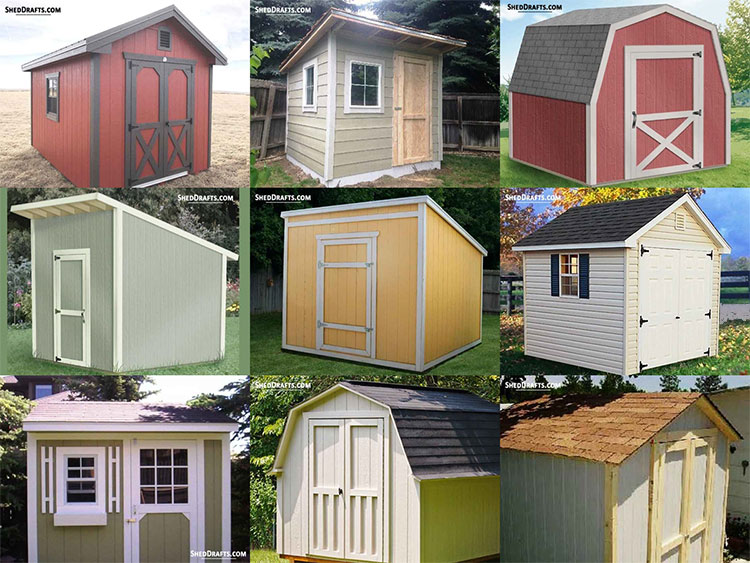
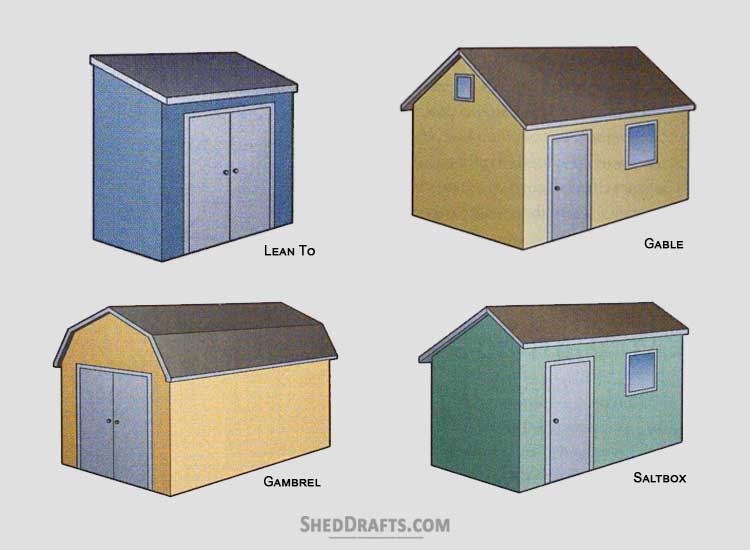
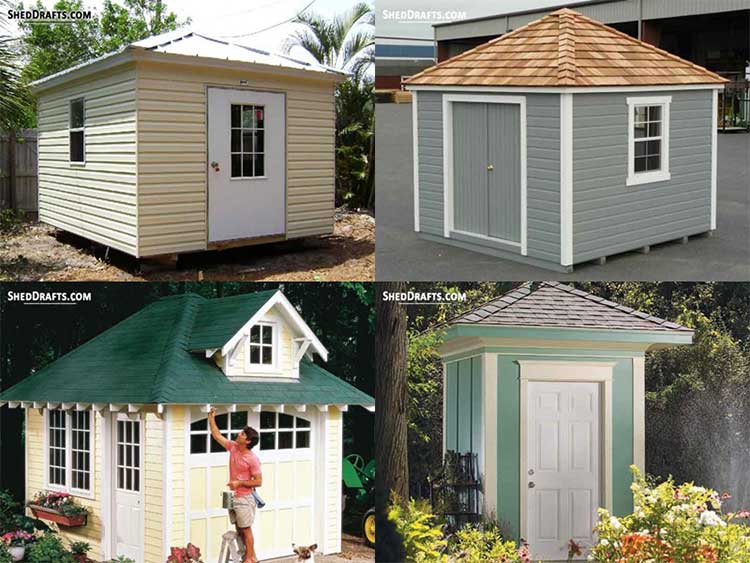
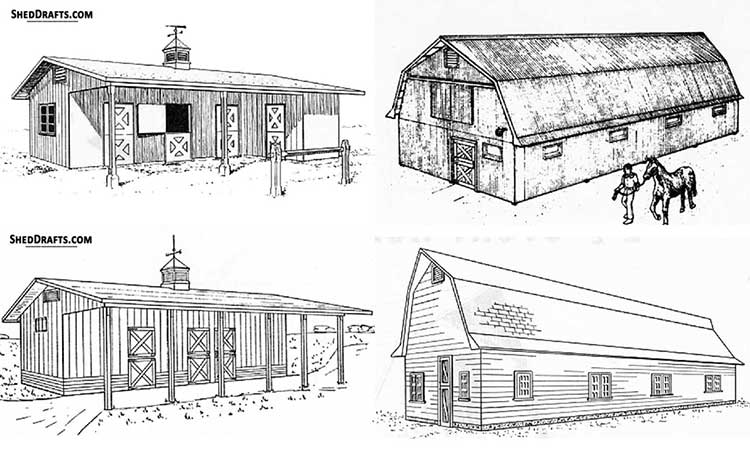
Blueprints For Common Shed Roof Designs
Diagrams are available for crafting sheds of all roof styles like gable, lean-to, gambrel, hip roof and many more.
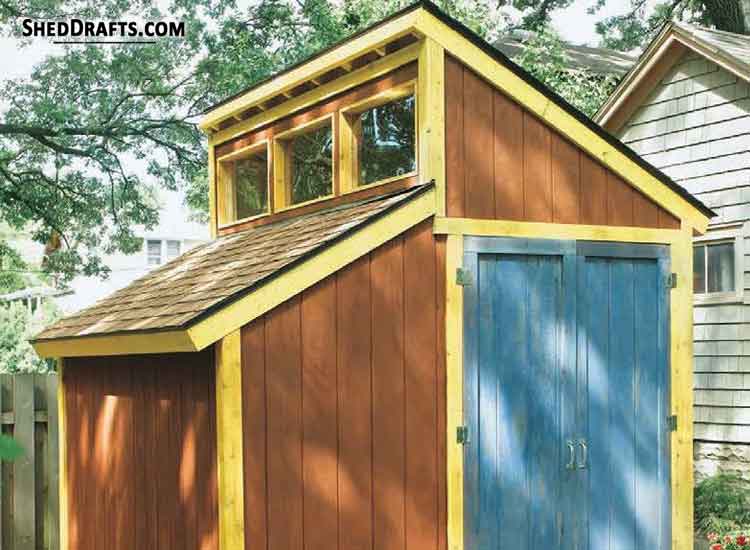
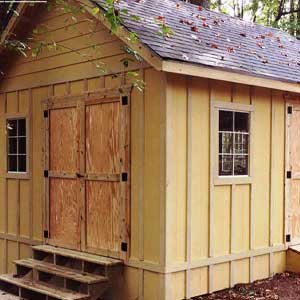
These are the simplest and easiest style of outbuilding to construct. They are best for storage and utility but can also be used for recreational purposes.
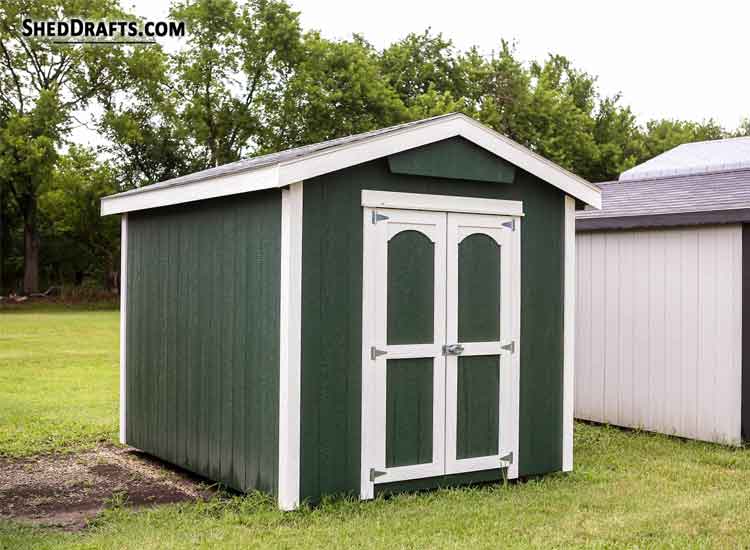
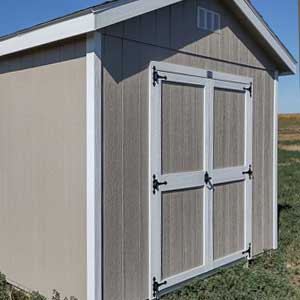
This is the most common roof style for backyard sheds used for storage or gardening.
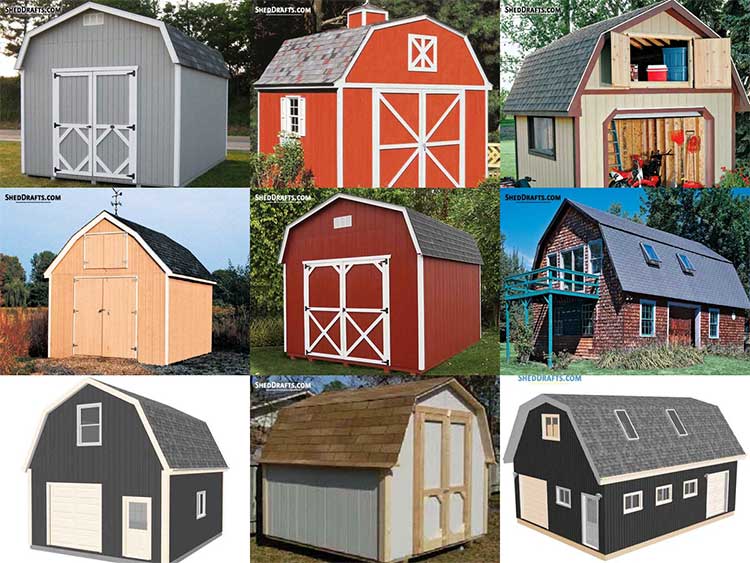
With a traditional barn building roof style, these sheds provide the maximum attic space. They are suitable for experienced builders because of their complex rafter design.
The hip roof is the most stable and durable design suitable only for advanced craftsmen with plenty of building experience.

This is a variation of the gable design. The saltbox roof style provides extra attic space and is more resistant to high winds.
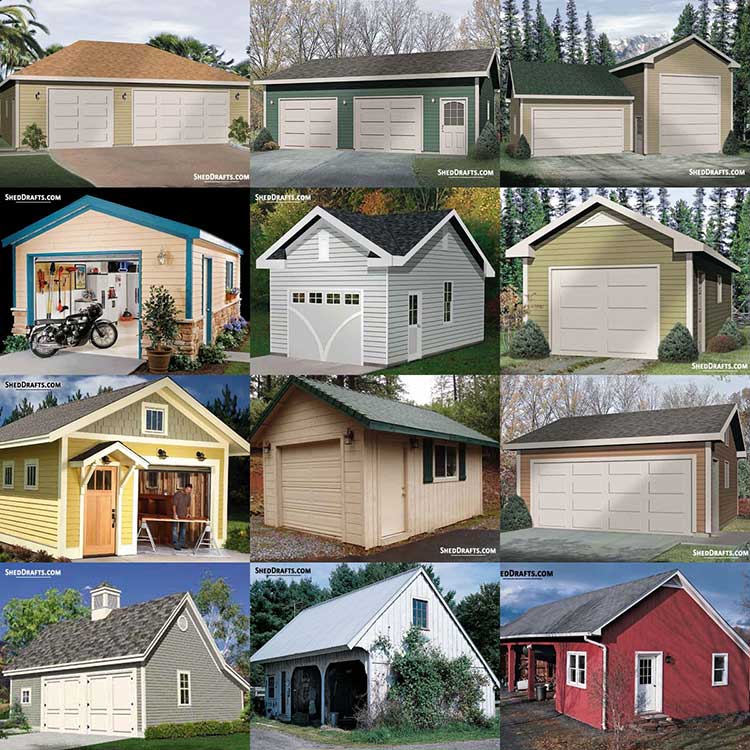
These are blueprints for single and multi-car garages with wide floor space and gable roof design.
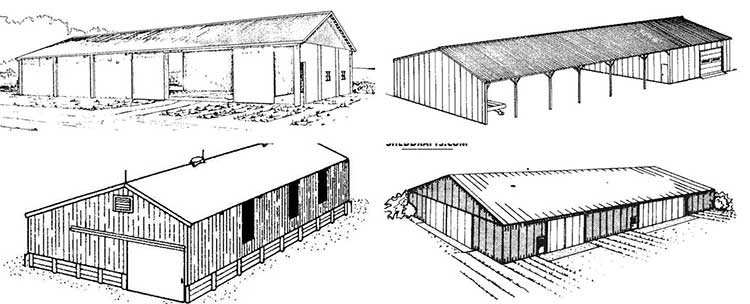
Diagrams To Craft Sheds For Farm Equipment and Animal Housing
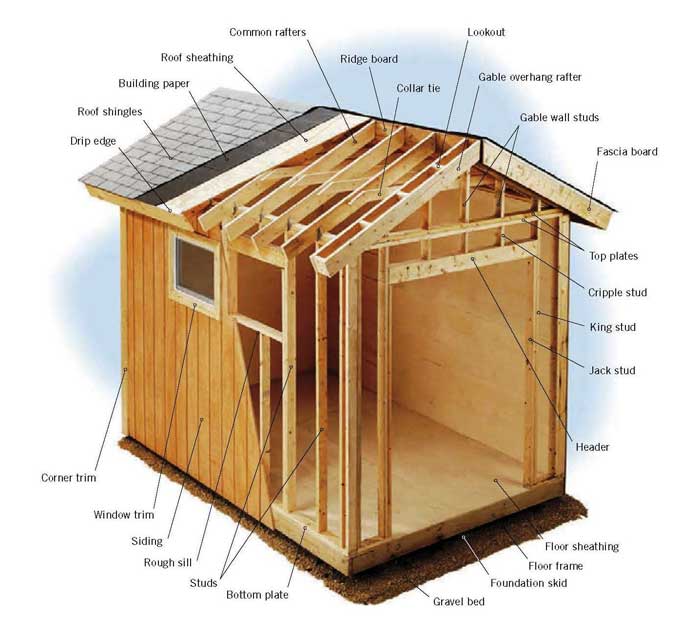
Components of A Shed
Here is an illustration of the typical design components of a shed.
Top DIY Guides

Selecting A Location For Your Shed
You must consider the water drainage of the location where you will be placing your shed. If water gathers around the base for too long, then the floor frame will begin to rot. Place your outbuilding in an area where water won’t collect or dig a drainage ditch to ensure water flows away quickly.
Underground utility lines may be spread out beneath your yard. It is vital to not place your building on any utility line because the company may need to dig it up for repairs.
Your outbuilding should also be easily accessible by vehicles and people, so make sure to have enough clearance around the shed.
The shed should also be set away from property lines, fences, and other buildings.
Notice how the outbuilding will change the view from your windows. Are you comfortable looking at it from your kitchen or bedroom? Does it blend in well with the rest of the surroundings?
Managing Your Lumber
Insect-resistant or pressure-treated wood should be used for the construction of your shed. While pressure-treated lumber may cost less, it is also not that beautiful. Natural woods like cedar and redwood will add a special aesthetic appeal to your shed.
Pick strong construction-grade lumber for load-bearing studs. Select clear lumber without any knots for finishing and exterior siding.
Use hot-dipped or stainless steel bolts, screws, nails, and anchors. They are highly corrosion-resistant and have the most long-term durability.
Quick DIY Guide To Build A Gable Shed
The main steps involved in building a shed are similar to building a house.
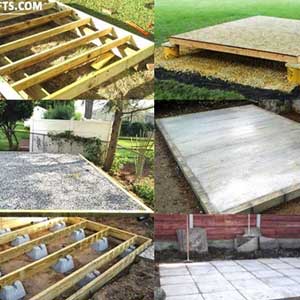
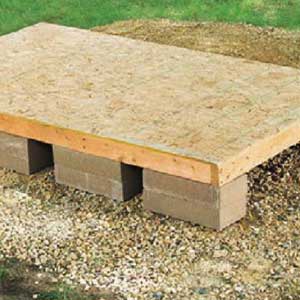
- First, the foundation is constructed, which can be anything from simple wooden skids to a poured concrete slab.
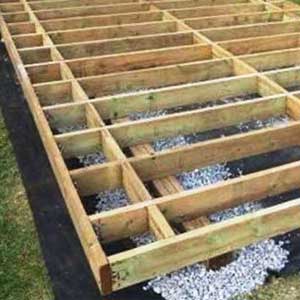
- Next, the floor frame is constructed using rim joists that form the perimeter frame and, in turn, hold the floor joists. This floor frame is then covered with plywood sheets.
- After that, the walls are framed using top and bottom plates and studs running the length of the walls. Rough openings are left in the frame for the doors and windows.
- The wall frames are then hoisted into place and nailed over the floor frame.
- Now the roof frame is constructed by building rafters that run from the top plates of the walls to the central ridge board.
- Then the roof frame is covered with exterior grade plywood sheets, and then roofing material like shingles are added on top.
- Next, windows and doors are installed into the rough openings left in the wall frame. Exterior-grade siding sheets are then fastened over the wall frames.
- And lastly, trim is installed to complete the shed’s final appearance.
Now let us take a more detailed looked at the individual steps involved in constructing a shed.
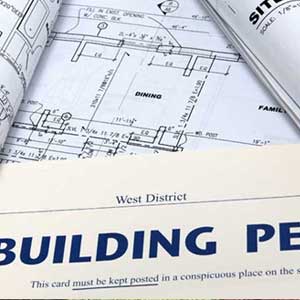
Get Your Shed Permit
The first step you need to do is to get your plans approved by your local building council and see if you need any permits.
Each county may have its own rules and bylaws. Check with a local building inspector to understand all relevant regulations and requirements.
Many sheds will require a building permit. Your outbuilding should be compliant with the local building codes.
After you have discovered all the codes and regulations of your municipality and everything is approved by them, you can move on to preparing the construction site and collect the required tools and materials.
Materials List
Depending on the kind of shed foundation you have in mind, you will need either concrete mix, concrete footings, or pressure-treated skids.
- Pea gravel
- 3/4 inch Plywood sheets
- 2×4 Floor joists
- 2×6 Runners
- 5/8 inch Plywood gussets
- 2×4 lumber for wall plates, studs, truss supports, rafters, and ceiling joists
- 1/2 or 3/4 inch CDX roof sheathing
- 4 Pre-Framed windows
- 1×2 Shutter trim
- 3/8 or 1/2 inch Siding Panels
- 1×3 door, window, and corner trim
- 1×6 fascia, soffits, and end caps
- 1×6 door boards, threshold, and casing
- Roofing felt
- Drip edge
- Ridge caps
- Asphalt shingles
- Outdoor screws
- Anchor bolts
- Galvanized nails
- Metal framing fasteners and brackets
- Door latch and strap hinges
- Wood preservative, stain, or paint
- Caulk
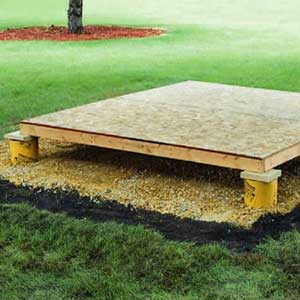
Build Foundation
Let’s build a wooden skid foundation set on concrete piers.
- Craft 3 seven feet long pressure-treated 4×6 beams.
- Place one beam in the center of the shed site and the other two 36 inches away on either side of it.
- Install concrete piers at 6 inches depth and 36 inches apart along the front and back of the shed.
- Space the piers 56 inches apart along the length of the shed.
- Lay out pressure treated 2×6 skids 12 feet in length along the piers and fasten them with anchor bolts.
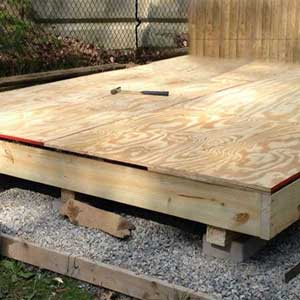
Craft Floor Frame
- Build 84-inch long rim joists first from 2×4 lumber.
- Then craft the floor joists and arrange them along the floor at intervals of 16 inches.
- Now craft 141-inch long rim joists and nail them using galvanized 16d nails to the 84-inch rim joists.
- Check that the frame is square by measuring that the diagonals are equal in length.
- Align the outer frame over the floor joists and check the level and squareness of each floor joist.
- Toenail each floor joist to the rim joists.
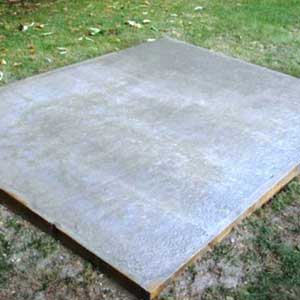
- Lay down plywood panels in a staggered manner on the floor frame.
- Nail the plywood sheets to the floor joists making sure the edge of a sheet is always over a joist.
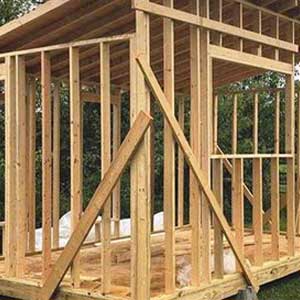
Construct Walls
- Construct the top and bottom plate for one wall cut to the correct length.
- Craft 72-inch king studs to span the length of the wall frame at 16-inch intervals and create the framework for each wall.
- Build the sills, cripple studs, headers, and jack studs for the rough openings as needed.
Hoist Walls
- Hoist the first wall into place and secure it to the floor frame by driving galvanized 3-inch screws into the bottom plate.
- Install temporary bracing for this wall and similarly hoist other walls.
- Verify each wall frame is plumb and square, and fasten the corners of the wall frames to each other.
- Craft the double top plate and mark the locations for trusses at 24-inch intervals on them.
- Attach the double top plate over the walls.
- Saw and remove the bottom plate from inside the door frame’s rough openings.
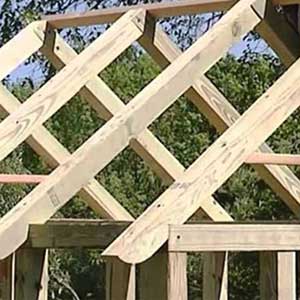
Build Roof Frame
- Each roof truss consists of a 96-inch horizontal ceiling joist, vertical 21-inch truss support, and two mitered 50-inch long rafters.
- Half-inch gussets made of plywood are used to secure the truss components with each other.
- Construct seven trusses to span the length of the roof spaced out at 24-inch intervals.
Install Trusses
- First, install the end trusses on the double top plates.
- Check that the eave overhang is equal on both sides and the truss is flush with the wall frame.
- Install the remaining trusses over the marks created on the double wall plate earlier.
- Toenail each truss into place with galvanized nails.
Attach Roofing Materials
- Attach half-inch thick CDX panels over the trusses.
- Begin installing the panels at the lower end of the roof and work towards the ridge.
- Fasten the drip edge on the plywood panel.
- Install roofing felt over the CDX and nail it down.
- Next, fasten the asphalt shingles, followed by the ridge caps.
Attach Wall Siding Sheets
- Nail exterior-grade siding panels to the outside of the wall frame.
- Begin at the base of the frame and install the panels upwards.
- The lowermost siding panel should cover the bottom wall plate about 3/4 inch.
- Cut siding for the gable ends and install them after all walls are covered.
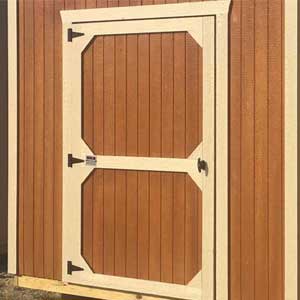
Install Doors and Windows
- Secure the windows in their rough openings and cover the perimeter with 1×3 trim boards.
- Attach pre-fabricated doors on strap hinges inside the rough opening.
- Install a latch for the door.
Paint Or Stain
- Look for any gaps between the siding panels and framing members and seal them with caulk.
- Cover any exposed ends of timber with wood preservative.
- Paint or stain your shed in any color of your choice.