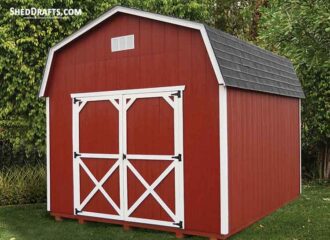
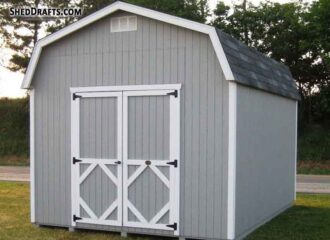
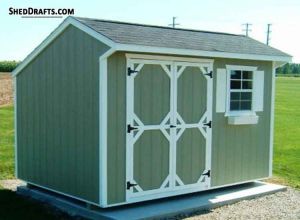
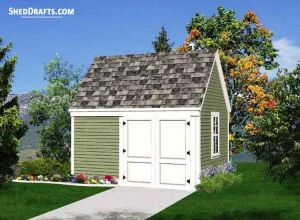
These 8×8 gambrel storage shed plans & blueprints will show you how to build a sturdy and beautiful wooden shed quickly and easily.
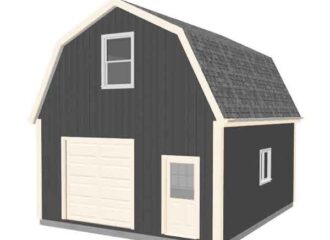
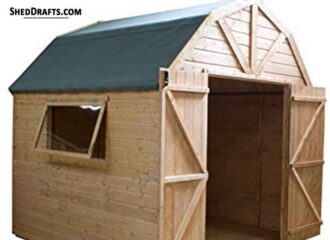
You can use it to hold equipment and machinery used for gardening or other bulky items.
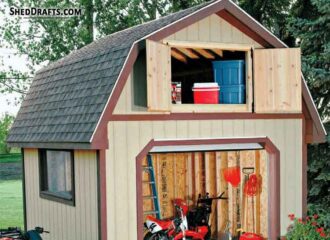
Extra storage space is available near the rooftop because of the gambrel structure of the roof.
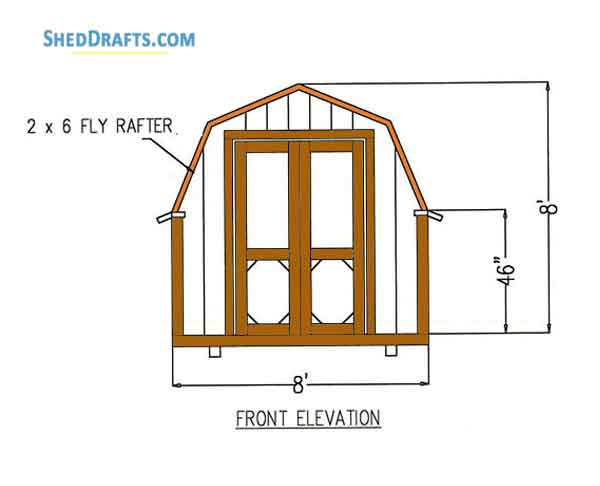
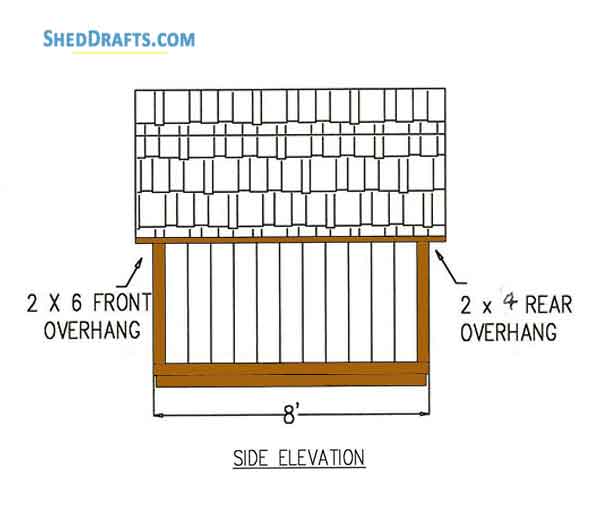
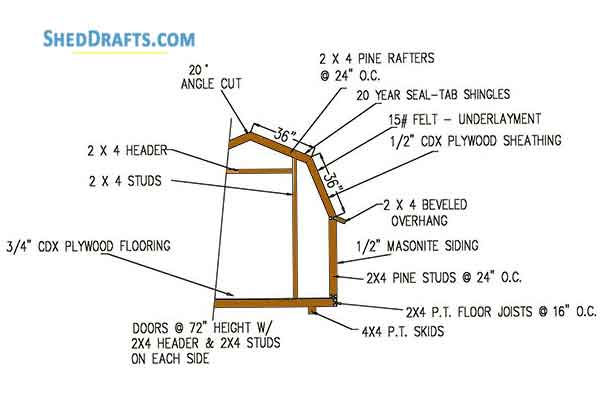
8×8 Gambrel Wooden Shed Blueprints Showing Front & Side Elevations
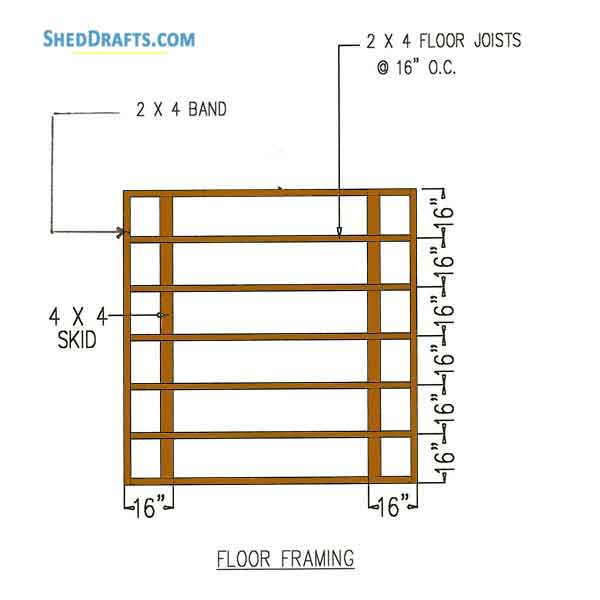
Barn Storage Shed Plans For Laying Foundation And Crafting Floor Frame
Level the land where shed will be created after cleaning it of any boulders and weeds.
Create a 6 inch deep pit and fill it with 3 inches of compacted gravel to create a sturdy base for the shed.
Use 4×4 timber to craft skids which are positioned on the base as shown in the foundation framing diagram.
Use 2×4 timber to create seven floor joists which will then be positioned on the skids with 16 inch spacing between them.
Nail the band boards over the joists.
Toenail the joists with the skids and make sure the space between band boards remain at 16 inches.
Check length of floor frame diagonals to verify it is accurately square.
Floor frame can be made sturdier by placing it on concrete blocks and nailing the frame to concrete.
Adjust the block height using shims and make all blocks at same level.
Secure plywood siding panels to foundation frame using galvanized nails.
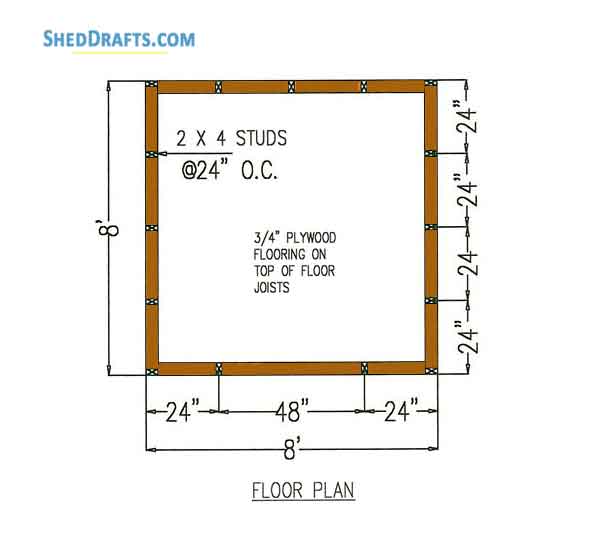
Side Walls
Lay down the top and bottom wall plates on the floor and secure them to each other with siding.
Upper edge of siding and upper plate should be level with each other and extend about 2 inches beyond the lower wall plate.
After siding is secured to wall frame you can raise it into final position and secure it with nails to the floor frame.
Drive nails on the outside of the walls through the bottom siding into the band boards.
Secure nails on inner side of walls through the bottom plate into the floor.
Craft and install other side wall similarly.
End wall will be constructed afterwards.
8×8 Shed Roof Diagrams To Construct Gambrel Ceiling Frame
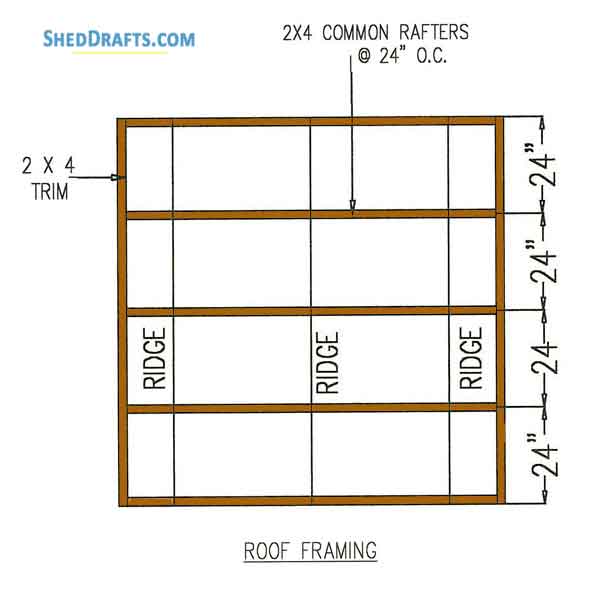
Use 2×4 timber board to craft ten 36 inch long rafters.
Each rafter is sawed at a 22.5 degree angle on one side and 20 degree angle on other side.
Create 10 more rafters of length 36 inches which are cut at 22.5 degree angles on either side.
Create a truss by securing two rafters (that have 20 degree angles) together with a gusset.
Gusset is crafted using half inch thick plywood of length 16 inches and width 8 inches.
Ensure that width of the truss is equal to shed width and that center of shed is directly beneath the truss peak.
Craft 4 additional trusses similarly using 20 degree rafters and assemble five trusses.
Now secure the 22.5 degrees rafter beneath the rafters with 20 degrees and finish building the gambrel slope of roof.
Lastly secure the roof frame to the wall studs using galvanized nails.

DIY Shed Construction Layout For Crafting Doors
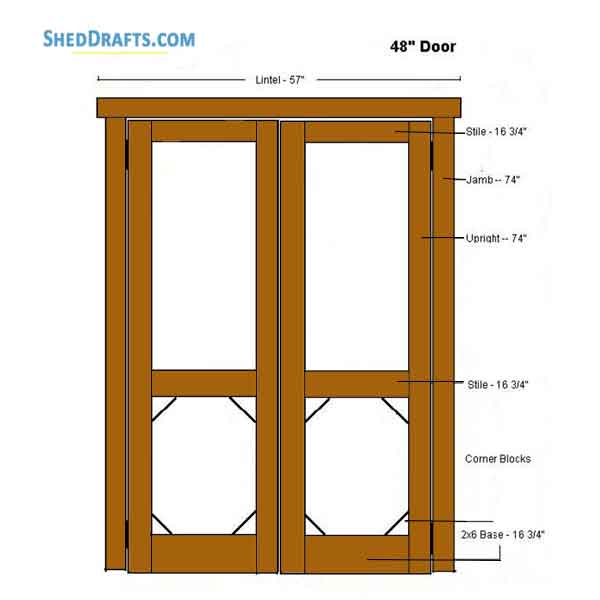
Position the timber pieces for the door on the floor and secure them using ridged fasteners and by nailing corner blocks.
Install butt hinges on both the door jambs.
Jambs must be half inch taller than the doors to allow enough space for the doors to freely turn after they are installed.
Secure a plywood siding sheet over the door frame using nails.
Cut out excess siding as needed and make it perfectly level with the door frame.
Craft one door with a male lip and the other door with a female edge so they both fit together snugly.
End Walls
Secure a 2×4 flush with the siding bottom over the end floor joist temporarily to use like a ledge for fastening the siding.
First the door with the male lip will be secured over the front siding.
Secure siding over ledge then nail it to bottom and side walls after checking that it is correctly square.
Now nail siding to rafters.
Put the other panel siding that contains door over the ledge and nail it in place.
Within the shed install a stud on both sides of the door.
Fit the stud beneath rafter and notch it around rafter by cutting as needed.
Carve out the hole for installing the door in the siding using a handsaw.
Install door header about half inch beneath upper part of opening for door.
Now the header will also act as a door stop.
Outside the shed secure the door jambs over the studs.
Now you can get rid of the temporary ledge you installed earlier.
Check that the doors can move smoothly.
Back wall siding is similarly nailed to rafter and floor through studs.
Roof Completion
Secure roof sheathing from top to bottom of the rafters.
Fasten nails at 8 inch intervals over the rafters into sheathing.
Use a router to cut off siding from side walls that runs past the rafters
Craft the overhang and bevel it.
Use 2×6 timber to craft the front rafters keeping a 22.5 degree angle on one end and 20 degree angle on other end.
Craft rear rafters keeping angle of 22.5 degrees on either end.
Toenail front rafters within front trusses and rear rafters to rear trusses.
Make the overhang fit between the front and rear rafters by cutting as needed.
Nail overhang with top of siding at 24 inch intervals.
Craft a block to fit withing the space between overhang and fly and fasten it in place with nails.
Install roof underlayment over the siding and nail shingles over this underlayment.
Secure corner trim and install a latch on the door.