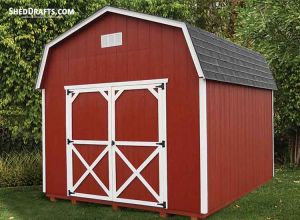
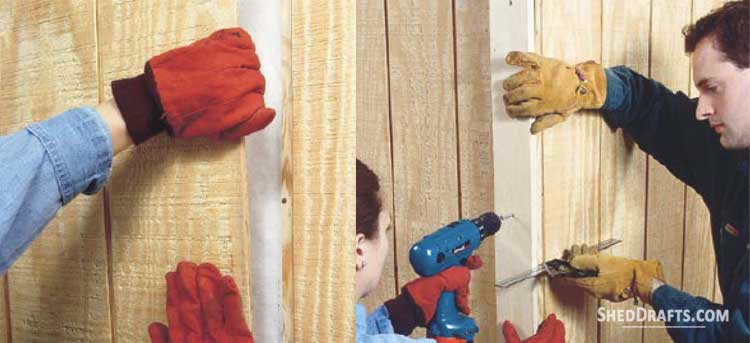
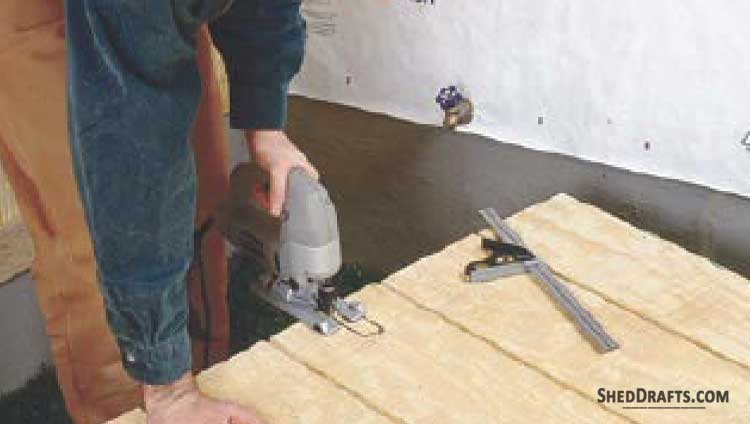
Once you have framed the shed walls and checked that they are square and plumb, it is time to add wall sheathing and siding.
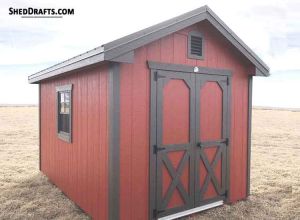
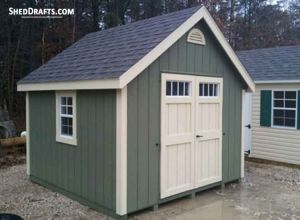
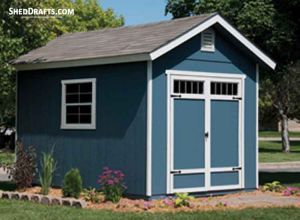
Wood siding is the most common choice among DIY builders for covering shed wall exteriors. Because it is durable, economical, widely available in many styles, and can be easily cut to size and fastened to the wall frames quickly.
How To Pick The Right Shed Siding Material
When selecting the right wood siding to meet your needs, consider the factors below.
- DIY Installation: You should be able to install the siding without professional help.
- Sturdiness: The siding material is directly exposed to the elements, so it must be long-lasting and water-resistant.
- Beauty: The look and appeal of the siding material must match the surrounding buildings. It should blend in and look beautiful.
- Cost: Check that the price of the material needed to cover your shed will be within your budget.
Vertical Siding Styles
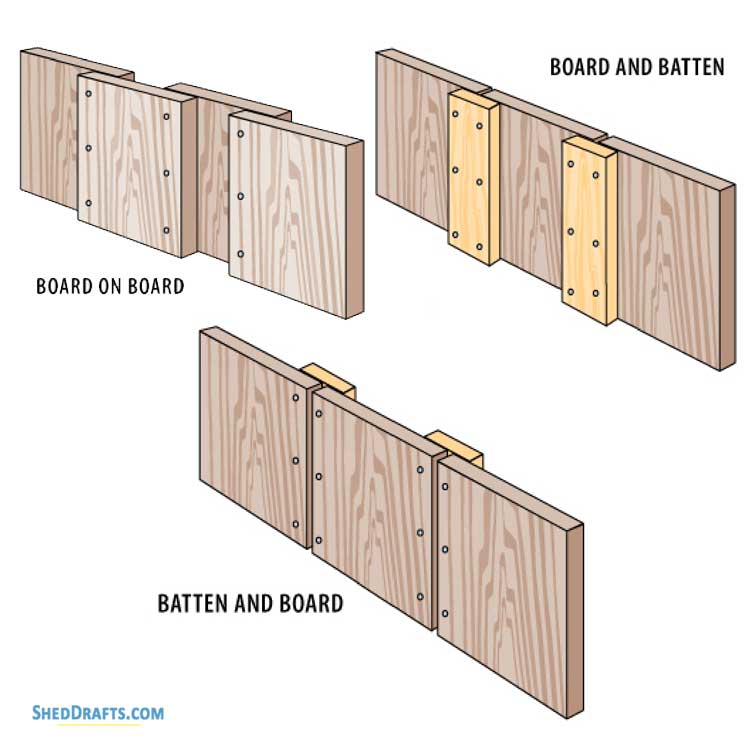
Vertical siding styles are usually used for storage structures that are not insulated or heated.
Common types of vertical siding include board-on-batten, board-on-board, batten-on-board, and vertical wooden panels.
This is the best choice if you want to quickly cover the exterior of your shed while keeping costs low.
Board-and-Batten Siding
This is one of the most ancient forms of wood siding. It is also one of the most popular types of vertical siding in use today because of the ease of installation and low cost of materials.
Board-and-batten siding consists of narrow strips called battens and wider strips called boards.
First, the wider boards are secured to the wall frame, and then the vertical gaps between the boards are covered by fastening the battens over them.
Usually, boards are crafted from thicker lumber like 1×12, 1×10, or 1×8, whereas battens are made out of 1×3 or 1×2 timber.
About half an inch of space is left between two boards to allow for the wood to expand as the seasons change.
The battens are fastened with at least half an inch of overlap over the boards so that no gaps are exposed even when the wood shrinks.
Boards and battens can be constructed using any type of weather-resistant and insect-resistant wood like redwood, cedar, or standard pressure-treated lumber.
Steps For Installation
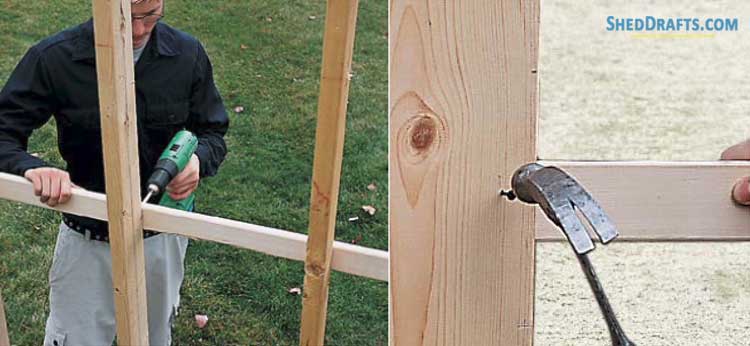
- First, nail horizontal wood straps on the vertical studs to provide a nailing surface for fastening the boards.
- Check that each strap is level and then start nailing boards over them, leaving half an inch gap between the boards.
- Utilize a spacer to measure the gap accurately.
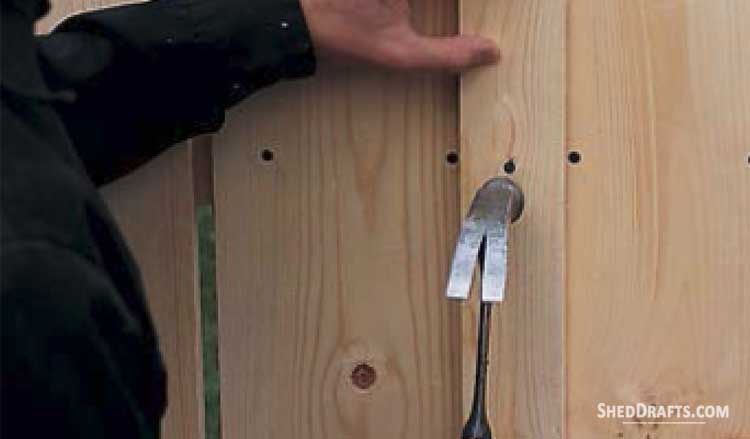
- Nail 1.5-inch-wide battens of the gaps between the boards.
- Verify that each batten has the same length as the boards it is covering.
- Drive nails through each batten and into the horizontal wood straps underneath.
T-1-11 Plywood Siding (Wood Panels)
Exterior grade plywood siding panels are another popular choice of DIY builders for covering their sheds.
The most commonly used plywood style is the T-1-11 which is available in 4×8 sheets.
These panels have 3/8-inch grooves carved into their face at 12, 8, or 4-inch distances, which make each panel look like separate wooden planks.
T-1-11 panels have rabbets cut into their edges so that adjacent panels interlock with each other and keep out the moisture from rain and snow.
These plywood panels are easy to install as you can directly fasten them to the wall frame using nails.
And because of the large panel size, you can quickly cover the whole shed with minimum cutting.
Steps For Installation
- Mark a perfectly level line on the foundation to establish a horizontal base for installing the siding panels.
- Fasten a horizontal 2×4 over the line that will support the weight of the panels.
- Begin at one corner of the wall, hoist a sheet over the ledger, and make it accurately plumb.
- Drive nails through the T-1-11 panel into the wall studs.
- Now hoist the next panel into place and align its shiplap edge correctly over the edge of the last panel so the grooves interlock.
- Secure the new panel by driving nails through the overlapped edges.
- For attaching corner boards, secure the first board flush and then the second one overlapping its edge.
- To allow for any fittings like taps or valves that will be needed, mark the position on the board and cut with a saw.
- Drive nails into each panel at 12-inch intervals in the inner part of the panel and at 6-inch intervals along the perimeter.
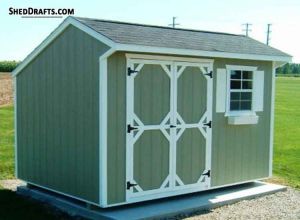
Horizontal Siding Styles
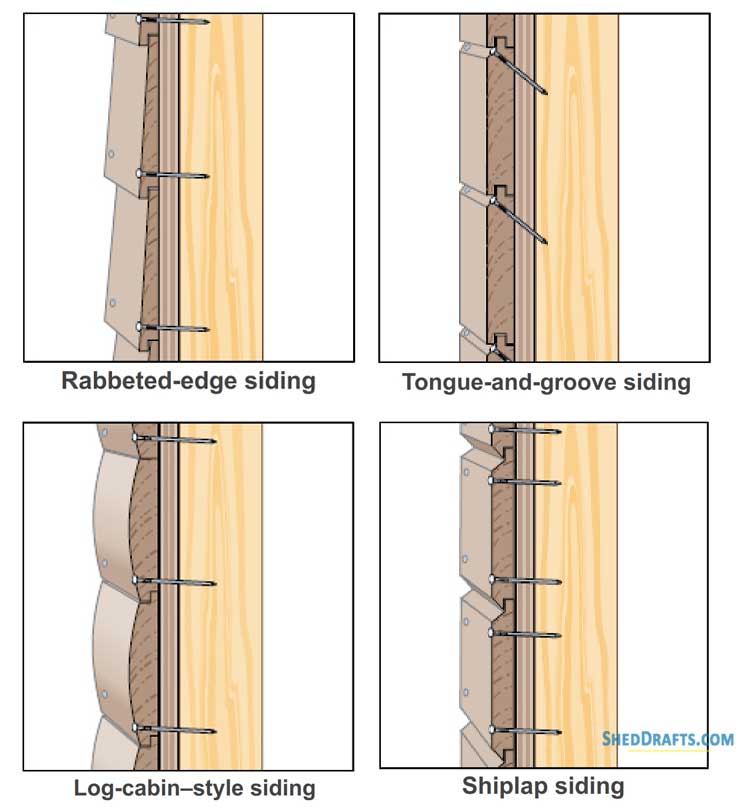
Horizontal siding styles include tongue and groove, clapboards, shiplap, log cabin, and more.
It is a more elaborate siding setup compared to the vertical style and requires more time and effort for installation.
Its cost is also usually higher. Use this option if you really want to enhance the beauty of your shed and don’t mind spending some extra time and money on it.
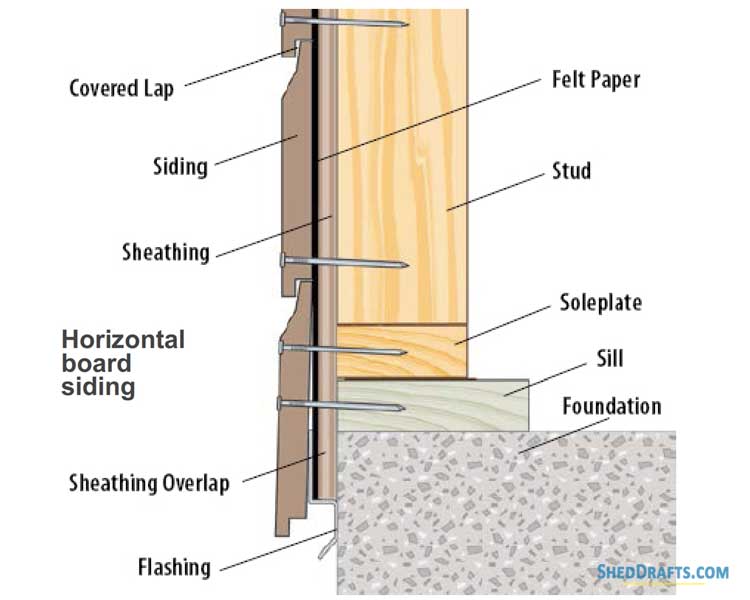
Bevel Or Clapboard Siding
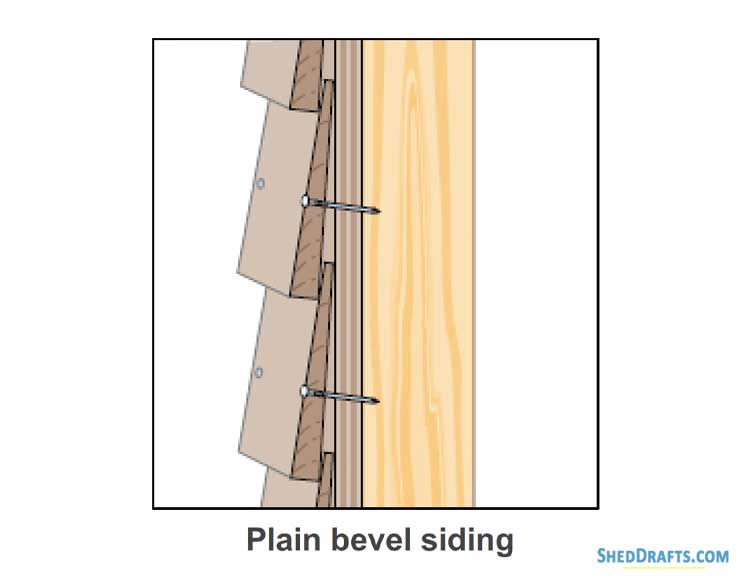

Clapboards or bevel siding are long thin boards attached to external walls in a horizontal manner.
As the boards are crafted to be thinner at one edge than the other, this gives them a bevel angle. So they are known as bevel siding.
The thicker lower edge of each bevel board overlaps the slimmer upper edge of the board nailed beneath it. This creates a moisture-resistant surface that lets water run off easily.
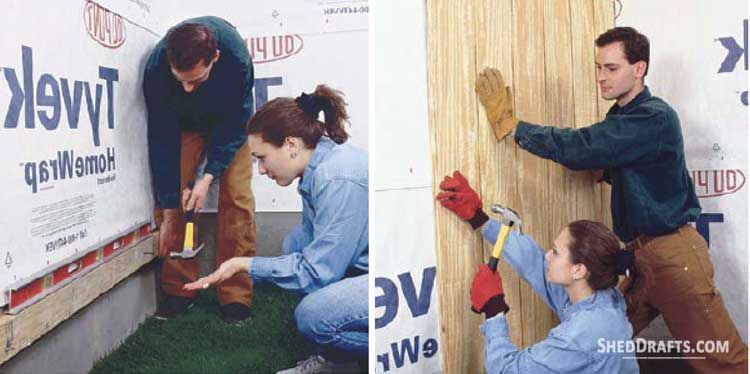
As bevel siding is thin and not sturdy, some kind of wall sheathing has to be installed underneath it. This will increase the cost of materials, efforts, and time needed to complete the shed.
Bevel siding is usually milled from quality weather and insect-resistant timber like cedar and redwood, although cheaper options like spruce are also available.
Make sure to nail the bevel boards into the wall studs and not just into the wall sheathing. Or else the inner walls of your shed will be lined with pointy nail tips!
One face of the bevel siding is left rough, and the other is usually made smooth.
If you plan on painting the shed, keep the smooth face outside. If you want to stain the surface, then leave the rough side facing outwards.
Steps For Installation
- First, install square corner boards to create a surface for butting the siding.
- Mark a perfectly level line around the base of each wall and fasten a wooden strip on it. This will be used to align the first row of bevel boards at the correct pitch.
- Cover the starter strip with a bevel board and nail it into the studs.
- Take care that the nails are at a height that will get covered by the next board and, at the same time, far enough from the edge to prevent the board from splitting.
- Stagger the joints between boards in adjacent rows and keep them at distances of 16 inches or more.
- This ensures that water caught by any joint will run off the board beneath it.
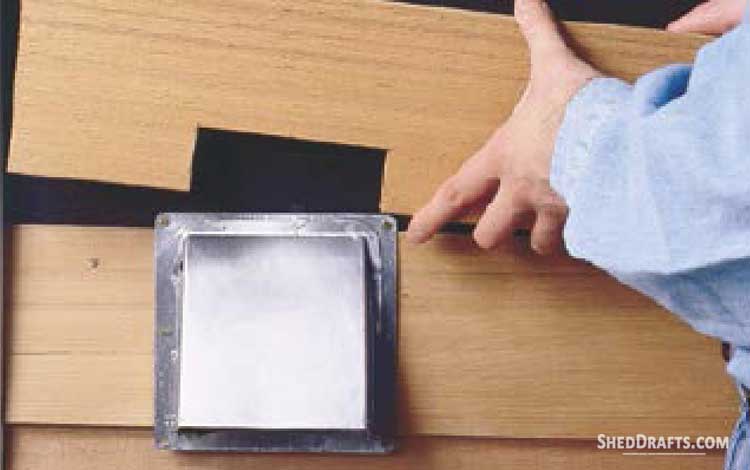
- Make cuts in the boards to allow for external fittings like vents or lights, and cover each one with a board to allow water to run off.
- Caulk any gaps left between the clapboards.
Other Popular Siding Materials
While natural wood siding is the favorite choice of DIY builders, sometimes you may want to go with other options.
LP Siding
Made by the Louisiana-Pacific (LP) company, LP siding is a type of engineered wood that is specially crafted for higher durability.
LP requires much less maintenance compared to plywood siding and looks better than T-1-11 when painted.
Metal Siding
Metal is one of the most energy-efficient and weather-resistant siding materials. Metal doesn’t fade, chip, or warp like wood and requires very little maintenance as the years go by.
Vinyl Siding
Vinyl can be much more beautiful than wood when used correctly. It is also sturdier than wood and comes in a wide choice of colors. It is the second most popular choice among DIY shed builders after wood.
Choosing an exterior siding material that is durable, fits within your budget, and is easy to install will make your shed building experience much more rewarding. You will build a shed that not only looks good but also stands the test of time.