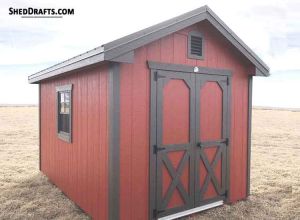
An unventilated shed can be both obnoxious and hazardous. When you open the door to your shed, it may present you with a mixture of smells that can be unhealthy.
Setting up proper ventilation in your shed will improve the life of your stored gear and make the structure more human-friendly.
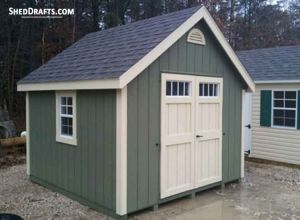
Let us look at some clever and economical ways to ventilate your shed like a pro.
And first, let us see why it is so essential to keep a constant airflow in your shed.
Bad Ventilation Causes Costly Problems
If your shed is used only for storage, then you may question the need for ventilation.
You just get in and out and hardly spend any time in it.
But the safety and life of the equipment stored inside does depend on your shed’s ability to ventilate.
If you use the shed as an office space, a man cave, or a workshop, then fresh air becomes highly critical.
It’s never a good idea to leave the door open while you are working inside because all kinds of insects, pests, and rodents may enter.
Let us look at the damages caused by poor air circulation inside your shed.
Hot & Cold Temperature Control
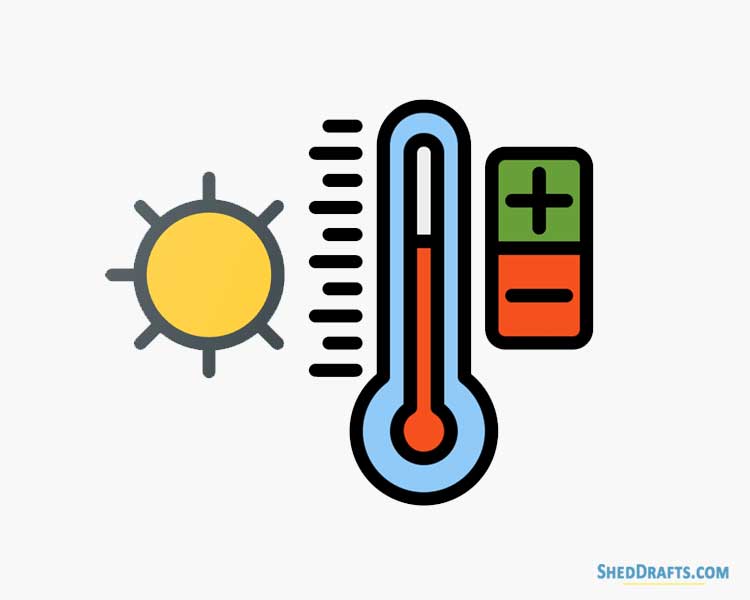
It can get really hot or really cold inside your shed based on outside weather. You can install heating and insulation, but without ventilation, it can cause condensation.
Condensation and heat together cause the growth of mildew, mold, and other fungi, which damages your gear and causes breathing problems.
Condensation also makes wood rot and metal rust.
Moisture Management
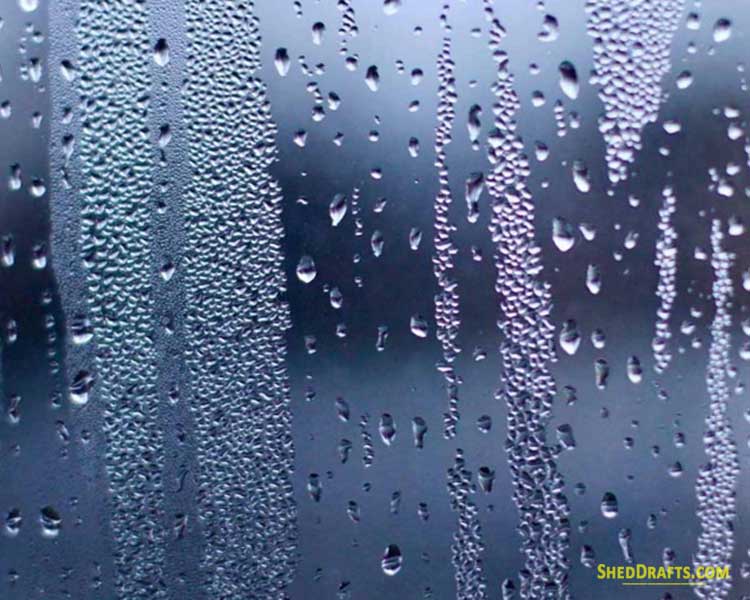
Without a constant flow of fresh air, moisture can build up inside your shed, even during warm weather.
This will damage your stored items and accelerate fungal growth.
When you inhale moldy air inside the shed, it can cause lung and sinus issues.
Dangerous Fumes And Stale Odors
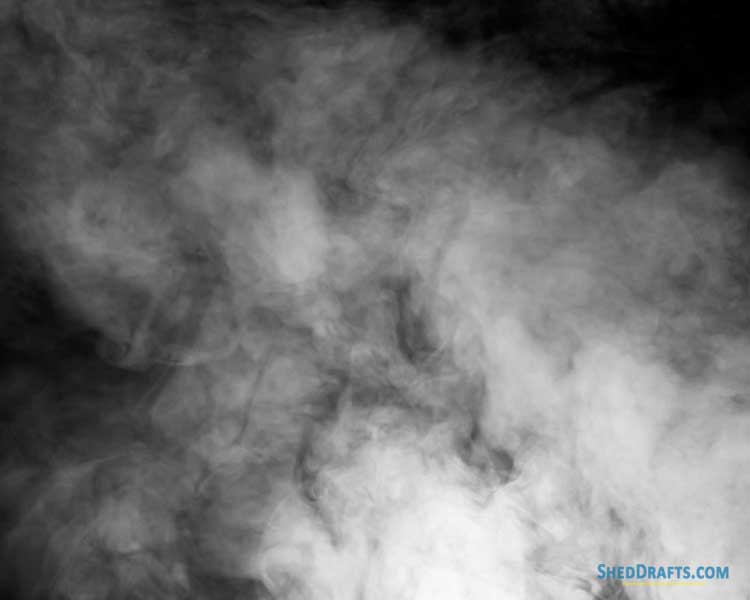
Fertilizers, paints, solvents, gasoline, and other flammable liquids stored inside your shed constantly give out invisible fumes.
These flammable fumes can accumulate inside the shed and create a toxic and hazardous condition.
Sometimes, the slightest spark can ignite this cloud of vapors.
Entering your shed when there is a build-up of such gases can also cause breathing issues and is bad for your eyes.
Building Codes On How Much Ventilation Your Shed Needs
For a shed with a vapor barrier, building codes usually require that for every 300 square feet of floor, there must be one square foot of vent space.
When there is no vapor barrier, the regulation requires that for every 150 square feet of floor area, there must be one square foot of ventilation.
So you just multiply the width of your shed by its height and divide by 300 to get the area of ventilation needed.
A quicker way is to divide the floor area footage by 2 to arrive at the needed vent area in inches.
So a 300 square feet shed will need 300/2 = 150 square inches of ventilation space.
Net Free Area (NFA)
A vent may have a larger square inch area compared to the space that actually lets air through.
The phrase Net Free Area (NFA) is used by manufacturers to show the actual area of a vent through which airflow happens.
A 12″x12″ vent may have an area of 144″ but only provide an NFA of 115.2″ because of its design.
So note the NFA on pre-built vents when you are buying them.
Active vs Passive Ventilation
The two main categories of ventilation are passive and active.
Each of these categories has several options available underneath each one.
Passive or Wind-Based Ventilation
The simplest form of passive ventilation is when you leave some space underneath the rafters in the wall cladding to let air through.
Gable and ridge vents also provide this kind of ventilation. A more advanced way is to install a wind-driven turbine on the roof.
Whenever you allow the natural flow of wind to ventilate a building, it is considered passive.
Active or Mechanical Ventilation
Active ventilation is when you use some mechanical device for ventilation, like an exhaust fan.
The machine can be driven by solar power or by a regular electrical line.
Sophisticated devices allow you to control temperature and moisture inside the building as well.
Ventilation For Large vs Small Sheds
Passive ventilation is enough for sheds with a floor area of less than 60 square feet.
If your shed has a floor area greater than 100 square feet, then passive may work, but the vents will need to be strategically placed.
If you are going to live inside or work inside the building for long periods or store electrical equipment inside, then humidity and temperature control also becomes essential.
Any shed greater than 200 sq. ft will usually need some form of active ventilation or more than three passive vents.
How To Select the Right Ventilation For Your Shed
The primary goal of vents is to improve air quality by removing moisture and heat from your shed.
This also prevents rotting, rusting, and fungal growth inside the building.
There isn’t any ventilation option which can be considered as one-size-fits-most. No one venting solution works for everybody.
To choose the ventilation that will be most suitable for your needs, you must consider the roof layout and the shed size.
If your shed isn’t yet constructed, align your shed in the direction of seasonal winds such that it allows passive ventilation along the gable ridge line.
For an existing shed, you can cool down the building by planting shady trees in the west and east.
Painting the roof with a light color that has a thermal ceramic additive will also cool down your shed and make it fire-resistant.
Top Shed Ventilation Options
Whether you have constructed your own shed, bought a pre-built one, or are planning to get yourself one, installing the right kind of vents will greatly enhance the value of your shed.
Let us look at some of the most popular venting solutions that will make your shed last longer and smell better.
1. Soffit Vents
These vents are located beneath the eaves where the roof overhangs the walls. They are one the most common forms of passive vents installed in sheds.
Soffit vents absorb cool air from the outside, whereas the warm air inside the building escapes from gable or ridge vents.
Usually, a length of soffit is cut away and replaced by a metal screen to keep the bugs out while allowing airflow.
You can also purchase pre-built plastic or metal soffit vents in varying sizes that are basically just wall vents.
Pros
- Easy Installation
- Can ventilate large areas
Cons
- Screens require perioding cleaning
- Must be set along the entire building length
Cost
Based on length, material, and quality, the price varies from $15 to $250
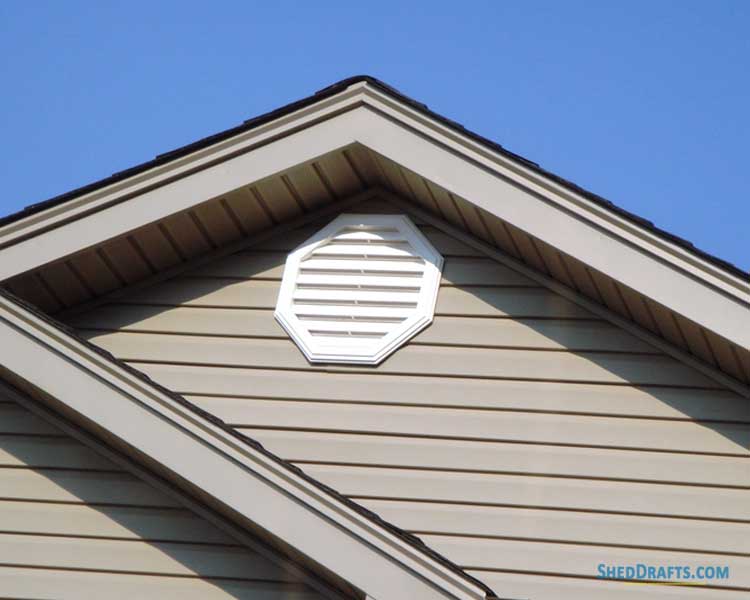
2. Turtle Roof Vents (Louvres)
Turtle vents or louvers are installed on roofs to remove warm air at the top of your shed. Vents at lower levels then absorb cool air from outside to replace the escaping warm air.
The outer cover of these passive vents is made from metal or plastic and looks like a turtle’s shell. This cover keeps insects and moisture out.
As stale, warm air rises to the top of your shed, these vents are usually set up close to the roof’s ridge line to allow for maximum ventilation.
A turtle vent has flanges on the sides that slide and fit over and under the roof shingles to hold the vent in place.
Pros
- Ideal for gable roofs and other ridged roof types.
- Removes both moisture and heat
- Low-cost option
- Simple installation
Cons
- Larger sheds may need 5 or more units
- Roof can leak if vent flanges aren’t correctly sealed
Cost
Depending on if the shell is metallic or plastic, each unit will cost around $20 -$70.
3. Ridge Vents
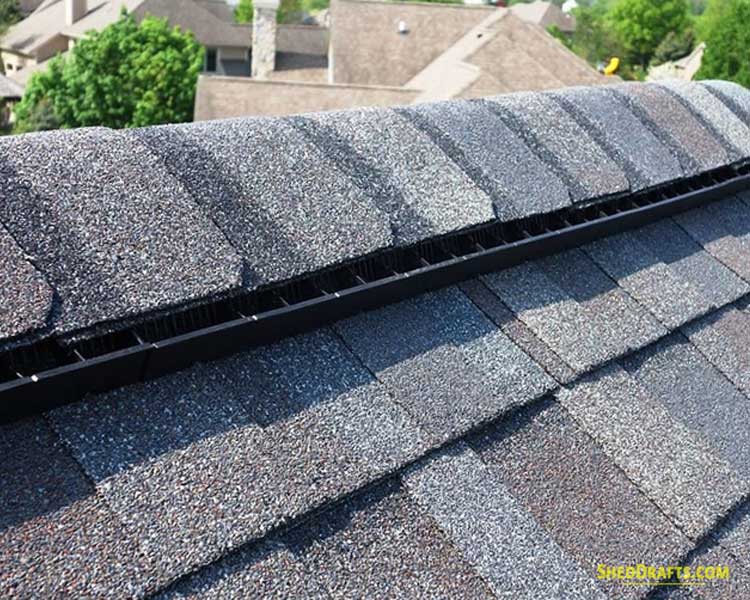
These vents cover the ridge of the roof and appear like a section of the roof. They are formed by leaving trusses at the ridge exposed and covering them with a metal or plastic cap.
Ridge vents can be easily installed on existing gable sheds by removing a few shingles at the ridge and trimming the sheathing.
When ridge vents are combined with soffit or wall vents, they provide a high degree of passive ventilation for the entire shed, even without winds. Cold air is sucked in through the soffits as hot air escapes from the ridge vents.
They are more effective than gable and turtle vents, which only ventilate the areas immediately surrounding them and require blowing winds.
In areas with heavy snowfall, ridge vents can get blocked with snow. In such cases, it is also better to install gable vents as a backup system.
Pros
- Highly effective way to ventilate a complete shed
- Can be retrofitted to existing sheds quickly
Cons
- Works only on roofs with peaks
- It can get blocked in heavy snow.
Cost
Based on the material of the vent, it can cost $5-$10 per foot.
An average-sized professionally installed vent can cost from $100-$500, including labor costs.
4. Solar Roof Ventilation Fan
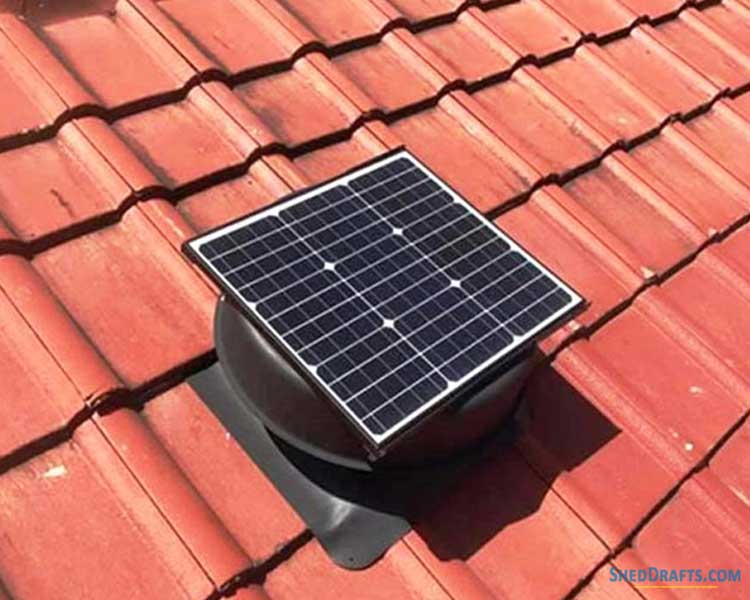
A solar-powered roof ventilation fan works similarly to a turtle vent and is far more effective at maintaining a steady airflow.
The fan creates an air vortex like a whirlwind that absorbs all the moisture and heat out of your shed.
The solar panel ensures your energy bill doesn’t increase while keeping your shed aerated all year round.
This vent works best on a sloped roof in a location that receives at least moderate sunlight all day long.
Pros
- Simple installation
- A thermostat regulates fan movement
- One-time cost
Cons
- Needs separate insect screening
- Not suitable for cloudy areas
- Expensive
Cost
Depending on quality and warranty, it can range from $ 100 to $500
5. Skylight Roof Vent
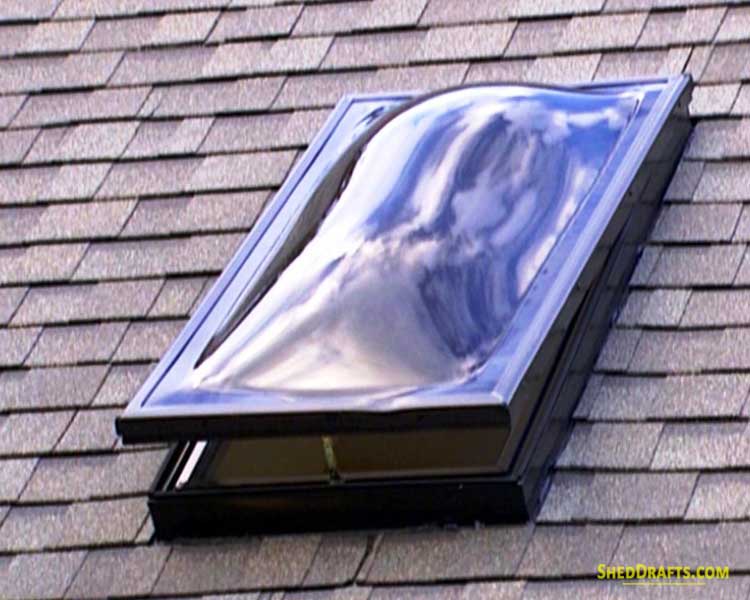
You can install a special venting skylight near the ridge of the shed roof to enable maximum airflow.
Venting skylights look similar to ordinary skylights as they are made with transparent or translucent materials that let in sunlight.
What makes them different is the addition of screened air exhaust outlets that remove water vapor and heat.
They operate similarly to turtle vents and are used in combination with soffit vents that pull in cool air from outside.
Pros
- Low-cost solution
- Also provides natural sunlight
- Quick installation
Cons
- Snow can block the vent
- May develop cracks over time
Cost
Can range from $50-$100 based on quality of material
6. Cupola
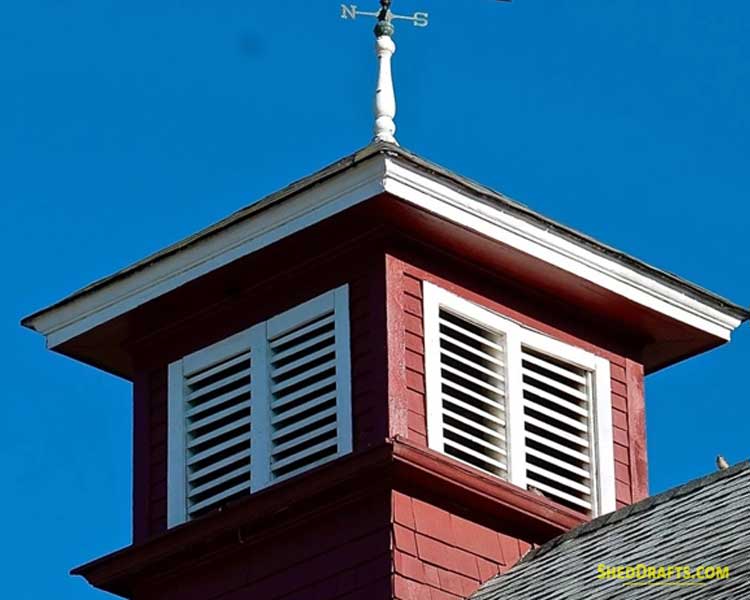
A cupola is a small box-like structure with screened louvers on all sides that sit on top of your roof’s peak.
You can construct one easily if you are handy or purchase from a wide selection of pre-built options.
When building a cupola, it is best to make its base at the same angle as the roof pitch so it is simpler to caulk and waterproof after fastening.
A cupola can quickly remove huge pockets of heat and moisture from your shed’s roof.
So, it may take some time for the air quality and temperature to become balanced across the shed.
Combine it with ridge vents to create even ventilation all across the roof.
Cupolas are frequently used in areas receiving heavy snowfall where other types of roof vents may get blocked during winter.
Pros
- Ideal for areas where it snows heavily
- A single one is enough
- It can be installed on older buildings
Cons
- It may require other vents to even the airflow
- Could pull out too much air too fast
- Pre-built ones can be expensive
Cost
Depending on how fancy or plain you want your cupola, the price can vary a lot.
Making your own can cost from $50-$200.
Buying one can cost from $150-$1500.
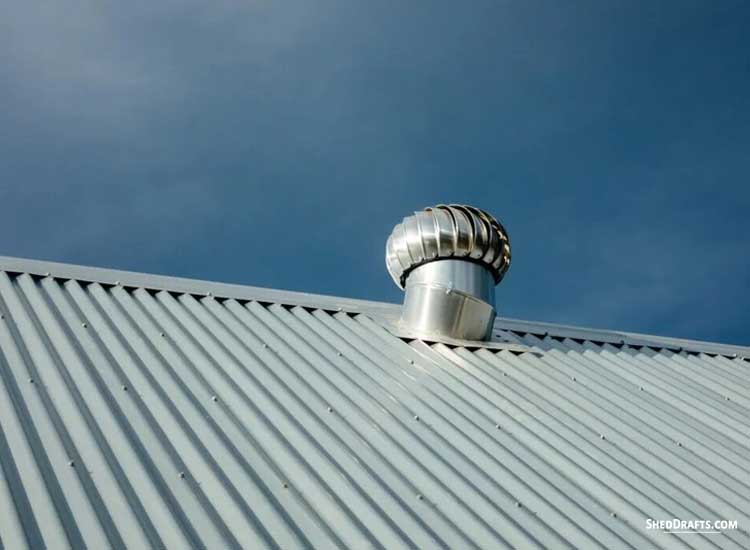
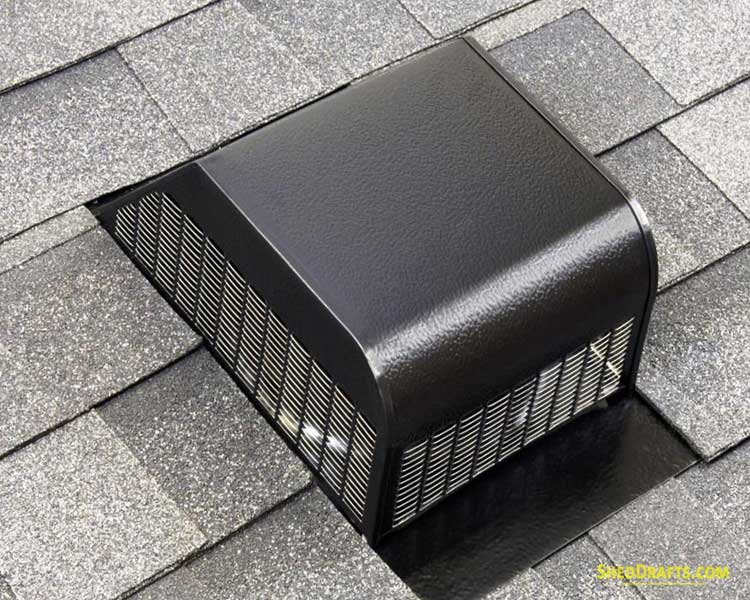
7. Whirlybird Turbine Ventilator / Rotating Cowl
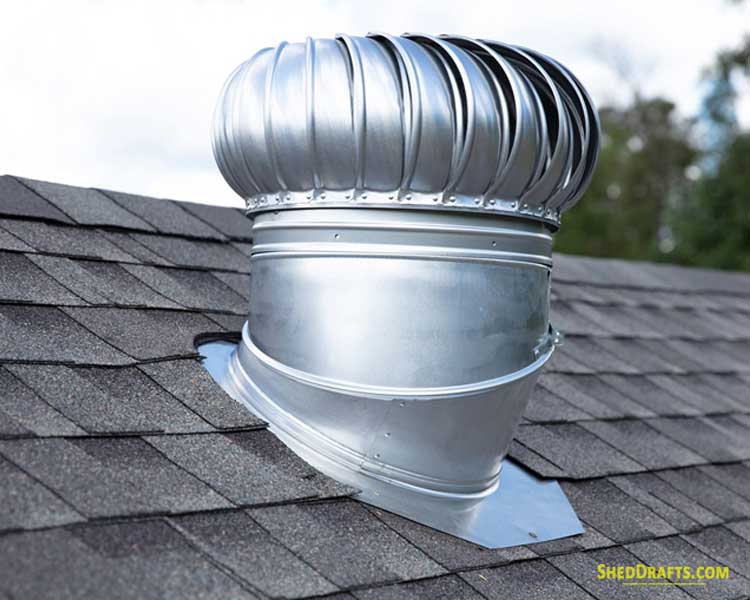
A turbine ventilator is a semi-passive vent that uses wind as a power source to rotate like a windmill and pull out huge volumes of air from the shed.
It is usually combined with ridge vents and wall vents to create a balanced exhaust and intake airflow.
The vent has a cylindrical base on which a dome-shaped structure containing curved air-foil vanes is mounted.
The vanes catch even the slightest breeze and spin quietly, creating a vortex underneath that pulls out warm and damp air.
It can be installed quickly on a hole cut in the roof, and the base of the vent allows for adjustment to any roof pitch.
This is my favorite type of vent and one I personally set up in my garage shed.
One big advantage is that it doesn’t get blocked even during heavy snowfall, as the spinning vanes are several inches above the roof deck.
Pros
- Effective ventilation under heavy snow
- Easy installation, even on existing roofs
- Allows natural lighting
Cons
- It can be noisy during heavy winds
- Won’t run without any breeze
Cost
$100-$200
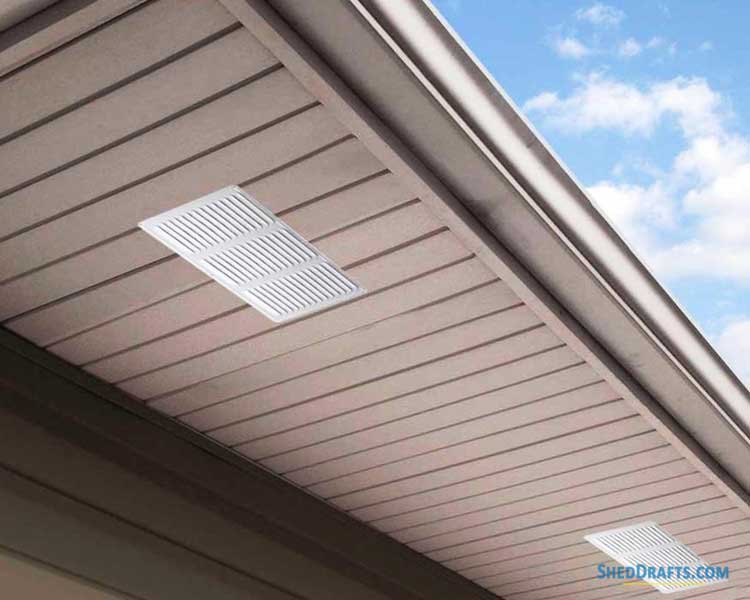
8. Wall Vents
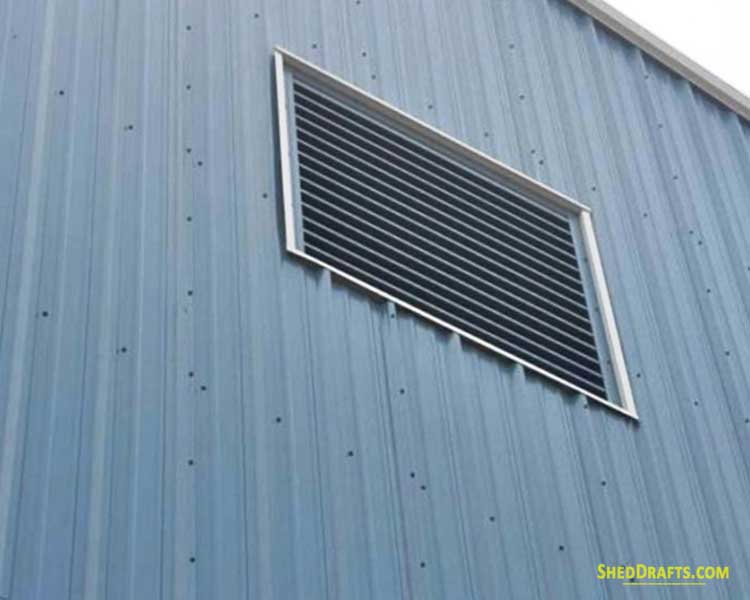
Another common ventilation method is to add screened openings in the wall siding. These wall vents have louvers made of metal or plastic and come in various standard sizes.
Simply use a power saw to cut an opening into the siding and mount the external flanges over the siding with water-proof adhesive. These vents are installed on the lower part of walls to pull in cool air from outside, while gable vents at the top of the walls eliminate warm and moist air.
Pros
- Easy installation
- Compatible with all kinds of buildings
- It will work as both exhaust and intake ventilation
Cons
- The vent can’t be closed
- It can pull too much external cold air
Cost
Based on material and size, the price usually starts from $20.
9. Wall Or Gable Mounted Powered Vent Fan (Solar Or Electric)
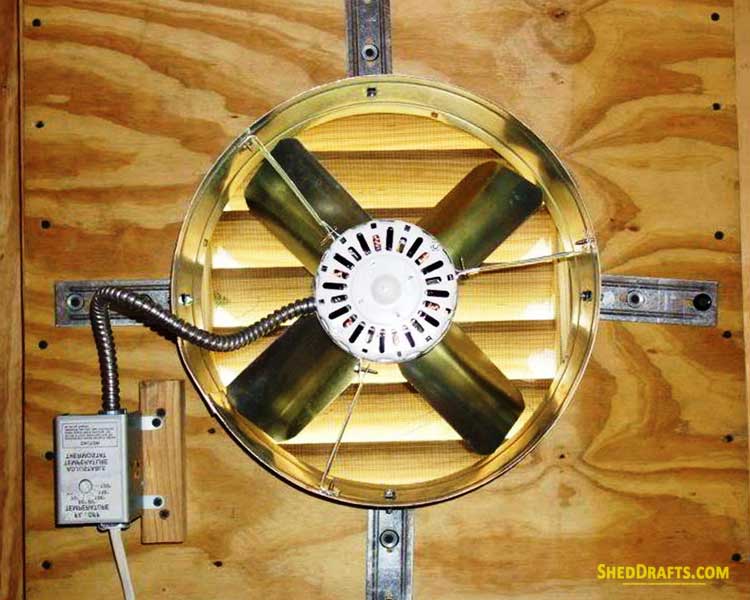
A powered vent fan is one of the simplest and most effective ways to move air inside a shed. The two main types of powered fans available are electric and solar.
Both usually come with an adjustable thermostat that activates the fan only when the room temperature rises above a set limit.
Electric fans will consume power, and you will have to run an electric line to it. Solar ones will be cheaper in the long term but won’t run at night or during cloudy weather.
These exhaust fans are available in various sizes and can be easily installed into an opening in the gable wall end. Mount them on that side of the building which receives the least amount of wind.
Pros
- Controlled by thermostat
- Quick moisture and heat removal
- Fans with 4+ blades are quiet
Cons
- Need to add screening to keep insects out
- Thermostat may not be adjustable in some models
Cost
Based on fan model, brand, and quality, the price ranges from $100 to $500.