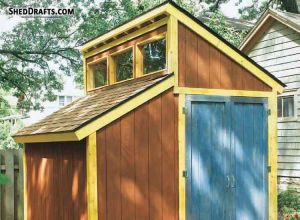
Making a shed’s door is often not considered a major part of the project by amateur DIY builders.
The door is a critical moving component of your shed which not only provides security to the contents inside but also decides how accessible your shed remains in the long term.
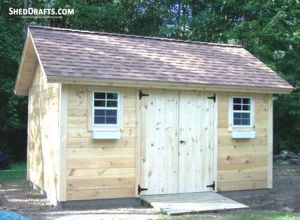
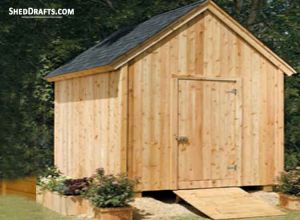
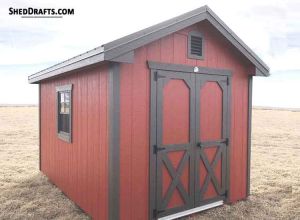
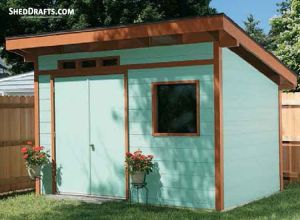
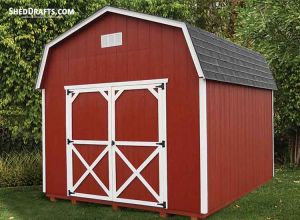
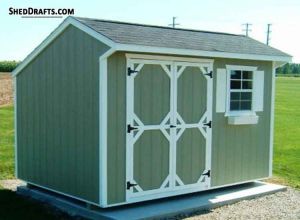
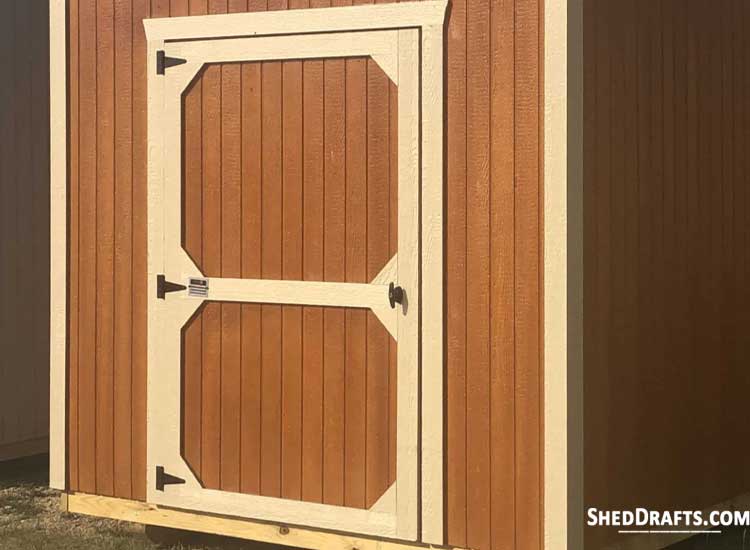
If your shed’s entrance only needs to be about three feet wide, then a single door is enough. Any wider than that, and it is best to build double doors.
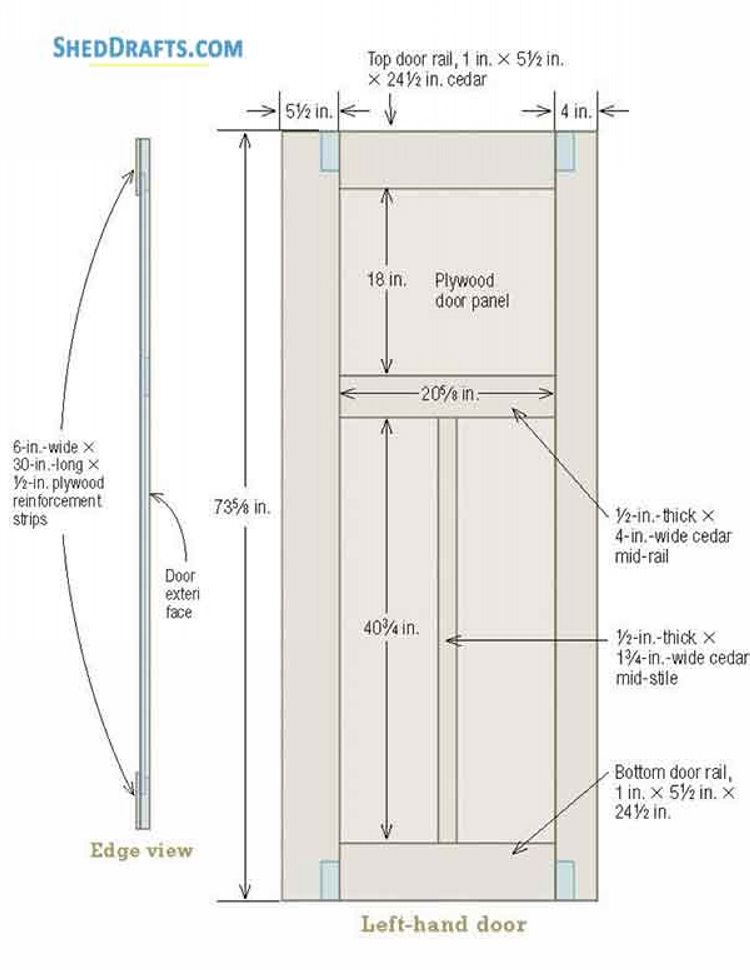
A simple single shed door consists of a door frame, a header, and a panel.
Let us take a look at the materials and steps involved in building a shed door with a single panel.
Materials List And Tools Needed
- 2×4 or 2×6 timber for header, door trim, and bracing
- Smartside or T-11 exterior siding panel
- 1×2 trim for doorstop
- 3/4 inch finishing nails
- 2-inch galvanized nails
- Strap hinges
- Door handle and latch
- Tape measure
- Carpenter’s pencil
- Reciprocating saw
Step 1 – Craft And Attach Door Header
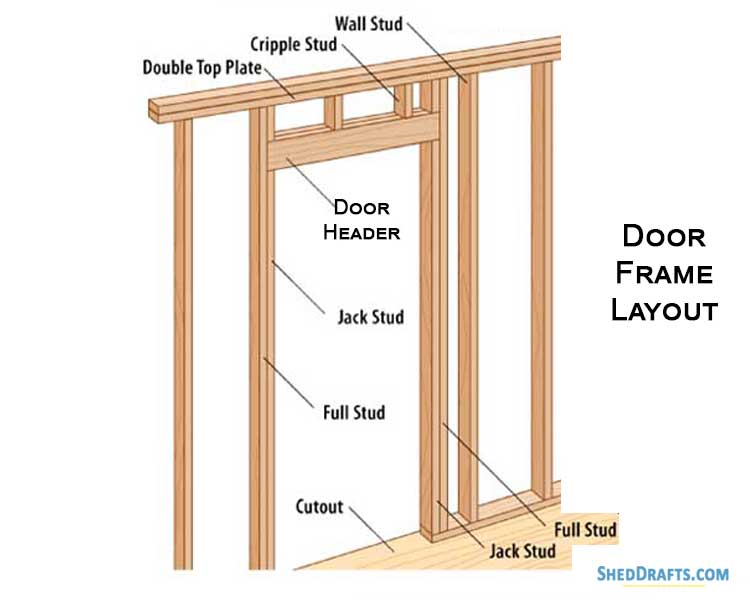
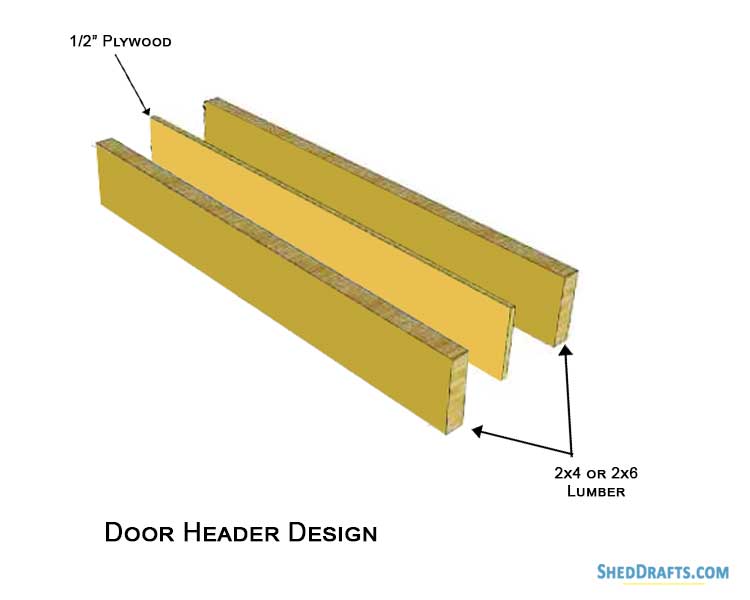
- The door header can be constructed using 2×6 or 2×4 lumber, as per your preference.
- Cut sections of 2×4 to the width of the door frame and sandwich a half-inch thick plywood section between them.
- Secure this assembly by fastening it with galvanized nails.
- Install the header over the door frame.
Step 2 – Measure And Cut Door Panel From Exterior Siding
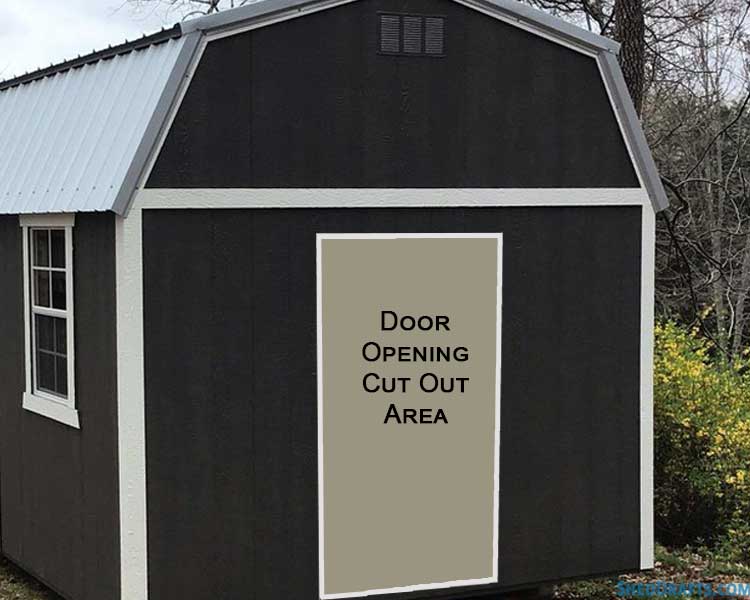
- The fastest way to craft a simple, sturdy door panel is to use an exterior siding panel like T-11.
- Secure a siding panel temporarily over the door frame using 3/4 inch finishing nails.
- Let the base of the siding overhang the door frame’s bottom by about 2 inches to keep the weather out.
- Mark the door outline with a carpenter’s pencil on the panel.
- Now use a reciprocating saw to cut out the door panel carefully.
Step 3 – Attach Trim and Reinforce Panel
- Construct 2×4 trim boards to cover the boundary of the door opening and fasten them with nails.
- Now cut 2x4s to frame the door panel on all four sides and reinforce it.
- Fasten the door perimeter framing members to the panel with 2-inch nails.
- Secure one extra 2×4 along the center of the door panel as a mid-rail to prevent warping.
Step 4 – Install Door Into Frame
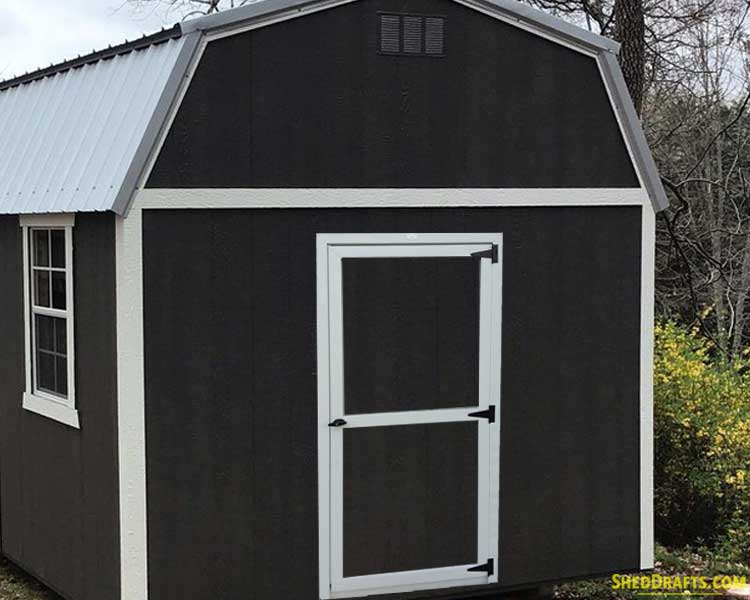
- Fasten the hinges on the door.
- Use the help of a friend, and with one person standing on either side of the door, position it into the frame.
- Mark the locations for the hinge screw holes on the door frame.
- Predrill holes at the marked locations and fasten the hinges to the frame with nails or screws.
- Drive the nails in the hinges halfway and then test the door.
- Check that the door swings open easily and closes correctly.
- Next, place a level on top of the door and see if it’s perfectly even.
- Make slight adjustments to the hinges as needed.
- After everything checks out, you can nail the hinges all the way.
- Lastly, attach the handle and latch to the door.
Step 5 – Fasten Stops Along Jamb (Optional)
- Doors sometimes leave behind a small gap where they meet the jamb.
- The 1×4 trim we installed may still not fully cover all gaps.
- In this case, you can install a 1×2 trim along the inside edge of the door near the jamb to cover this gap.
- This ensures your door closes tightly and doesn’t let any weather inside.
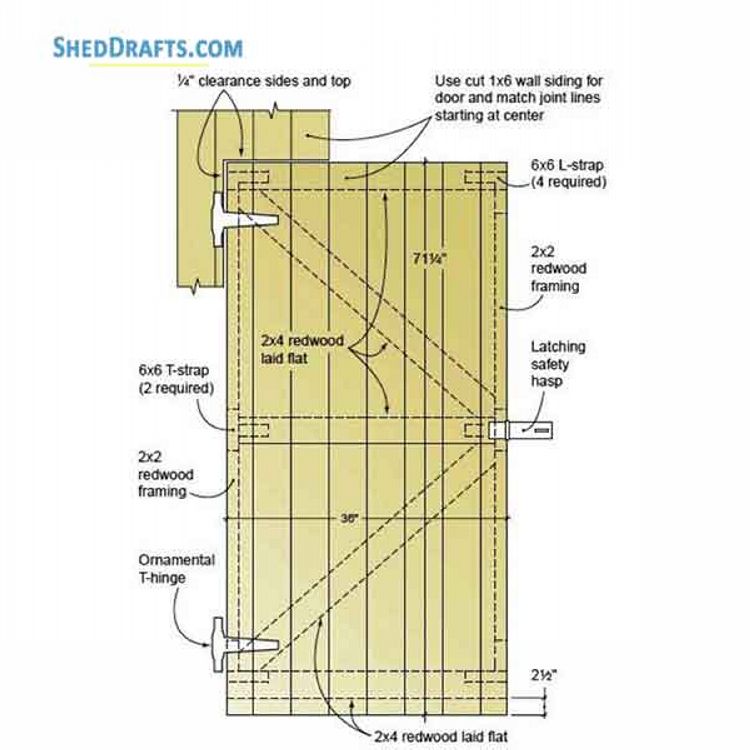
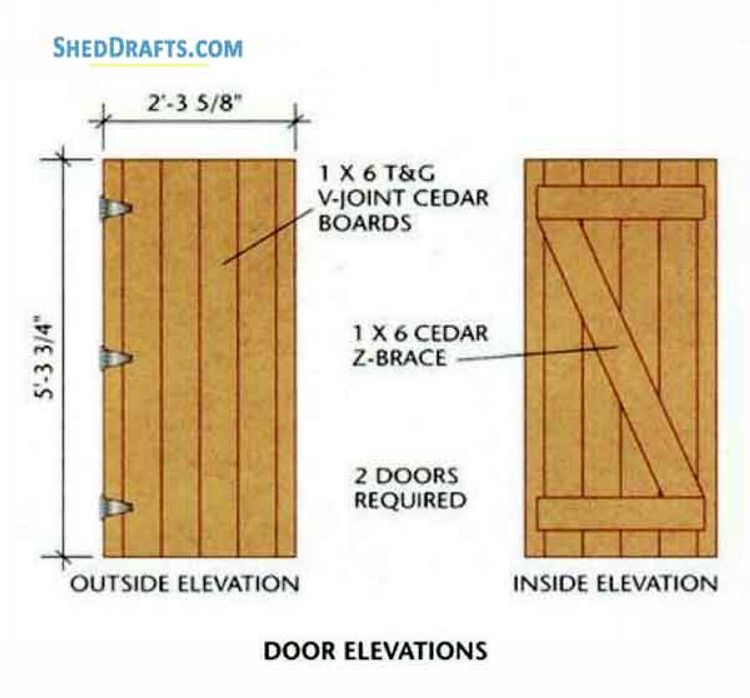
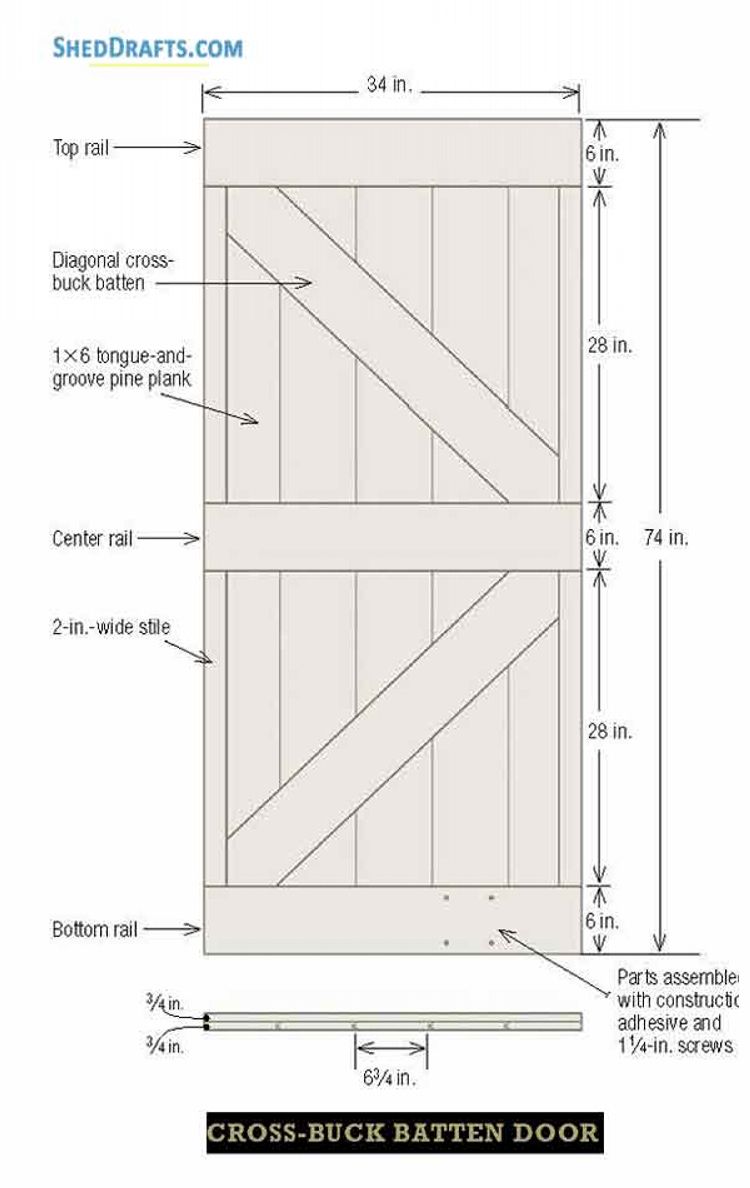
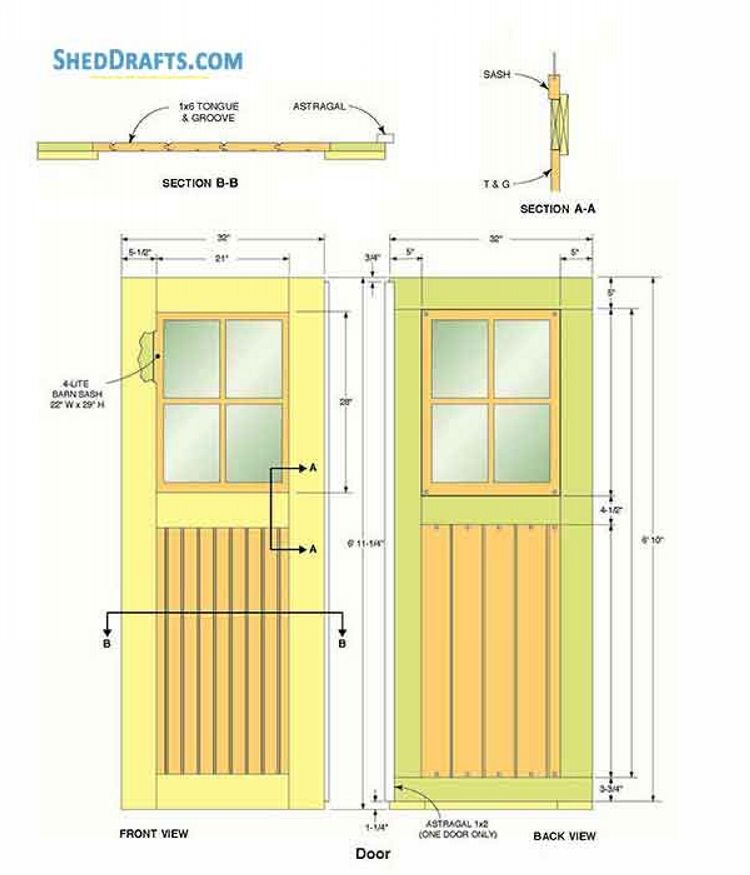
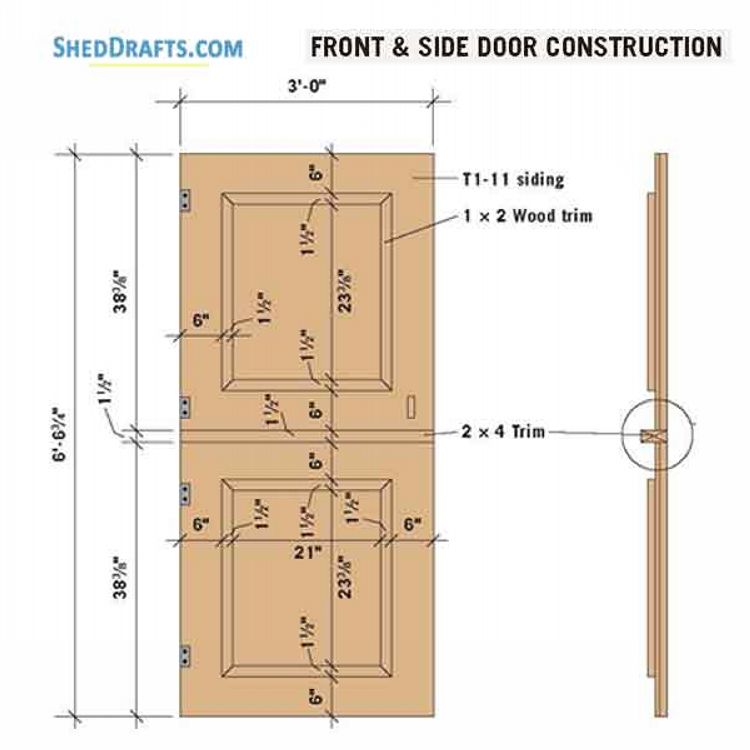
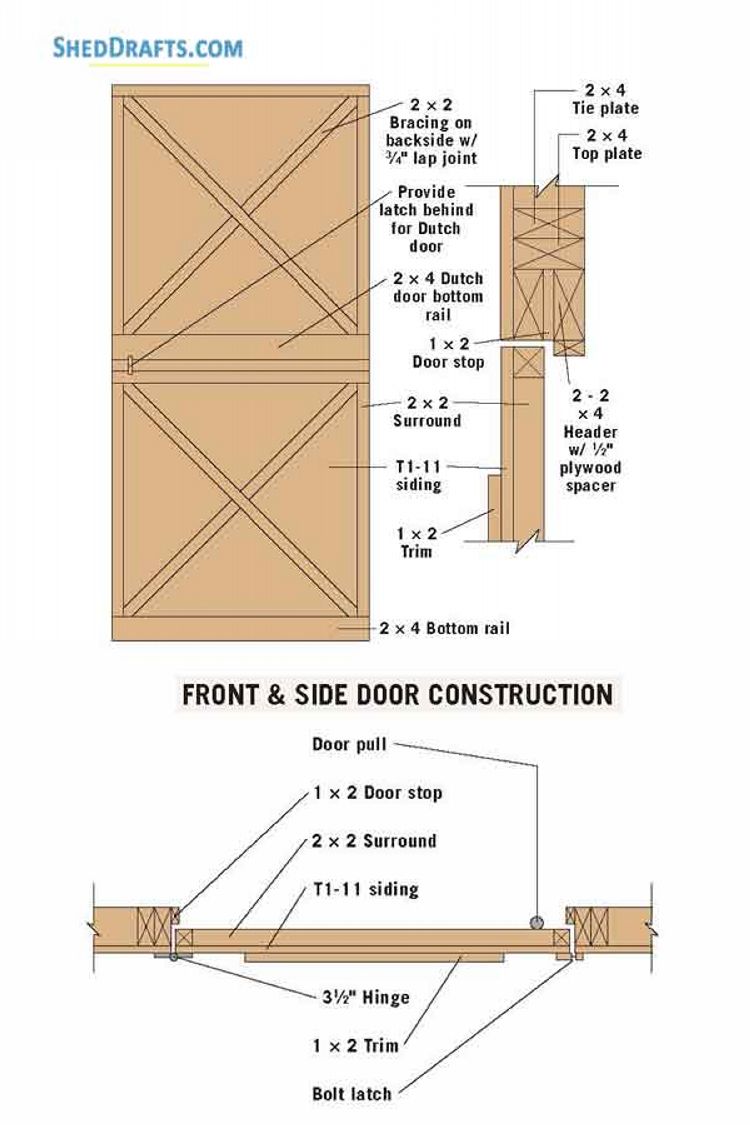
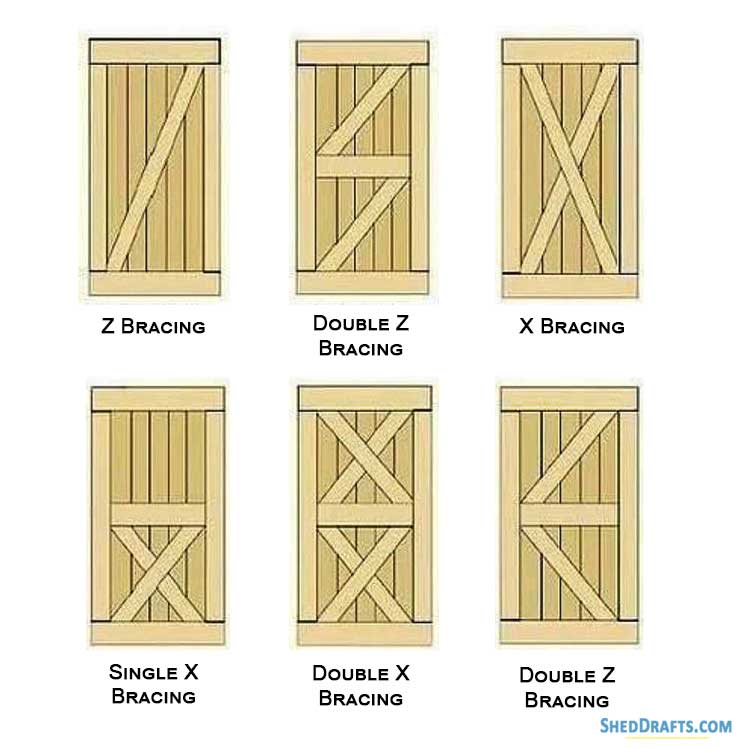
Different Bracing Styles For Crafting Single Doors
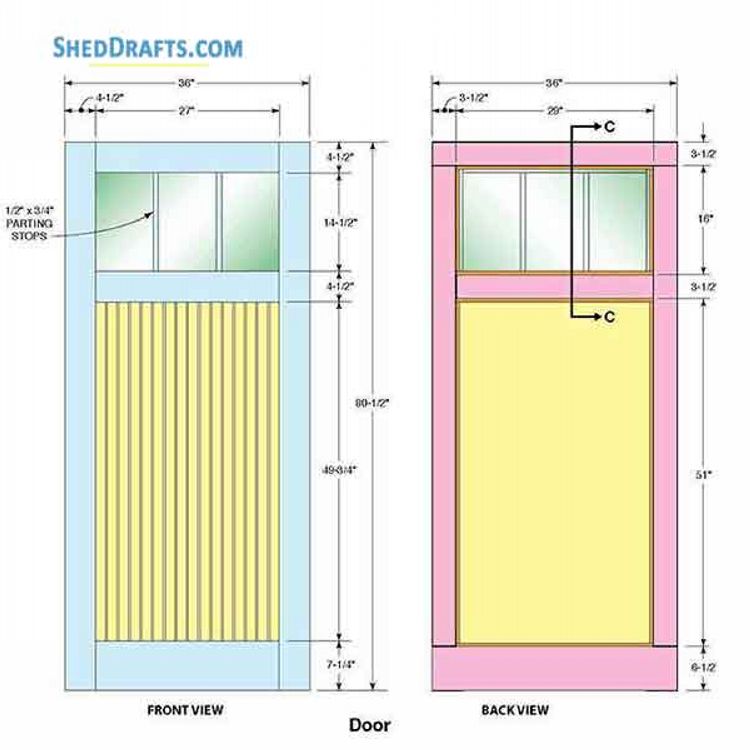
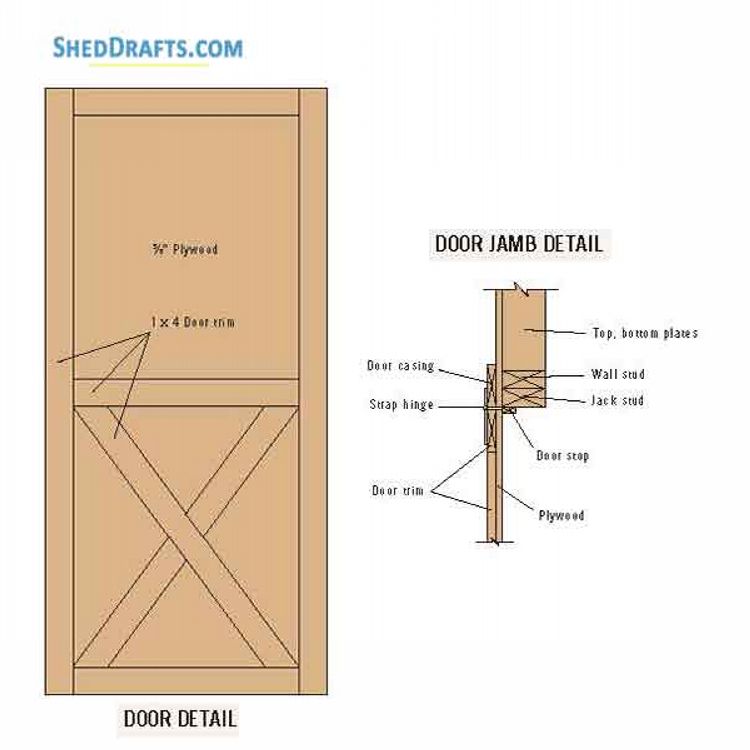
More Complex Design Layouts